Ever shared a video only to have someone complain about the quality? Sure, your friend might not care if your kid's backyard splash video looks a bit fuzzy. And maybe you don't lose sleep over your old prom footage being less than crystal clear. But let's face it – for pretty much everything else, the online world has zero patience for subpar video quality.
These days, if your video doesn't look sharp, people aren't just going to ignore it - they're going to scroll right past it. It's brutal out there. But don't panic if your footage isn't quite up to snuff. We're about to walk you through how to salvage those lackluster videos and turn them into something people will actually want to watch.
Ready to rescue your videos from the pit of pixelation? Let's dive in.
How to Fix Video Quality: Simple Trips and Tricks
In this guide, we’ve collected everything you need to know on how to fix bad-quality videos in post-production and how to avoid having bad quality in the first place by planning carefully in the pre-production. So, let’s get straight into it.
How to fix bad quality videos in post
Fixing bad-quality videos in post-production can be a lifesaver when your footage doesn’t turn out quite as expected. Here are some tips to consider that will help you salvage and enhance your footage, ensuring your videos look their best before sharing them with the world.
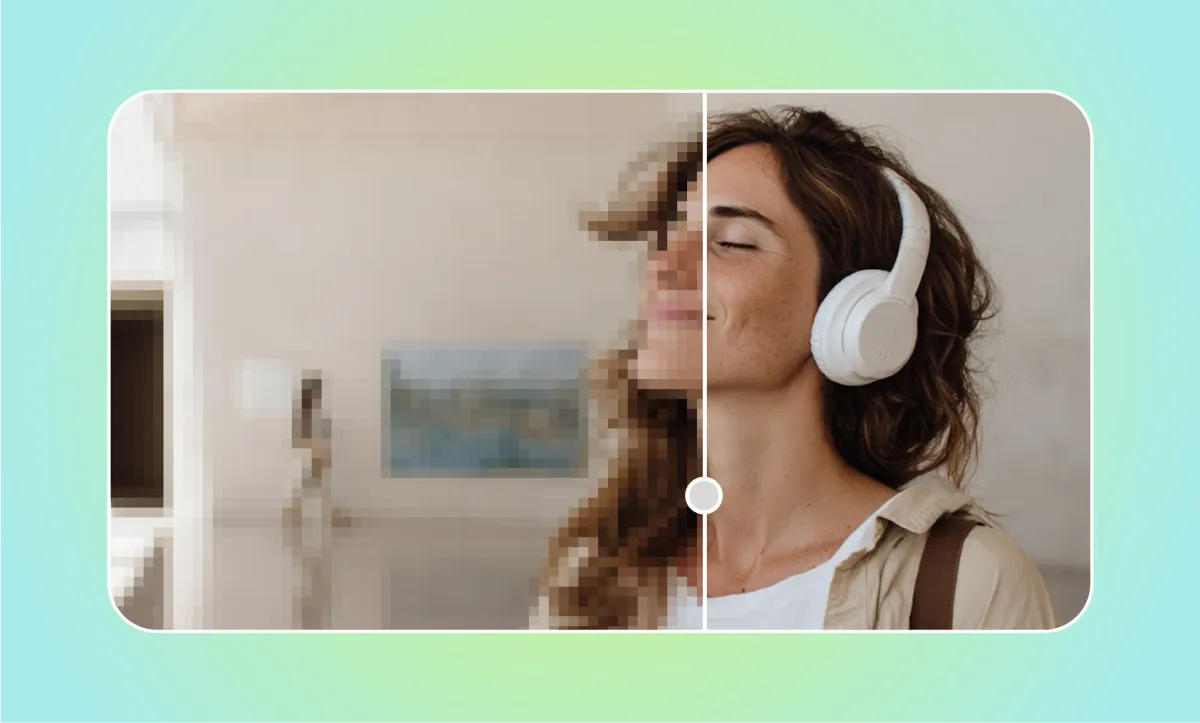
1) Upscale video resolution to make your footage look sharper
One of the most common issues with quality is low video resolution, which can make your footage look pixelated or blurry. While you can't turn a low-resolution video into a 4K masterpiece, there are some tricks to make it look sharper and more polished.
- – Use a higher bitrate: When exporting your video, choose a higher bitrate to enhance the overall quality. This increases the amount of data used for each second of video, leading to clearer and crisper visuals.
- – Apply sharpening filters: Many editing tools offer sharpening filters that can help to refine the edges of objects in your video, making them appear more defined.
- – Consider upscale algorithms: Some editing tools allow you to upscale video with advanced upscaling algorithms that intelligently add pixels to increase resolution. While these can’t perform miracles, they can make a noticeable difference in improving the clarity of your video.You can also consider using AI upscale video tools where you can use a video quality enhancer for the videos you’ve shot online.
Remember, while these techniques can help, they can't create details that weren't there to begin with. So, the sharper you can shoot your video initially, the better your results will be in post-production.
2) Fix poor lighting and brighten up your scenes
Lighting can make or break your video, and fixing poorly lit scenes in post-production is key to improving quality. Here’s how you can rescue those dark or overexposed clips.
- – Adjust exposure and brightness: Start by adjusting the exposure settings to brighten up dark scenes or tone down overly bright areas. Be careful not to overdo it, as too much brightness can wash out your image.
- – Use contrast and highlights: Boosting contrast can help make the details in your video pop while adjusting the highlights can bring out the lighter parts without losing detail in the shadows.
- – Employ color correction: Sometimes, poor lighting causes color imbalances. Use color correction tools to adjust the white balance, saturation, and hues to make your video look more natural and visually pleasing.
By tweaking these settings, you can take a poorly lit video and transform it into something that looks much more professional and polished.
3) Stabilize shaky footage
There’s nothing worse than watching a video that looks like it was filmed during an earthquake. Shaky footage is distracting and can make your viewers click away fast. Luckily, stabilizing shaky footage is easier than you think.
Most video editing software includes a stabilization tool that automatically detects and reduces camera movement.
To take your footage from shaky to smooth, start by applying stabilization filters that check out your video frame by frame, making adjustments to smooth out any camera shake. Most of these filters let you control how intense the stabilization is, so it’s a good idea to kick things off with a low setting and gradually crank it up until it looks just right.
You might also find that some tools will crop the edges of your video a bit while stabilizing, which can help get rid of the worst shakes. Just keep an eye on how much you crop so you don’t accidentally cut out any important bits.
If you want to take it a step further, you can make manual adjustments to each frame. Sure, it might take a little longer, but it gives you that extra control to make sure your video ends up looking super smooth without losing any quality.
After stabilization, your video will be much more enjoyable to watch, and your viewers won’t feel like they’re on a rollercoaster.
4) Clean up your audio and visuals
Noise is a major culprit in poor video quality, and it can affect both the audio and the visuals of your footage. Whether it’s grainy visuals or background noise in your audio, here’s how to fix video quality by cleaning it up:
For visual noise:
- – Apply noise reduction filters: Noise reduction filters work by smoothing out the grainy parts of your video, making it look cleaner. However, be careful with these filters as overuse can lead to a loss of detail, leaving your video looking overly soft.
- – Use denoise and grain effects: Some tools offer denoise effects specifically designed to reduce visual noise. These effects can be adjusted to target different noise patterns, making your footage look much clearer.
For audio noise:
- – Apply an audio denoiser: Background hums, hisses, or other unwanted sounds can ruin your video’s audio. Use an audio denoiser to remove these elements, leaving only the clear, important sounds.
- – Adjust EQ settings: Equalizers (EQ) can help fine-tune your audio by boosting or cutting specific frequencies. This is particularly useful for minimizing background noise without affecting the overall sound quality.
By reducing noise in both your visuals and audio, you can significantly enhance the overall quality of your video, making it more professional and pleasant to watch.
5) Correct color to bring your footage to life
Sometimes, you might think your video is of bad quality, but in reality, it just lacks colors. Whether your video is too dark, washed out, or has a weird color cast, color correction can fix it.
Start with the basics by adjusting the white balance to ensure your colors look natural. This step corrects any color tint that might have been caused by your lighting or camera settings. After that, move on to tweaking the contrast, saturation, and brightness to make the colors in your video pop.
For more advanced techniques, consider color grading. This process involves creating a specific look or mood for your video by adjusting the colors more extensively. You can make your video feel warm and cozy or cool and dramatic, depending on the tone you want to set.
Color correction and grading are powerful tools that can enhance the quality of your video, making it more engaging and visually appealing. Even subtle adjustments can make a huge difference, so take the time to get it right.
How to prevent bad-quality videos in pre-production
To set yourself up for success and avoid bad-quality videos, focusing on pre-production is key. Here’s what to keep in mind before and during your shooting, to make sure you won’t have to deal with bad-quality video in post-production.
1) Plan your shots
Planning your shots ahead of time can save you a world of trouble later. Take the time to storyboard your ideas or write down a shot list. This way, you’ll have a clear vision of what you want to capture, making it easier to focus on getting high-quality footage during filming. Plus, it helps you avoid any random, awkward shots that could mess with your video’s flow.
2) Choose the right equipment
Using the right equipment can make a huge difference in your video quality. Whether it’s your camera, lenses, or audio gear, investing in decent equipment can really pay off. Make sure you test everything beforehand and know how to use your gear effectively.
3) Pay attention to lighting
Lighting can be a game-changer when it comes to video quality. Natural light is often your best friend, but if you’re shooting indoors or in low-light situations, consider using additional lights to brighten things up. Soft, diffused lighting can help create a flattering look, so experiment with different setups to find what works best for your scene.
4) Keep your audio in check
Don’t forget about the audio quality! Bad audio can ruin even the best visuals. Make sure to use a good microphone and check for any background noise that could interfere with your sound. It’s also helpful to do a few test runs before you start filming so you can adjust levels and make sure everything sounds crystal clear.
Podcastle’s AI Video Enhancer: Record and enhance your video online

When it comes to improving your webcam or phone-shot video quality, Podcastle is a must in your toolkit. It’s designed to easily upscale your videos, giving them a more polished look without the extra hassle. Here’s how to make the most of it.
First, you can record your video directly within Podcastle, which keeps everything in one convenient spot. Once you have your footage, you can jump straight into editing.
Next, just apply the AI video enhancer option to improve your video quality automatically. The video quality enhancer uses smart algorithms to analyze your footage and improve its overall appearance. Whether you're dealing with low-resolution clips or want to refine your videos, this tool can help out with just a few clicks.
After enhancing your video, exporting is straightforward. You can pick from various formats to fit your needs, making sharing your content easy across different platforms.
What’s great about Podcastle is that it also helps your guests look good. If you’re conducting interviews or featuring others in your content, this tool makes sure everyone appears their best, creating a more cohesive look throughout your video.
So, whether you’re making videos for work, school, or just for fun, Podcastle’s video enhancer can help you improve your content without adding unnecessary stress. You can focus on what really matters: creating engaging videos that connect with your audience.