Screen recording on Windows. It should be simple enough, just hit a button and you're off. But where's the button? What's the app called? Maybe you've actually tried it, but it's not coming out the way you wanted.
Here's the scoop: Windows does have some built-in ways to record your screen, but they're not always obvious or easy to use. And sometimes, they just don't cut it for what you're trying to do. That's why we've put together this guide. We're going to walk you through everything – from the basic stuff that comes with Windows to some fancier third-party options.
Let's dive into everything you should know about screen recording on Windows 10 or 11.
How to Screen Record on Windows with Built-in Tools
Screen recording on Windows is easier than you might think, especially with the built-in tools at your disposal. Whether you’re capturing gameplay or creating a tutorial, here’s how to do it using the tools that come pre-installed on your device.
Record Using the Windows Xbox Game Bar
The Xbox Game Bar is a convenient tool for anyone looking to screen record on Windows without needing to download extra software. Originally designed for gamers, it’s also great for recording any on-screen activity. Here’s a step-by-step guide on how to use it:
1) Open the Xbox Game Bar
To start, press the Windows key + G on your keyboard. This will bring up the Xbox Game Bar interface, where you can access various recording and audio options.

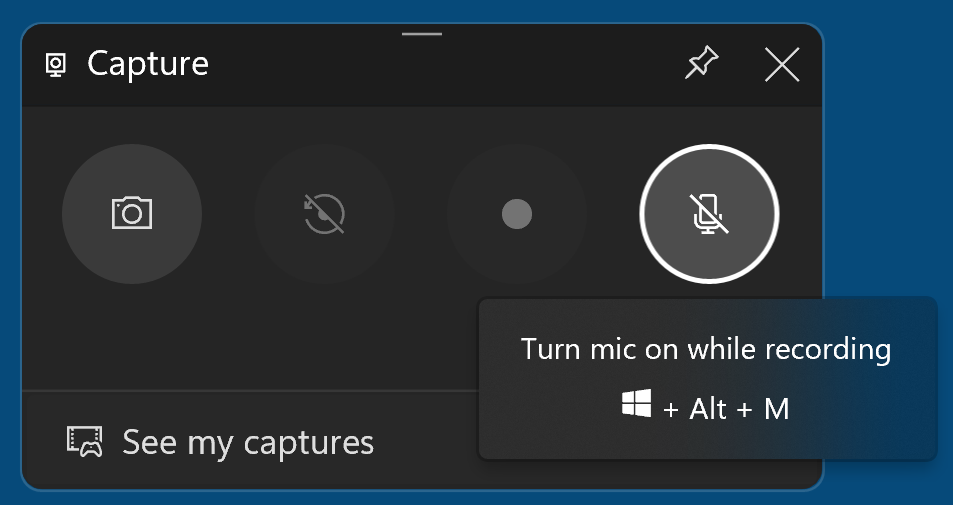
2) Configure your audio settings
If you want to include live commentary or narrate your screen recording, click the Record Mic option. This will enable your microphone, allowing you to add voice-over as you record. If you prefer to add audio later, you can skip this step.
3) Start recording
Now, you’re ready to start your screen recording on Windows. Click on the bright red recording button to begin. A small recording panel will appear in the top-right corner of your screen. Once you’ve captured what you need, click the stop button on this panel.
4) Save your recording
After you stop the recording, your video will automatically be saved as an MP4 file in your Videos folder. From there, you can edit or share it as needed.
The Xbox Game Bar is perfect for quick recordings, but keep in mind that it lacks editing features and the ability to capture custom screen regions.
Record Using Windows Snipping Tool
For those using Windows 11, the Snipping Tool is another handy built-in option for screen recording on Windows. It’s especially useful for capturing specific parts of your screen. Here’s how to use it:
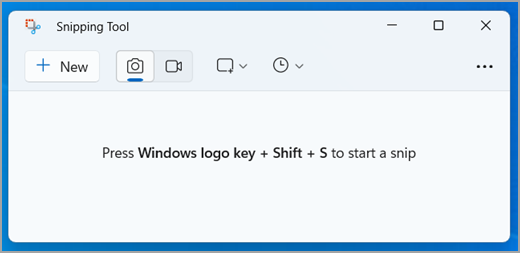
1) Open the Snipping Tool
First, open the Snipping Tool by searching for it in the Windows search bar. Once the tool is open, click on the camcorder icon to switch to the recording mode.
2) Select the area to record
Next, click the +New button in the Snipping Tool window. This will allow you to manually crop the area you want to record. Simply drag your mouse over the section of the screen you want to capture.
3) Start recording

After selecting the area, click the Start button in the floating toolbar at the top of your screen. This will begin the Snipping Tool screen record.
4) Stop and save the recording
Once you’re finished recording, press the Stop button. To save your video, click on the Save as option in the Snipping Tool window, which looks like an old-fashioned floppy disk. Choose your save location and name the file.
The Snipping Tool’s screen recording feature is a simple, no-frills option, perfect for those quick captures when you only need to record a specific part of your screen.
How to Screen Record on Windows Online with Podcastle
If you’re looking for an easy way to record Windows without needing to install any extra software, Podcastle’s video recorder and screen recorder are your go-to online tools. Not only does Podcastle allow you to capture your screen effortlessly, but it also offers features like webcam integration, video enhancement, and editing tools—all within your browser. Here’s how you can get started with Podcastle in just a few simple steps.
1) Start a new project
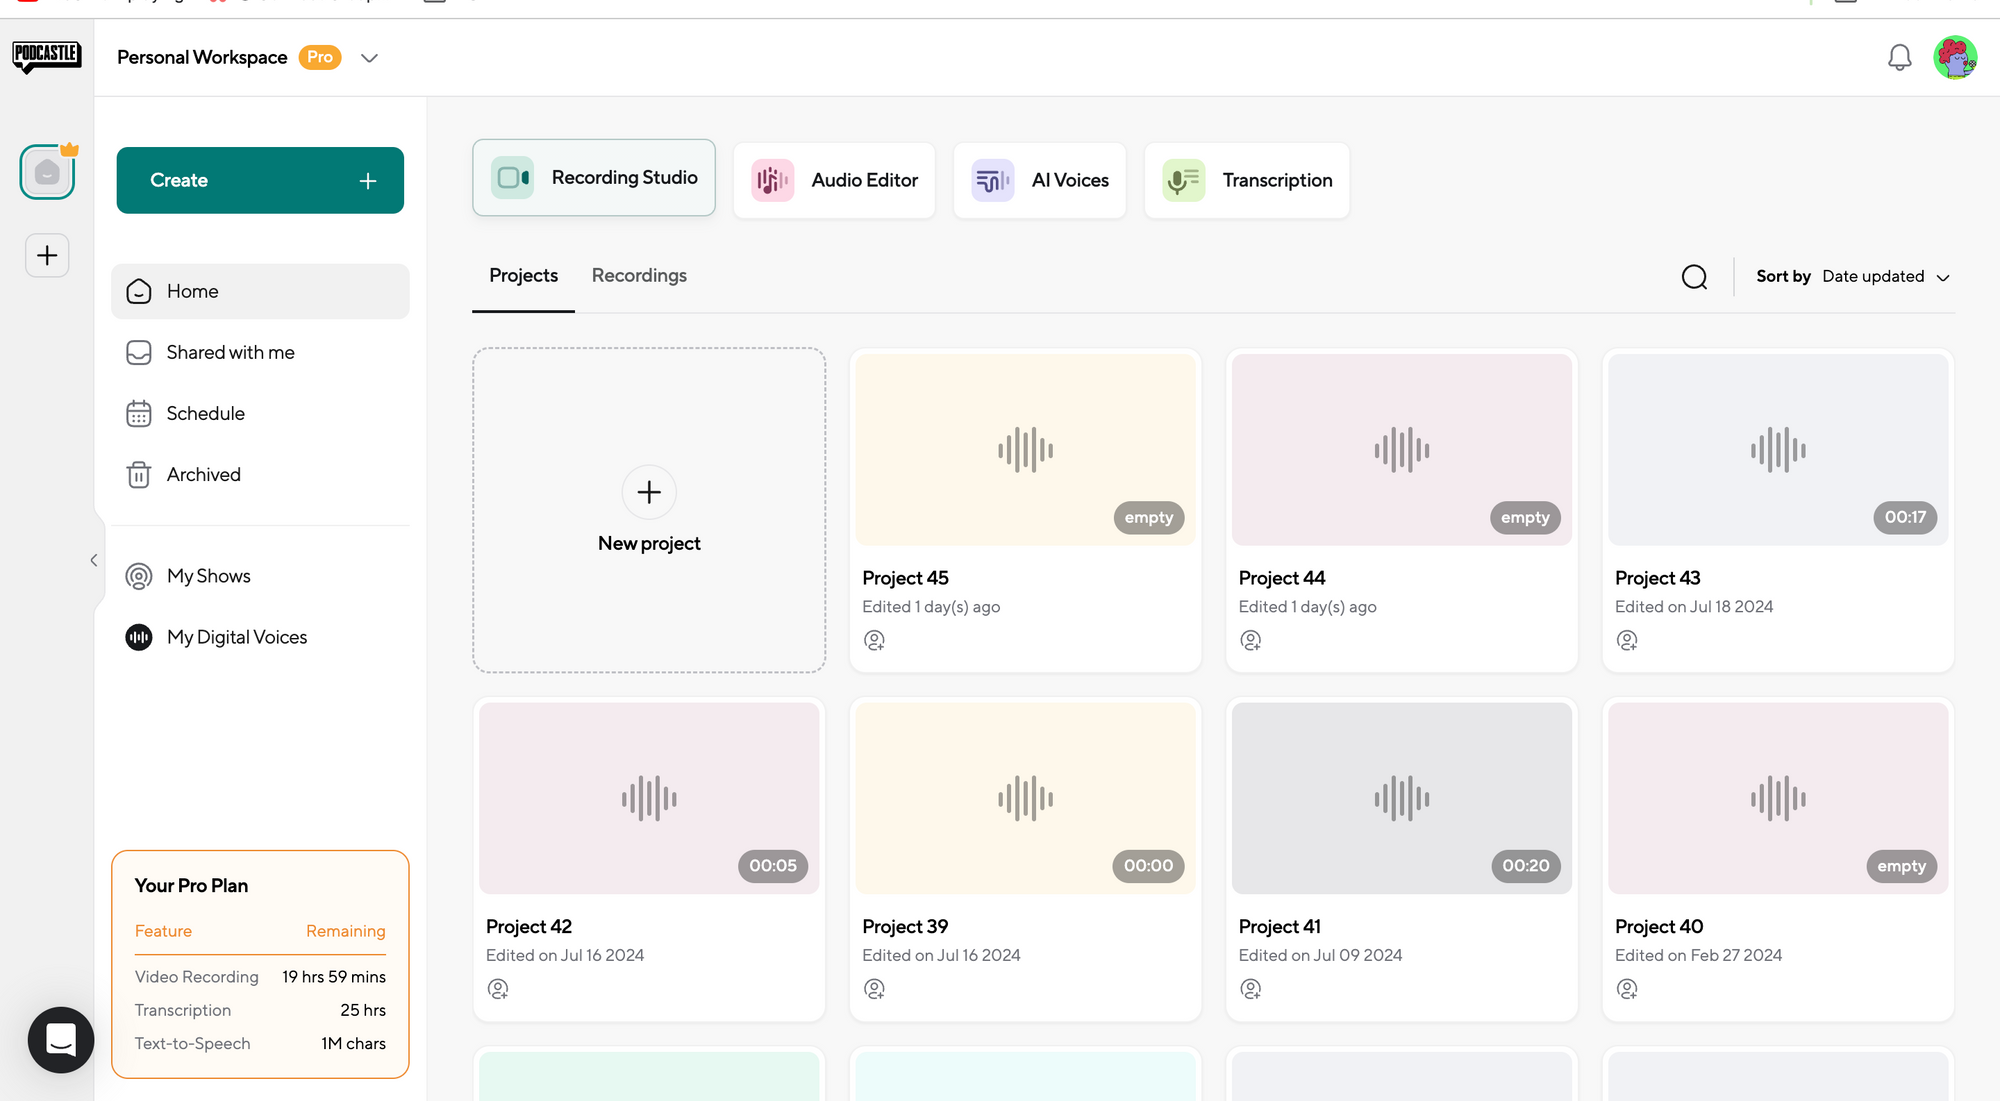
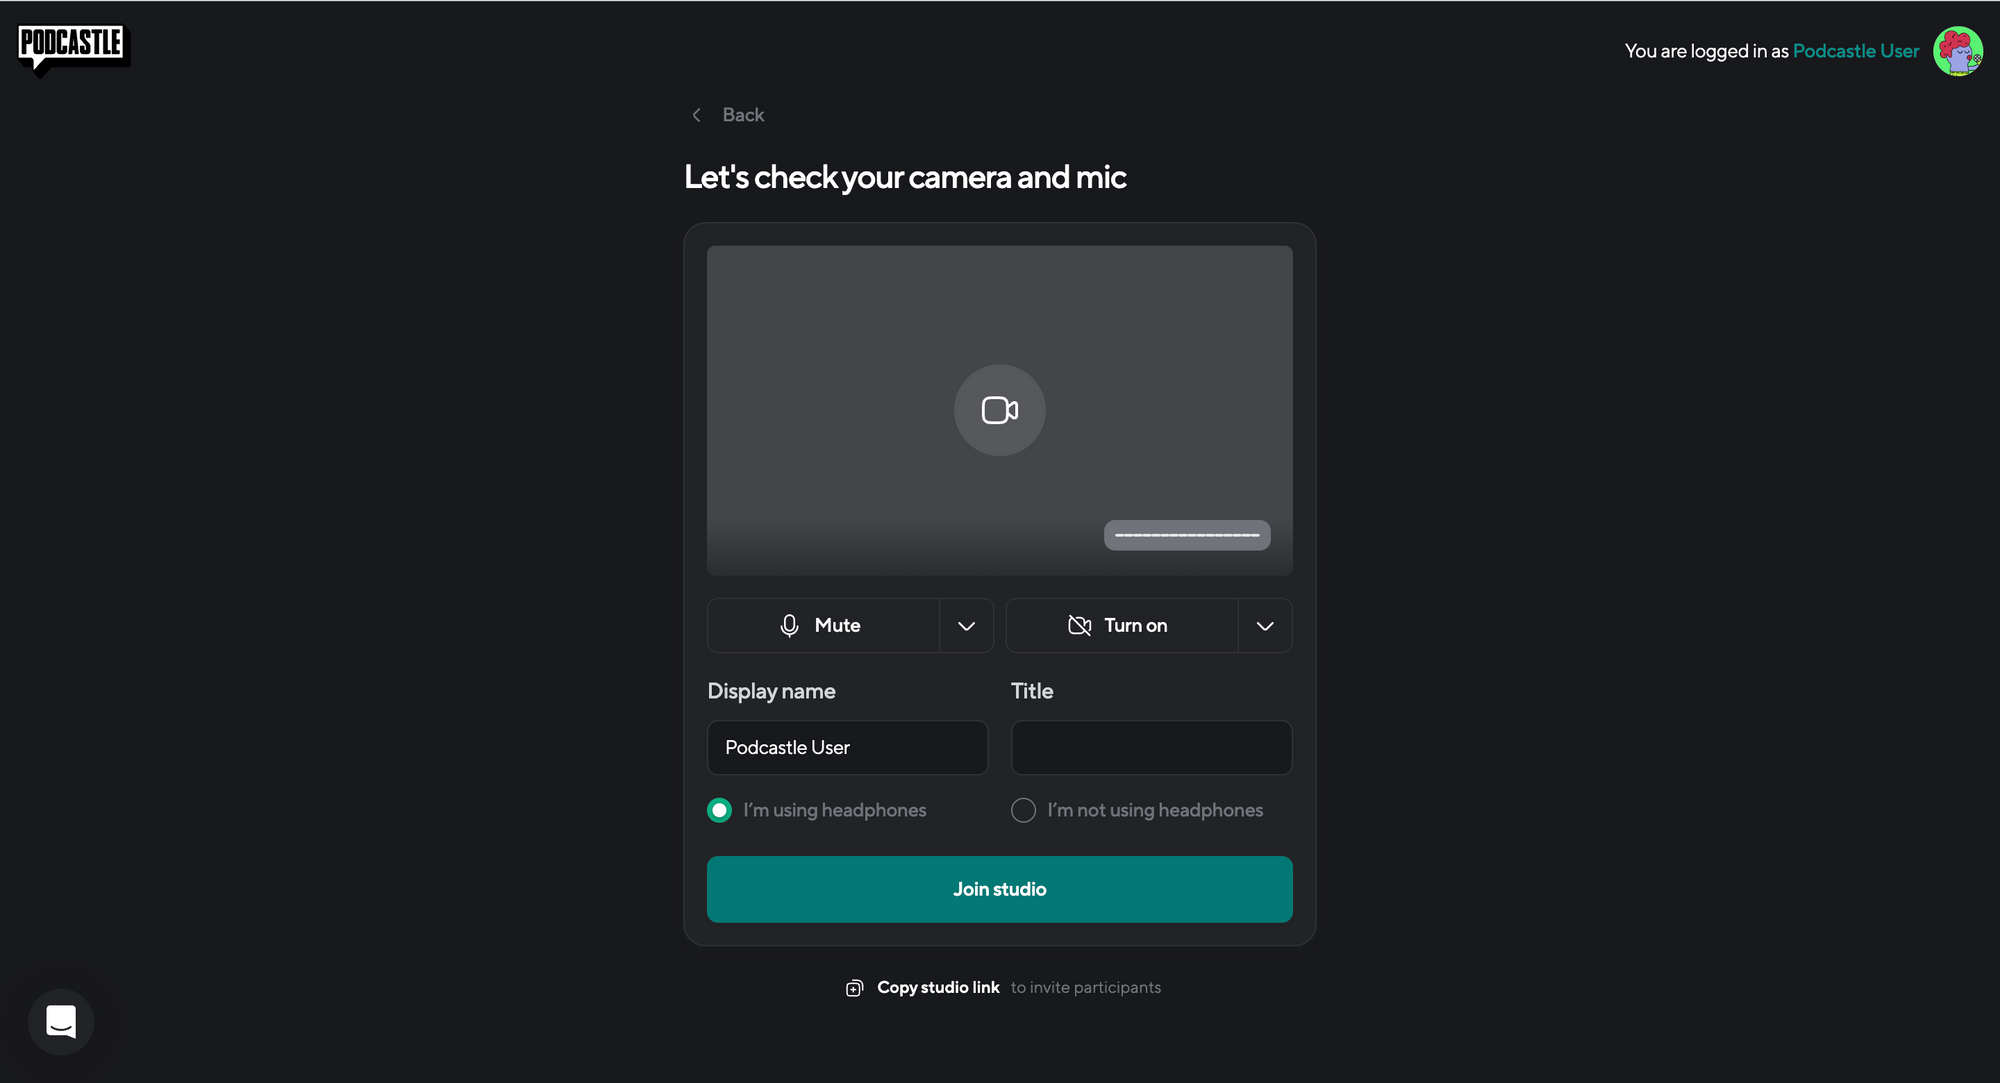
First, log into your Podcastle account and head over to the Recording Studio. Here, you’ll want to start a new project specifically for your screen recording. Choose the video recording option, give your project a title, and configure your settings as needed. If you’re planning to include your voice or a guest’s voice, make sure to adjust the audio settings accordingly. You can also invite others to join the recording if you’re collaborating on content.
2) Choose the screen share option in your recording

Once your project is set up, look for the Screen Share option in the lower panel of your recording studio. This is where you’ll decide what part of your screen you want to capture. You can choose to record your entire screen, a specific window, or even just a particular tab. If you want to include webcam footage, keep your video settings on, and you’re all set—just hit the Record button to start your screen recording on Windows.
3) Edit and export
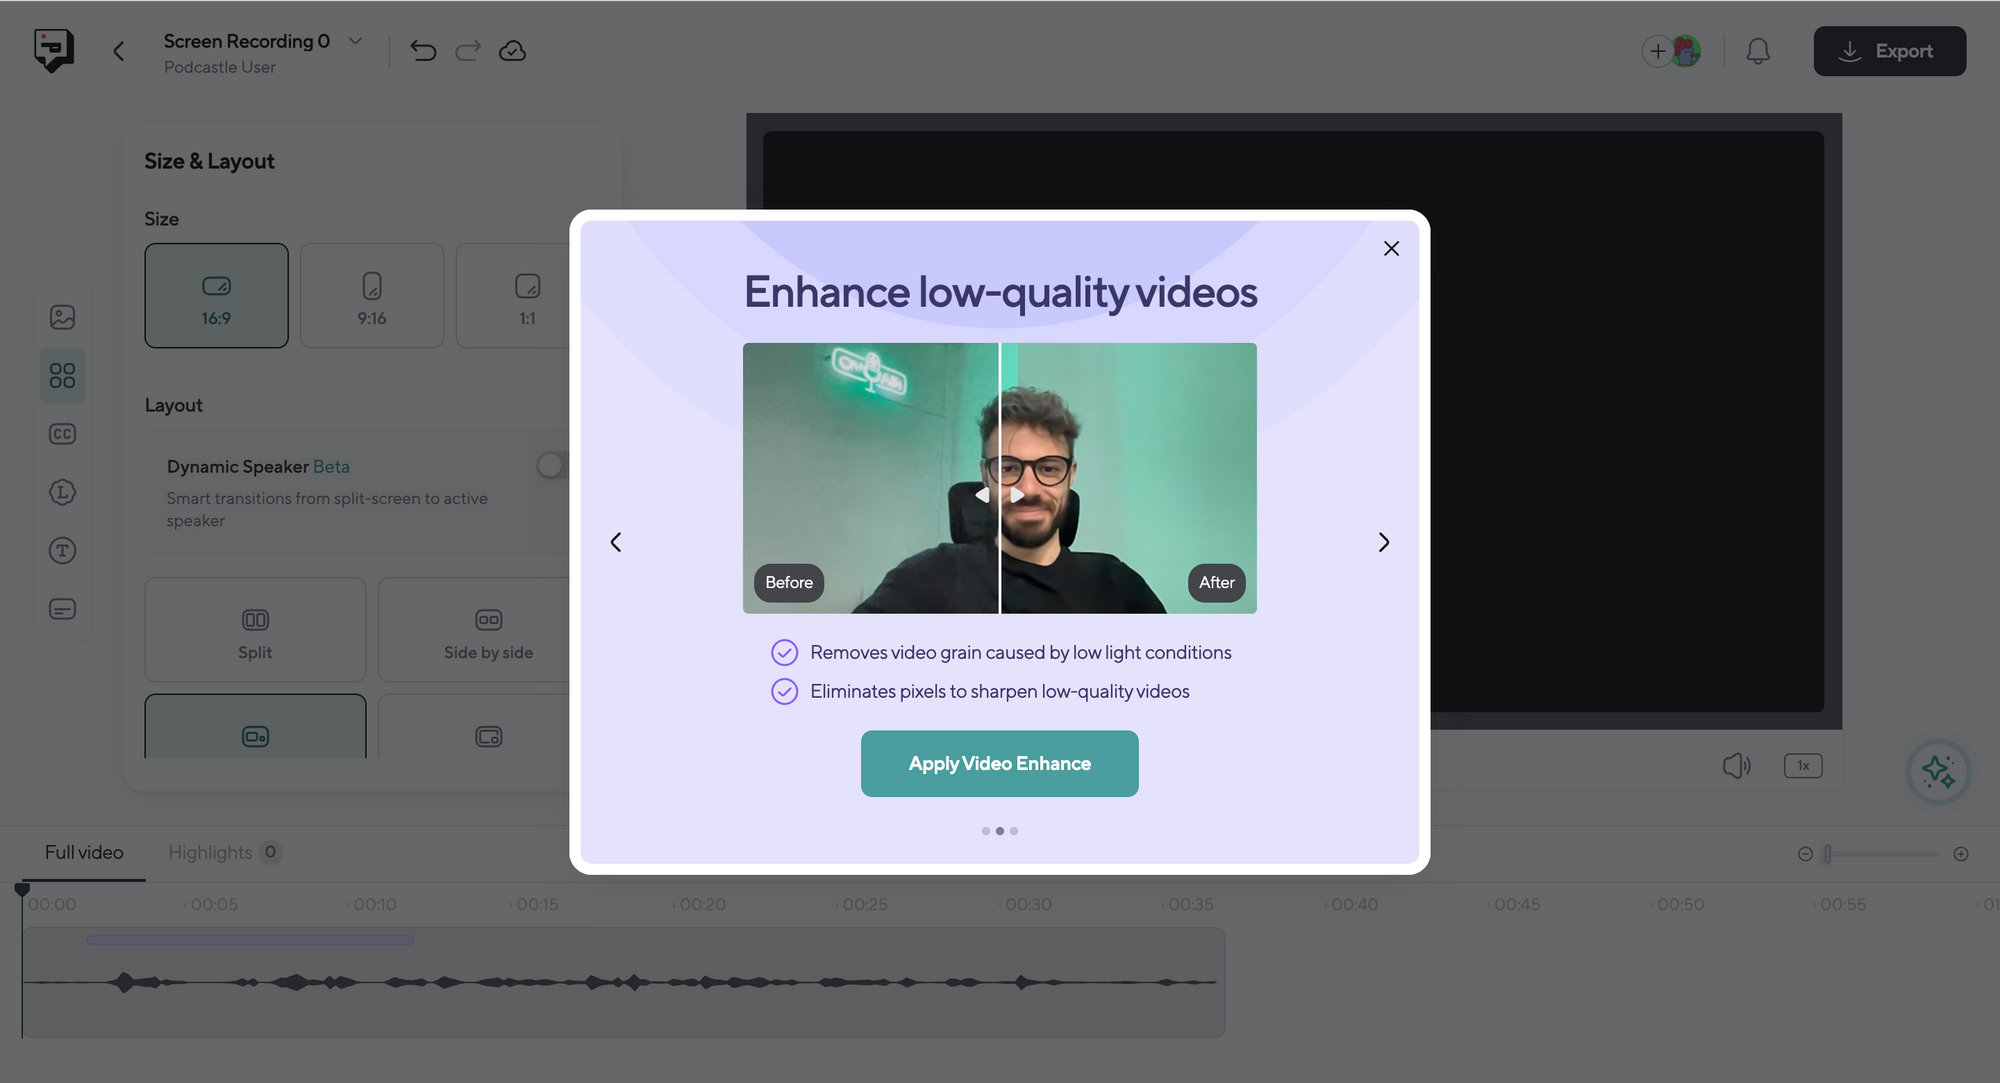
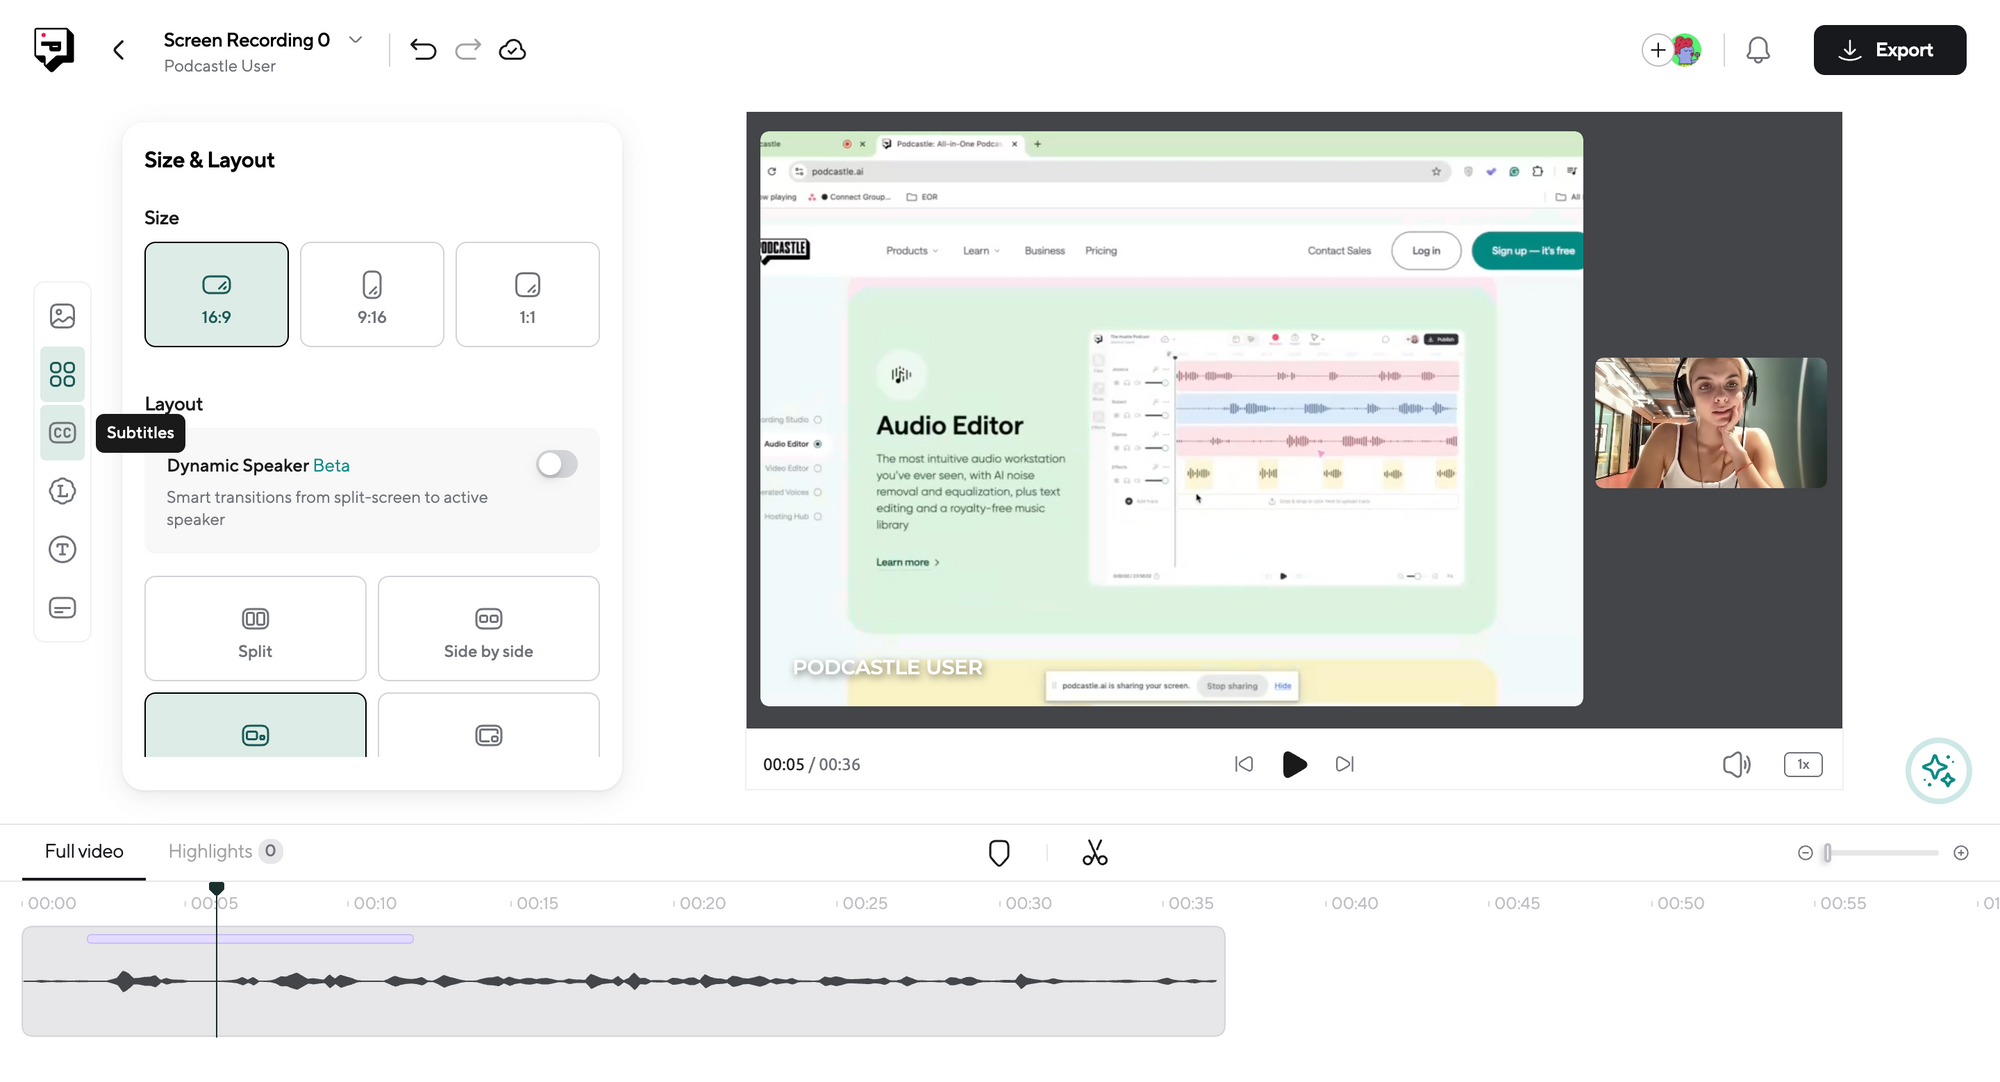
After you’ve finished your recording, Podcastle makes it easy to polish up your video. You can edit your recording directly in the browser using Podcastle’s built-in video editor. Start by enhancing the video quality with the Video Enhancer feature, which is perfect for improving your webcam footage. Then, tweak the layout and size of your video, choosing options like 9:16 for social media or 1:1 for a more compact view.
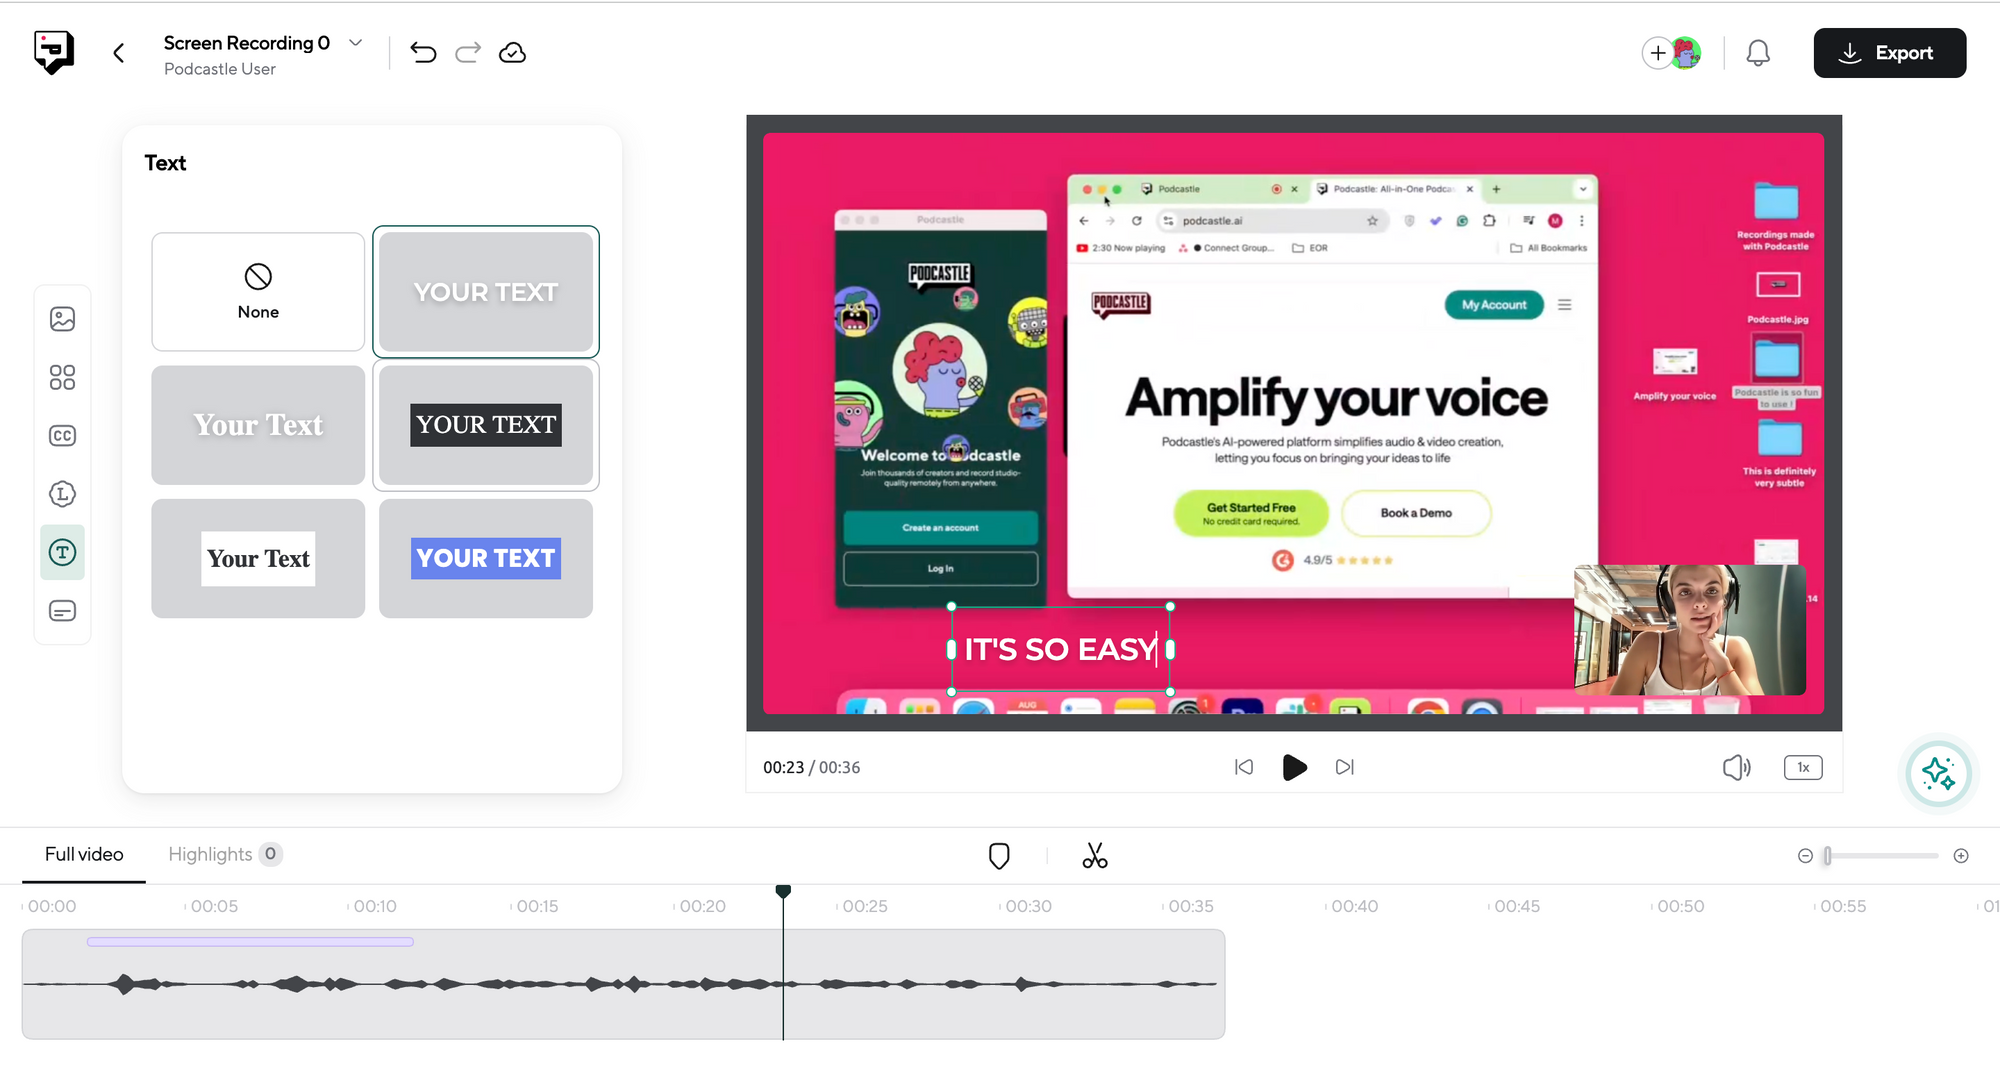
You can also add text, subtitles, or even branding elements like logos to make your video more engaging. Once you’re happy with your edits, simply export the final file, and your screen recording is ready to share with the world.
Podcastle offers a smooth, user-friendly experience for anyone needing to screen record on Windows without the hassle of installing new software.
Tips and Tricks for the Best Screen Recording
Getting the most out of your screen recording on Windows can make a world of difference, especially if you’re creating tutorials, presentations, or content for your audience. Here are some handy tips and tricks to help you create polished and professional screen recordings.
1) Configure your screen recording settings
Before you hit that Record button, take a moment to set up your screen recording settings so you can improve video quality as much as possible. Make sure you’re recording at a high enough resolution to capture all the details you want to show—1080p is a good standard. If your tool offers it, tweak the frame rate too. A higher frame rate (like 60 fps) will give you smoother video, which is especially important for fast-moving content. And don’t forget about audio—check that your microphone is set up correctly, and adjust the levels to avoid clipping or distortion.
2) Troubleshoot common issues
Nothing’s worse than finishing a recording, only to find out something went wrong. To avoid this, do a quick test recording before diving into your actual content. This helps you catch issues like software lag, audio sync problems, or incorrect recording areas. If you notice your computer slowing down during the recording, try closing unnecessary programs or adjusting the recording resolution to lighten the load on your system.
3) Focus on producing high-quality audio
Good audio can make or break your screen recording. Use a decent microphone and try to record in a quiet environment to minimize background noise. If you’re narrating, speak clearly and at a consistent pace. Many screen recording tools also have an option to boost audio quality or reduce noise—take advantage of these settings to improve your final product.
4) Polish your screen recording with editing
Once you’ve captured your screen, it’s time to add some finishing touches. Use the editing tools available in your software to trim unnecessary parts, add text overlays, or insert transitions between scenes. If you’re using a tool like Podcastle, you can also enhance video quality and add subtitles automatically. These small edits can make a big difference in how professional your final video looks, making it more engaging and easier to follow for your audience.
That’s pretty much it! Hope we’ve helped and you’re on your way to creating a quality screen recording your friends and audience will love.