Video editing. It sounds simple enough, doesn't it? Just trim a few clips, add some transitions, and you're done. But if you've ever sat down to create a polished video, you know it's rarely that straightforward. Whether you're about to launch a YouTube channel or produce professional content for your business, video editing can quickly become overwhelming.
That's where this guide comes in. We're going to break down everything you need to know about video editing, step-by-step.
How to edit videos: step-by-step guide for beginners
1) Choosing the right video editing software
When you’re just starting out, picking the right video editing software can make a huge difference. You want something that’s easy to use, doesn’t overwhelm you with too many options, and still lets you create something that looks great. That’s where user-friendly software comes in.
For beginners, Podcastle is a great choice. It’s designed to be simple and straightforward, so you can drag and drop, start editing instantly, and focus on making your video look good without getting lost in complicated features. Plus, Podcastle is also a powerful AI tool for video editing, packed with AI-powered features that help you blur backgrounds, remove background noises, and automatically resize with just a couple of clicks. In other words, it’s the best choice for everyone who’s just starting.
2) Setting up your workspace
A well-organized editing workspace is crucial for staying efficient and focused. If your workspace is cluttered or disorganized, it’s easy to get lost.
Here’s how to set up your digital workspace for a smoother editing process:
- Organize your digital files: Keep your video clips, audio files, and other assets neatly arranged in clearly labeled folders. This helps you quickly find what you need without wasting time searching through a mess of files.
- Customize your software layout: Most video editing software allows you to tailor the workspace to your preferences. Arrange your tools, timelines, and preview windows in a way that feels natural to you. This customization can streamline your workflow and make the editing process more intuitive.
- Prioritize your key tools: Identify the tools and features you use most often and position them in easily accessible spots. This reduces the time spent searching for the right tool and helps you stay focused on your project.
Finally, working with software that offers an intuitive interface can make a world of difference, especially for beginners. A user-friendly layout allows you to navigate through the editing process without feeling overwhelmed, making the entire experience more enjoyable. That’s why we suggest going for software that's as intuitive as possible so that it’s already clean and organized for you.
3) Basic editing techniques
Editing is where your video truly starts to take shape. It’s the stage where you can turn raw footage into something engaging and polished. So let’s dive into some key techniques that will help you create a professional-looking video (even if you’re just starting out.)
Step 1: Choose your shots
One of the first steps in editing is choosing the right shots. Go through your footage and pick the best clips that tell your story or convey your message. This is your chance to be selective—only keep the shots that add value to your video. Remember, quality over quantity is key here. With Podcastle, selecting and organizing your shots is a breeze, thanks to its intuitive interface.
Step 2: Cut and crop your videos
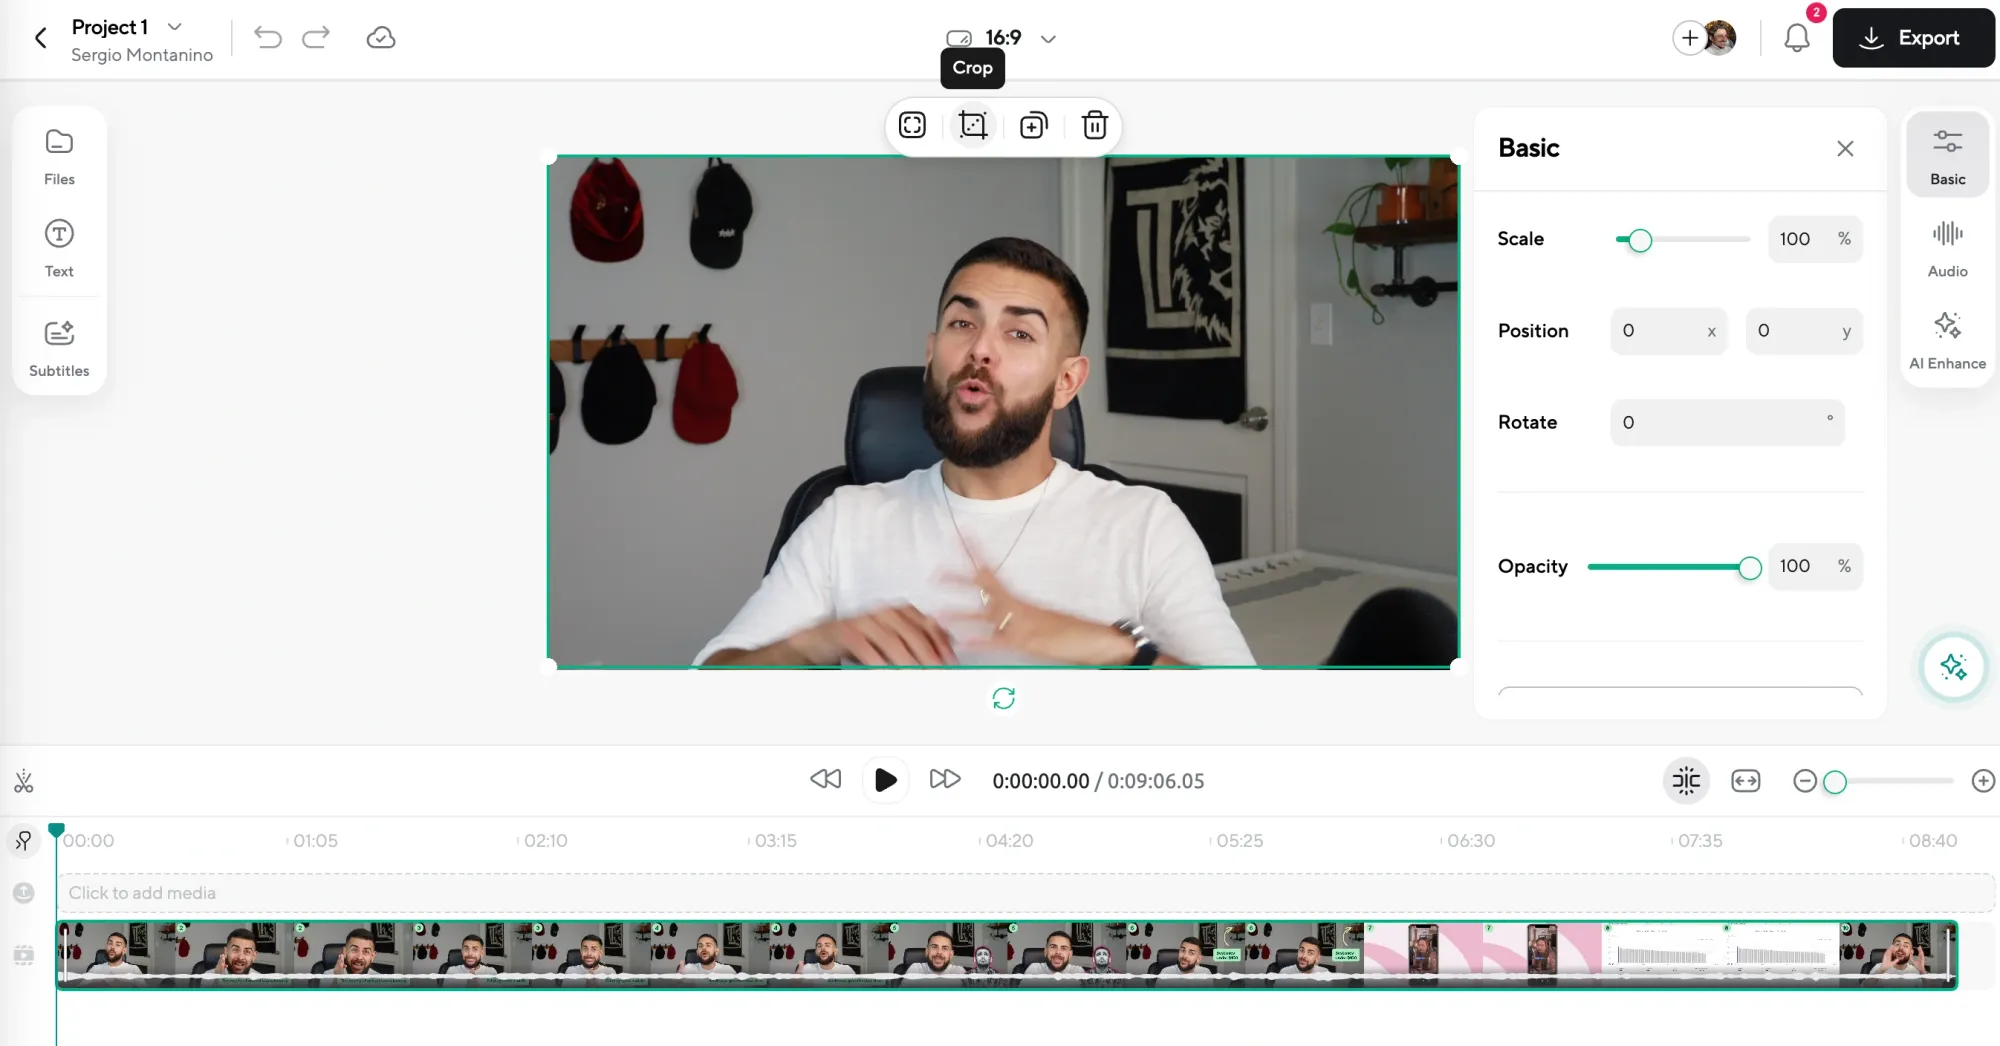
Once you’ve chosen your shots, it’s time to refine them. The basics of editing start with the ability to cut video clips down to just the parts you want. Whether you need to remove unnecessary sections or trim video clips to fit your narrative, cutting is essential. Alongside this, you can crop video clips to focus on specific areas of the frame, ensuring your audience’s attention is exactly where you want it.
Transitions play a crucial role in making your edits feel smooth and natural. Instead of abrupt changes, try adding a simple fade or dissolve between clips to keep your video flowing seamlessly. Podcastle simplifies these processes, allowing you to cut, trim, and crop video clips effortlessly while adding transitions that enhance your video’s visual appeal.
Step 3: Add effects
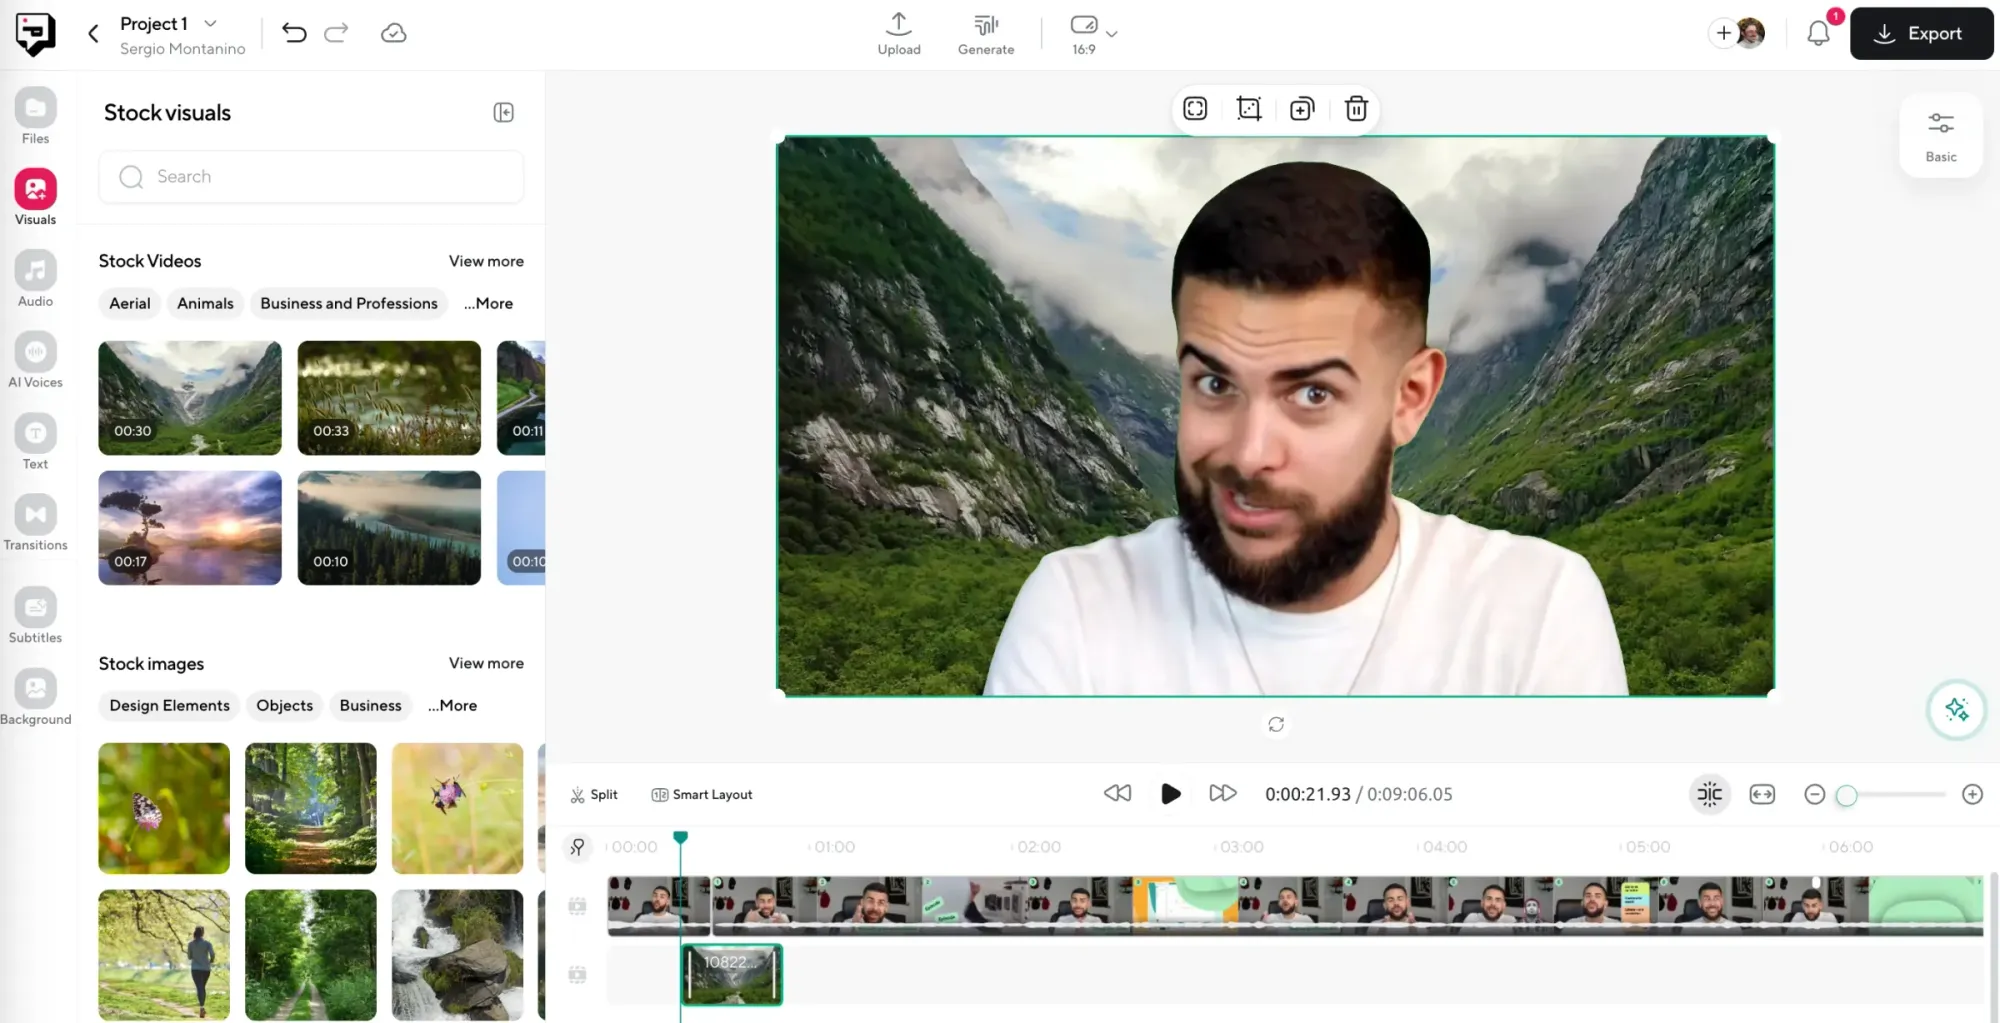
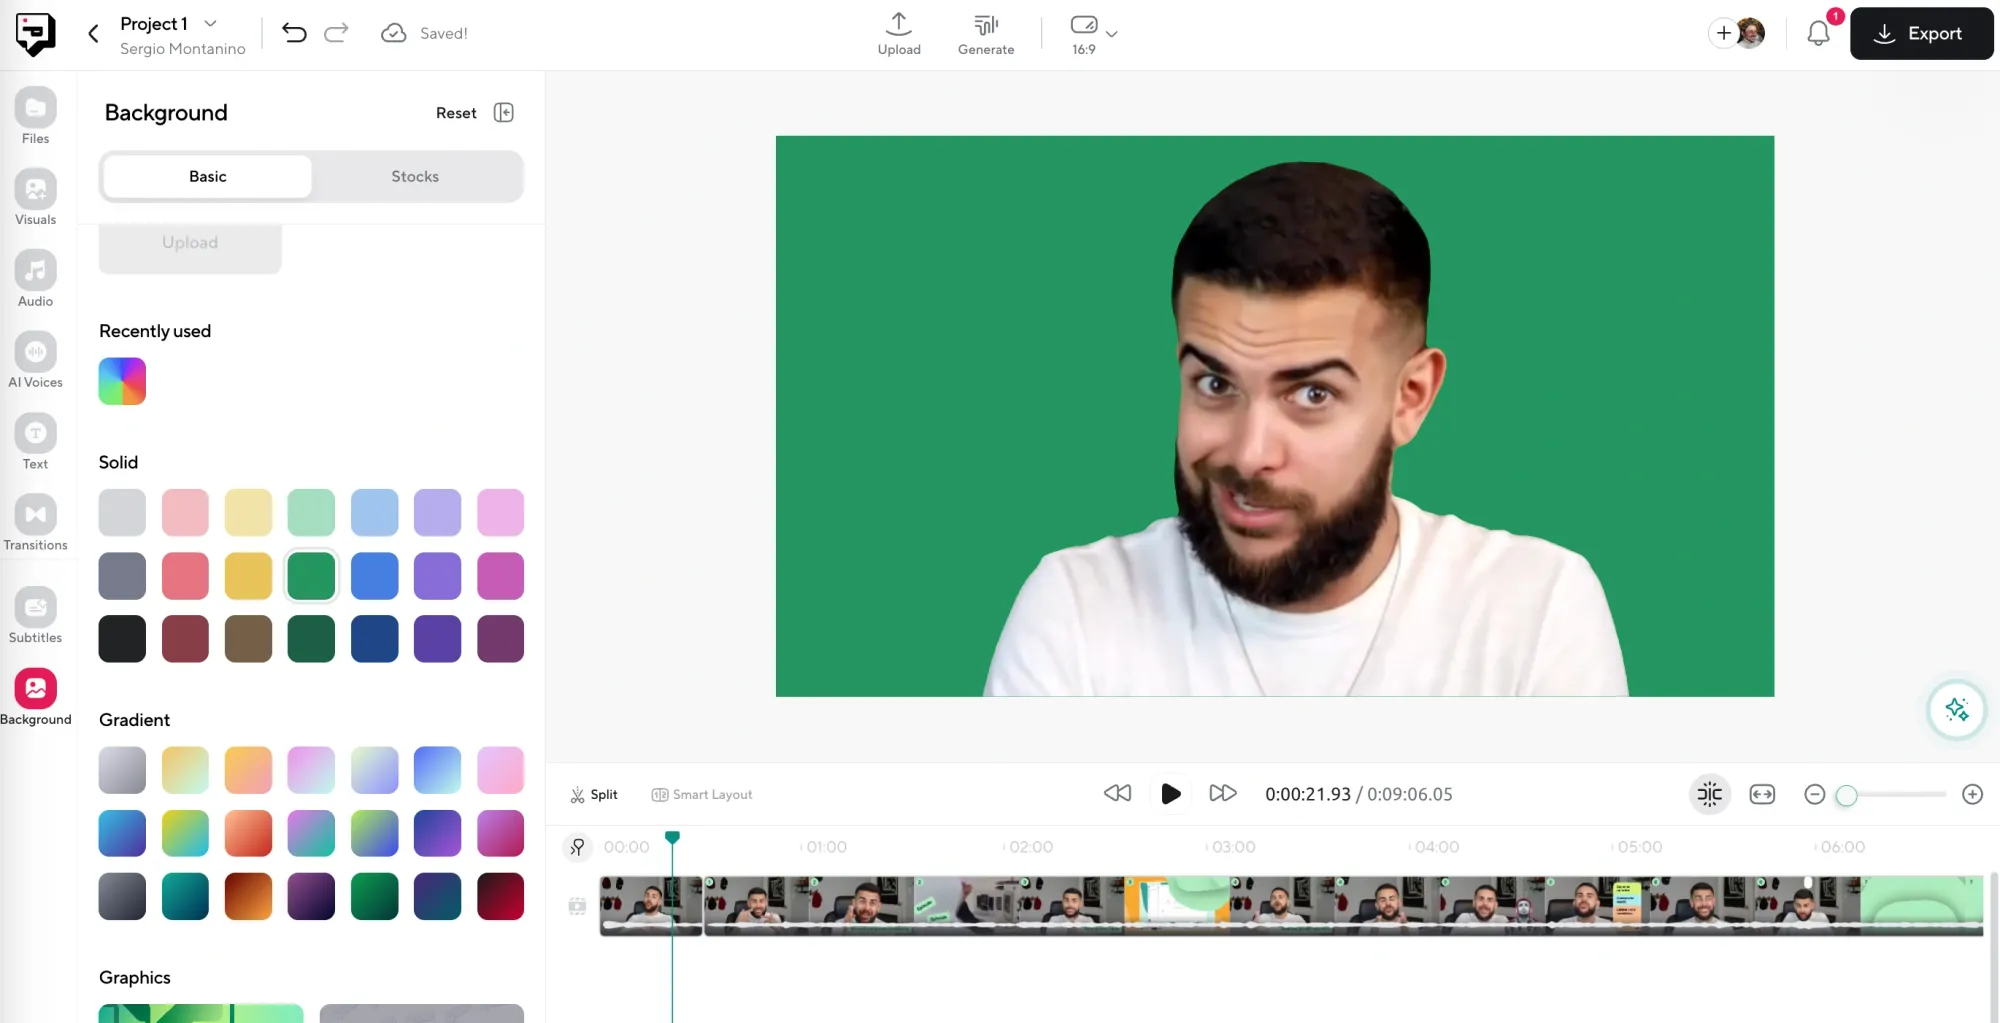
A great way to make your video more engaging is by incorporating effects that enhance its overall look and feel. Effects like color grading, filters, different backgrounds, and visual enhancements can add depth and style to your footage, making it more captivating for your audience. For instance, adjusting the color tones can set the mood of your video, while filters can give it a unique, polished appearance.
4) Enhancing audio quality
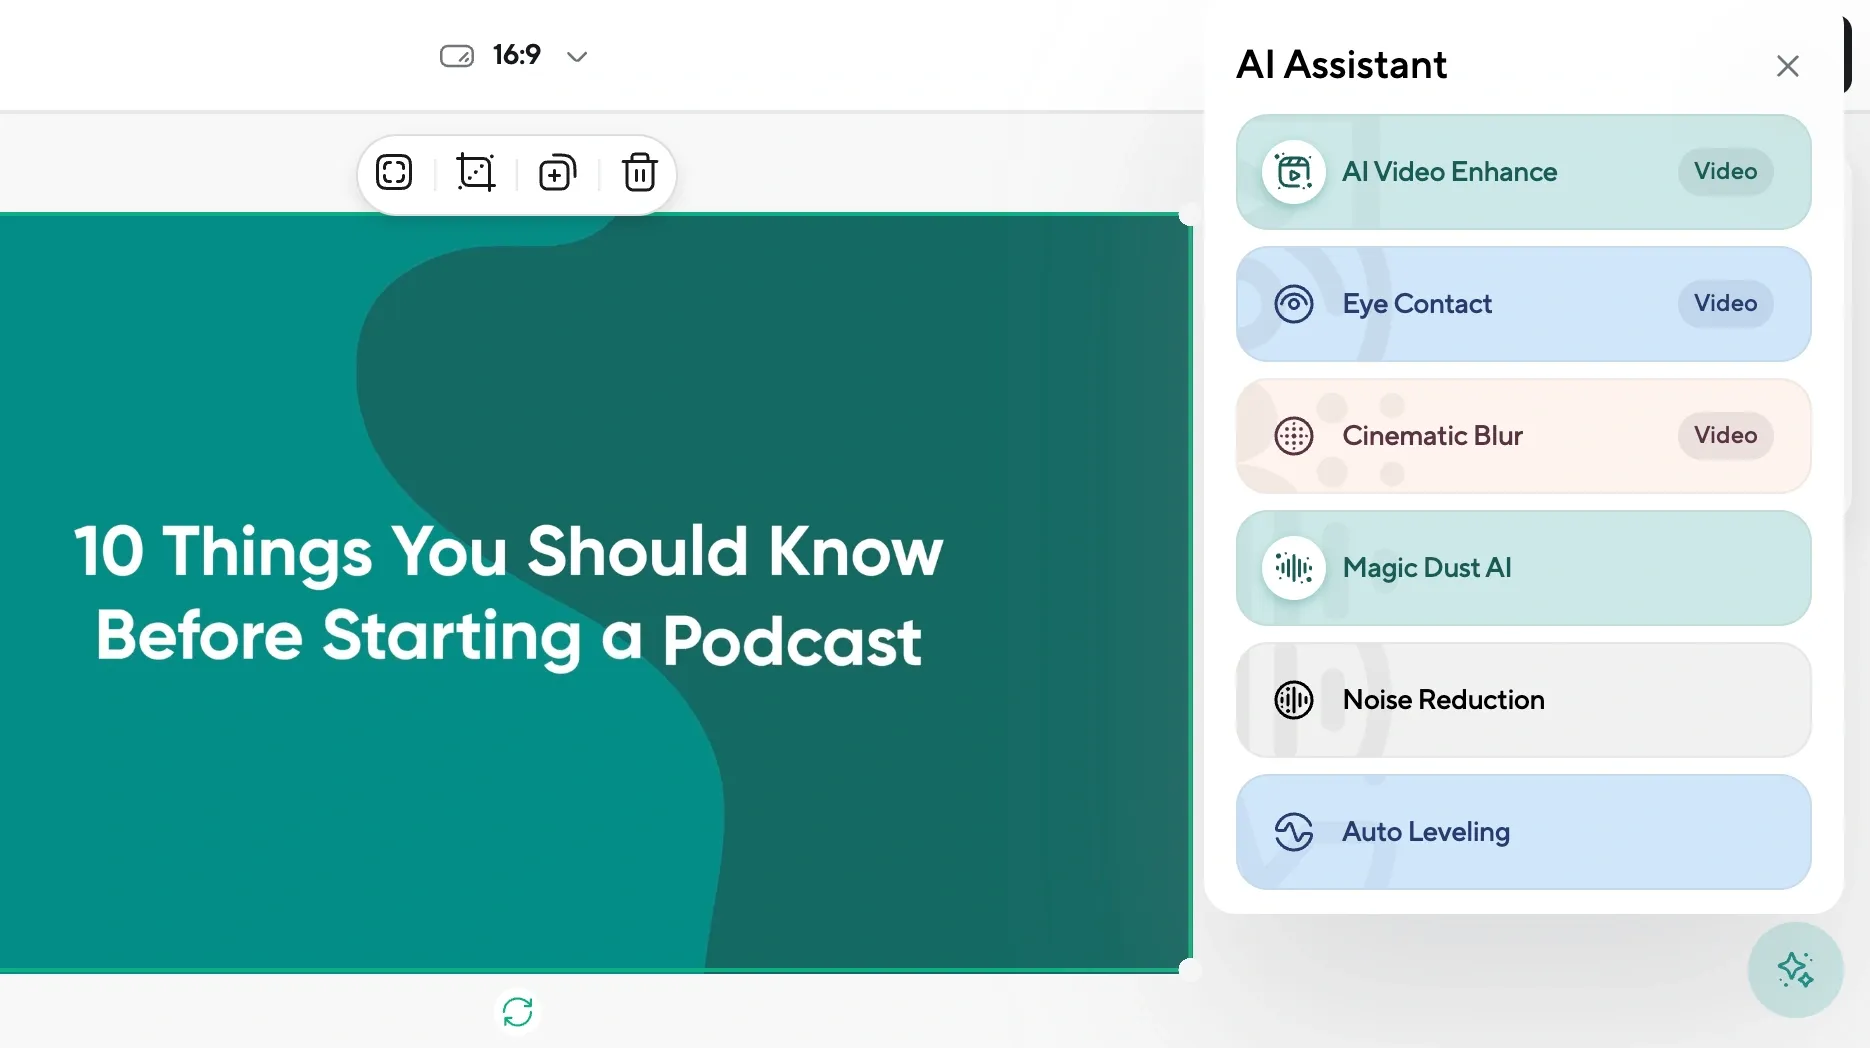
Good audio is just as important as great visuals in video production; it can truly make or break your project. Nobody wants to watch a video with muffled sounds or distracting background noise. Making sure your audio is clear and professional is key to keeping your audience engaged.
To enhance your video’s audio quality, focus on balancing audio levels for a consistent listening experience and eliminating any background noise that could distract viewers. With these simple tips, you’ll be well on your way to creating videos that sound as good as they look.
5) Add subtitles to your video
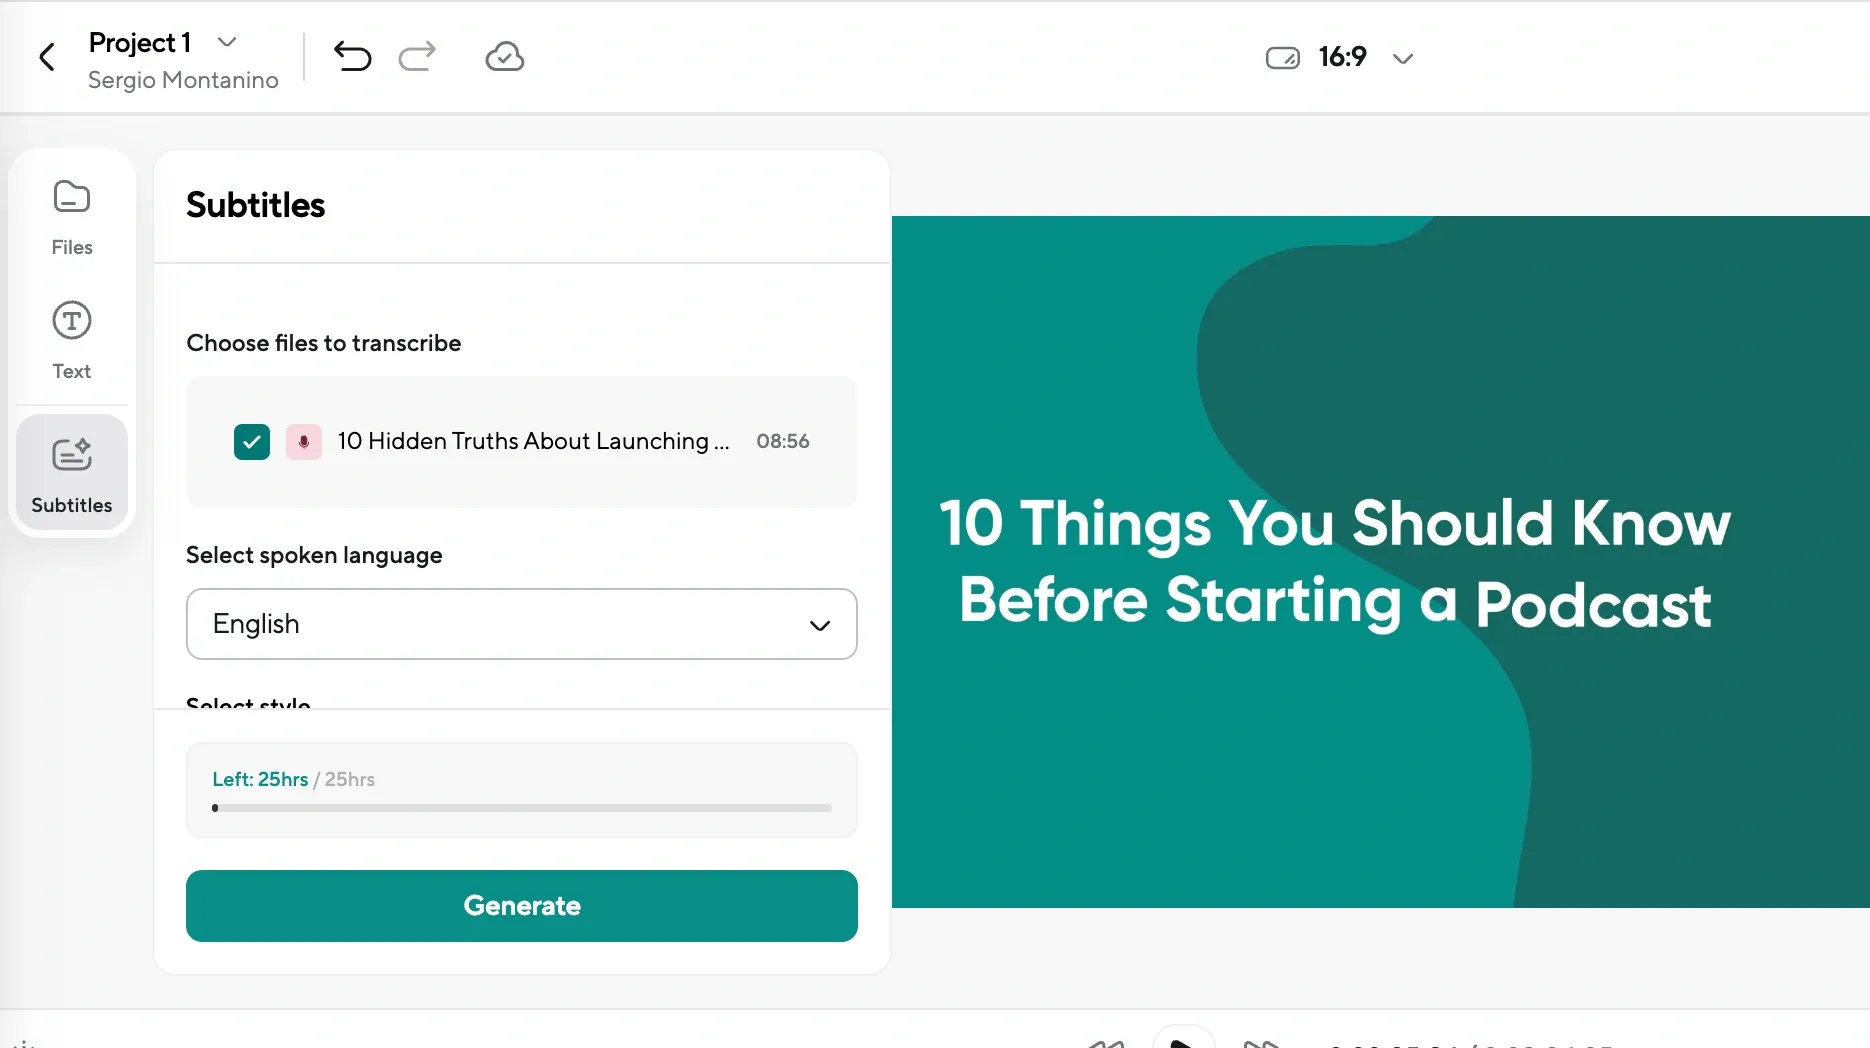
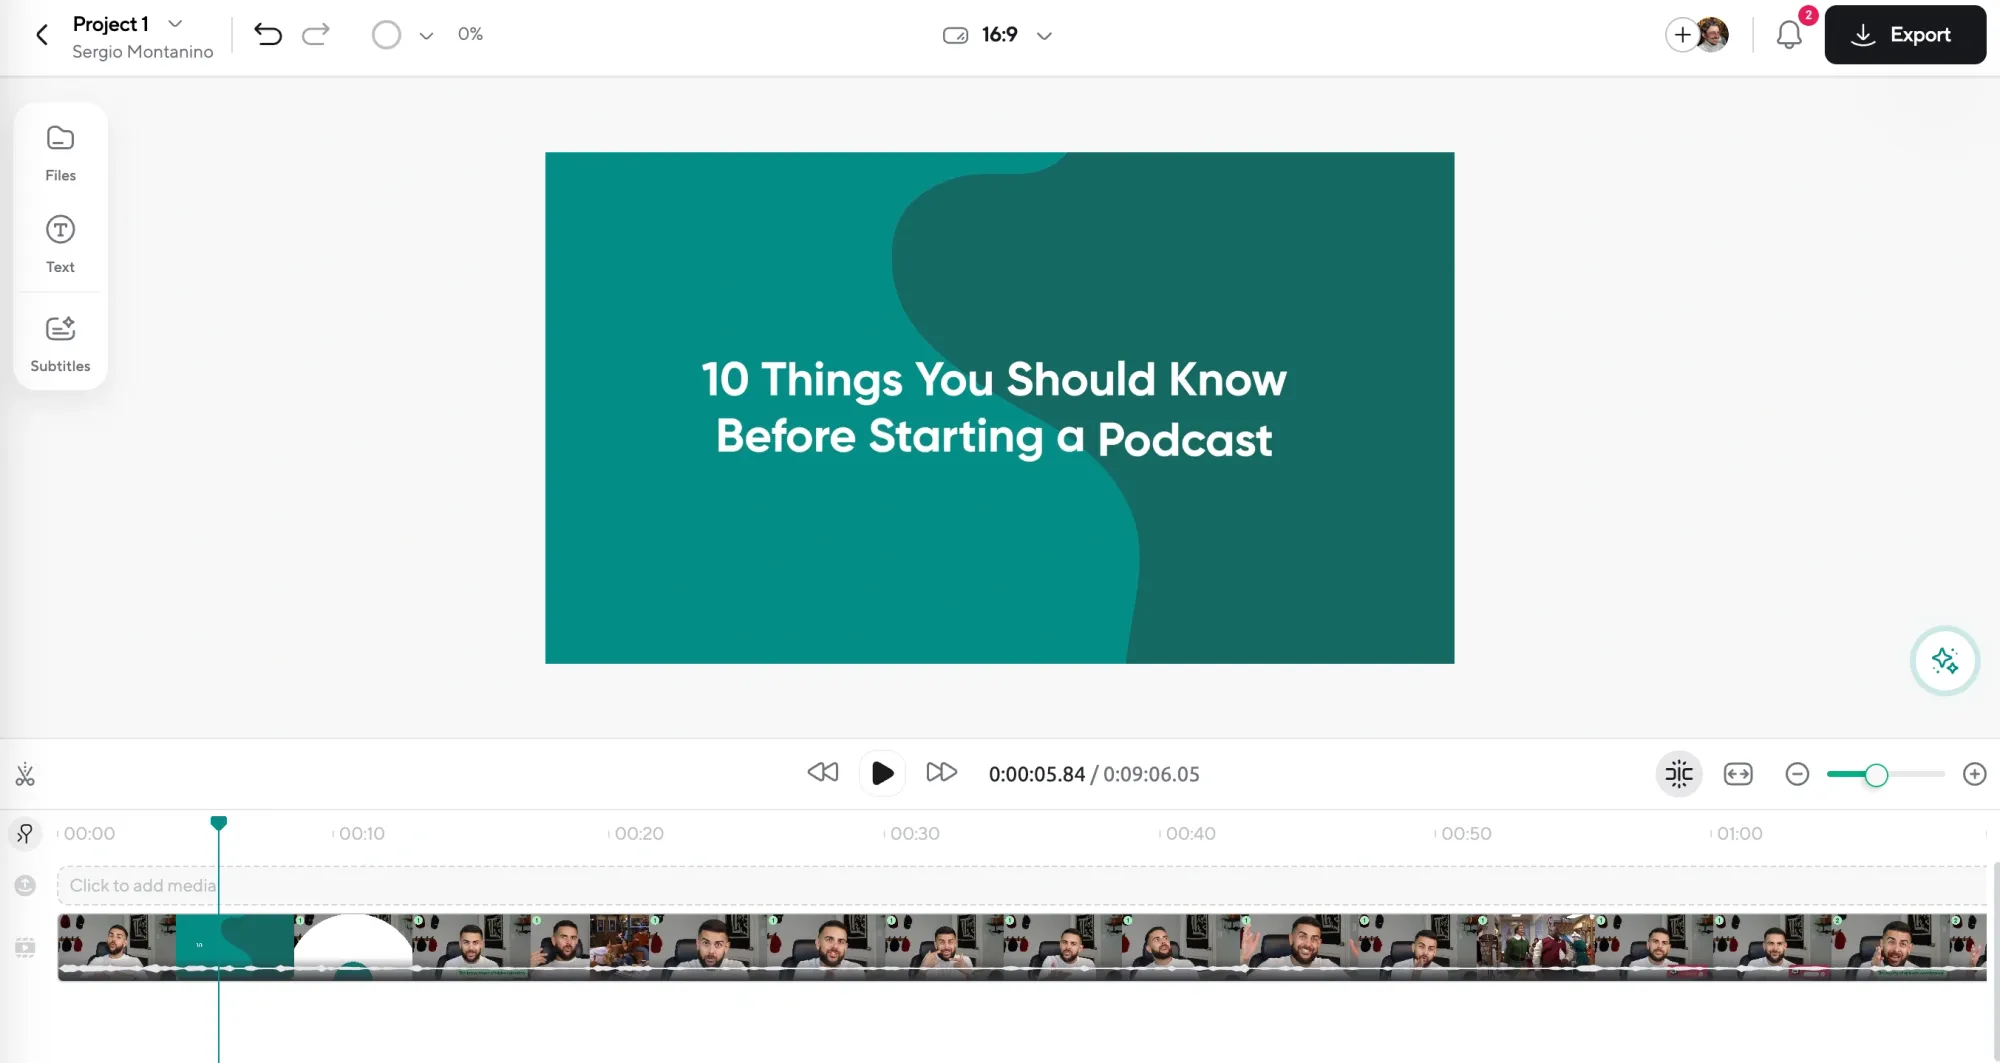
Adding text overlays can significantly enhance your video by providing titles, captions, and additional context for your audience. Whether you want to highlight key points, add a catchy title, or make your video more accessible with subtitles, knowing how to effectively incorporate text is essential. Simply choose the right spots in your video where the text will complement your visuals, and make sure it’s easy to read.
If you're looking for a hassle-free way to generate subtitles, Podcastle’s caption tool is a great option. It accurately creates subtitles with minimal effort, making it easy to add that professional touch to your videos. With this tool, you can rest assured that your content is accessible to a wider audience, all while keeping the editing process simple and straightforward.
6) Advanced video editing tips for a professional look
Once you’ve got the basics down, it’s time to explore some advanced editing techniques that can take your videos to the next level. These tools and features can help you achieve a more polished and professional look:
- Color grading: Adjusting the colors in your video can set the mood and enhance the overall visual appeal. Experiment with different color palettes to find the vibe that best suits your content.
- Keyframing: This technique allows you to create dynamic movements by setting specific points for effects or animations. It’s perfect for adding a little flair to your transitions or text.
- Motion graphics: Adding motion graphics can bring your videos to life and make them more engaging. Use animated text, logos, or graphics to emphasize key points and keep your audience’s attention.
- Layering audio: Layering different audio tracks can create depth and interest in your sound design. Consider adding background music or sound effects to complement your primary audio.
- Transitions: While basic transitions are great, exploring more complex ones like wipes or 3D effects can add a unique touch to your edits.
Don’t hesitate to experiment with these techniques as you grow more comfortable with editing. Over time, you’ll discover what works best for your style and learn how to make your videos stand out even more!
7) Exporting your final video
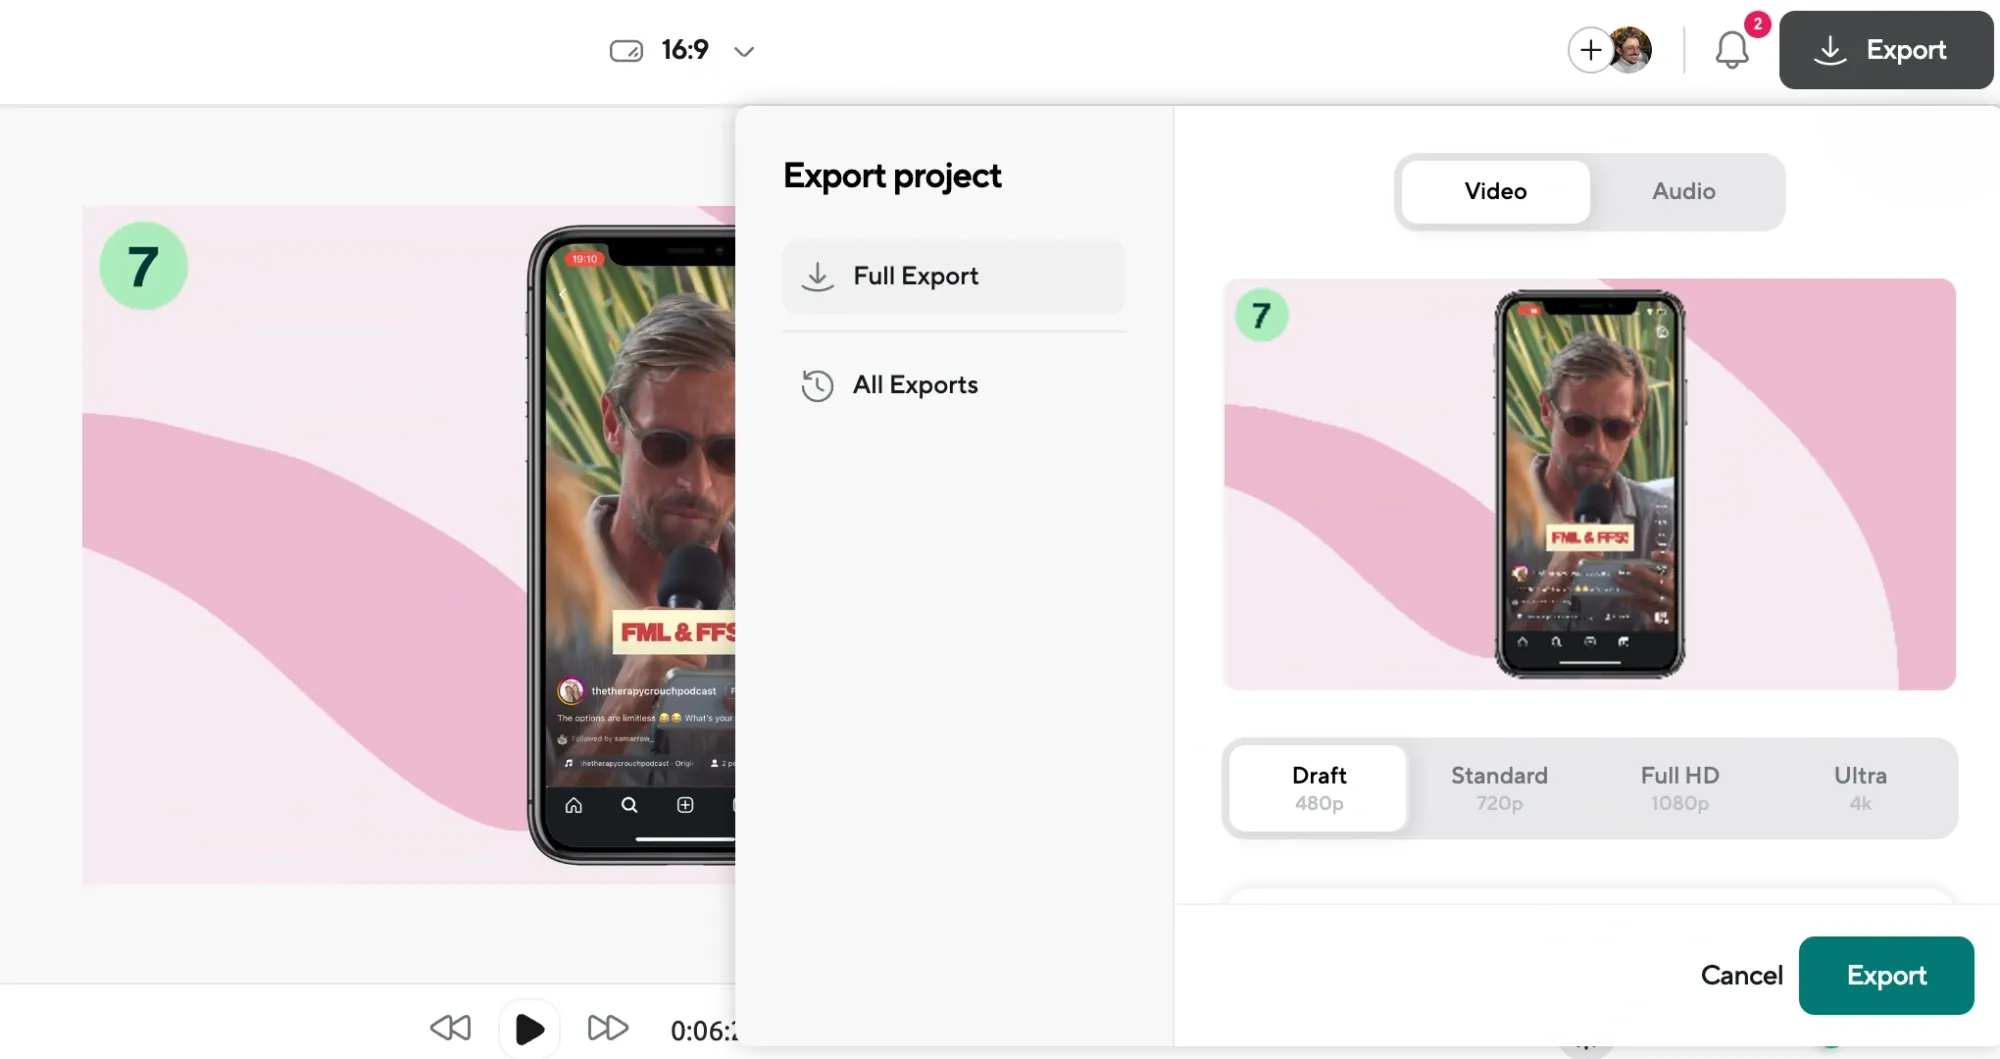
Once you’ve finished editing your video, it’s time to export it so you can share it with the world! Start by selecting the right format and resolution based on where you plan to post your video. For example, if you’re looking to edit videos for YouTube, go for a high-resolution format like MP4 for the best quality. On the other hand, if you’re sharing on Instagram, you might want to choose a smaller size that fits their specs. Don’t forget to check any specific requirements for the platform you’re using to make sure your video looks great when it goes live.
How to edit videos for social media
Talking about social media, if you mainly make content for social media platforms, you can focus on learning how to practice editing videos for your specific platform. Here are some video editing tips for YouTube, TikTok, and Instagram.
1) How to edit videos for TikTok
When it comes to TikTok, the key is to keep your videos short, fun, and engaging. Since TikTok is all about quick hits of creativity, focus on grabbing your audience's attention right from the start. Here are some tips to help you edit videos specifically for TikTok:
- Use trendy sounds: Incorporating popular sounds or music can help your videos catch on. Check the trending section for ideas that fit your content.
- Add text and stickers: Text overlays and fun stickers can make your videos pop and add context or humor. Just keep it simple and relevant.
- Experiment with effects: TikTok offers a variety of effects and filters. Don’t be afraid to play around and find what enhances your video without overwhelming it.
Make sure to keep your edits snappy, as TikTok videos should ideally be between 15 and 60 seconds. The quicker you can get your point across, the better!
2) How to edit videos for Instagram
When editing videos for Instagram, it’s essential to consider the platform's visual aesthetic. Instagram users appreciate high-quality visuals, so focus on making your videos look polished and appealing. For regular posts, a square format (1:1) works best, while stories and reels can be in portrait mode (9:16). This way, your content will fill the screen and grab more attention.
Since many users watch videos without sound, adding captions can help convey your message. Make sure they're clear and easy to read, as this will make sure that viewers can follow along regardless of whether they have the sound on. Additionally, storytelling is key on Instagram. Whether you're sharing a quick tip or giving a behind-the-scenes look, engaging your audience from the first few seconds can make a big difference.
Instagram videos should be concise, ideally around 30 seconds for feed posts and up to 60 seconds for reels. Focus on creating visually stunning content that resonates with your audience!
3) How to edit videos for YouTube
Editing videos for YouTube requires a bit more depth, as viewers expect longer, more informative content. Here, you can take your time to explore topics and provide value to your audience. Consider these tips to enhance your YouTube videos:
- Create a hook: Start with a strong introduction that captures attention. Use engaging visuals or ask a thought-provoking question to draw viewers in.
- Add B-roll footage: Incorporating additional footage can make your content more dynamic. Use B-roll to illustrate points or add context, keeping your viewers engaged.
- Include calls to action: Remind viewers to like, subscribe, and comment. This interaction can help build your community and keep viewers coming back.
YouTube videos can range from 5 to 20 minutes, so feel free to explore topics in-depth. Just remember to keep your edits clean and purposeful to maintain viewer interest throughout!
Final thoughts
Although it can feel overwhelming in the beginning, the truth is video editing is a skill that anyone can learn with the right tools and a bit of practice. Don't be afraid to experiment and find your unique style as you start creating engaging content. With each video you edit, you'll grow more confident and discover new ways to express your creativity. And with the help of AI editing tools like Podcastle, your job is practically cut in half (maybe even more!)