Most people don’t think about file size until it’s too late. You try to upload a video and get hit with an error message. You attach a clip to an email and find it’s too large to send. You save a few short recordings to your phone, and suddenly you’re out of space.
The problem usually isn’t the length of the video. It’s the size of the file.
Modern cameras and phones are great at capturing detail, but they also create bloated files by default. A few minutes of footage can turn into gigabytes, especially if you’re recording in high resolution. That’s fine if you’re editing on a high-end machine with unlimited storage, but most of us are working with limits.
Video compression solves this. It lets you shrink your video without ruining it, so you can upload faster, store more, and avoid wasting time on failed transfers.
In this guide, you’ll learn exactly how to compress your video, step by step, using methods that work across devices and platforms.
Table of Contents
– What is Video Compression?
– How to Compress a Video File: 8 Different Ways
– Zip the File
– Converting the File Format
– Lower the Resolution
– Trim Footage
– Crop Footage
– Lower the Frame Rate
– Adjust the Video Bitrate
– Use an Online Compression Tool
– How to Compress Videos with Podcastle
– How to Compress a Video on Any Device
What Is Video Compression?
Video compression is the process of making a video file smaller by removing data that isn’t essential. Most of the time, this is done in a way that keeps the video looking and sounding nearly the same, so you're not necessarily cutting out frames or deleting whole scenes, but rather just shrinking parts of the file that don’t need to be as large as they are, which could mean the resolution, the file format, and so on.
This is handled by something called a codec, which is short for compressor-decompressor. A codec decides what data to keep and what to discard. It looks for parts of the video that don’t change much, or sounds that can be simplified without affecting how the video feels. The more efficient the codec, the smaller your file can be without a noticeable drop in quality.
You’ll also hear about bitrate, resolution, and file format when talking about compression. Bitrate controls how much data is used per second of video. Resolution is the number of pixels in each frame. File format is the container that holds everything together. Each of these plays a role in the final size of the file.
In simple terms, compression is like packing your video more tightly so it’s easier to store, send, and share. The goal is to keep it looking good while making it easier to work with.
Every Possible Way to Compress a Video File
1. Zip the File
One of the simplest ways to shrink a video is to turn it into a ZIP file. This doesn’t reduce the actual quality or resolution of the video, it just packs the file into a smaller container, the same way you might roll clothes tighter to fit more in a suitcase. The video stays exactly the same when someone unzips it, which makes this method useful for sending files through email or uploading them to storage services with size limits.
Here’s how it works.
On Mac:
- Find the video file in Finder.
- Right-click the file.
- Click Compress.
- Your Mac will create a new ZIP file in the same folder.
On Windows:
- Open File Explorer and find your video.
- Right-click the file.
- Hover over Send to, then click Compressed (zipped) folder.
- You’ll see a new ZIP file appear right next to the original.
PS: Keep in mind, though, that this doesn’t help much if you’re trying to upload a video to social media or reduce streaming time. For that, you’ll want to try one of the other methods in this guide.
2. Convert to a More Efficient Video File Format
Not all video formats are created equal. Some store data more efficiently than others, which means you can shrink the file size just by changing the format without needing to cut the video or lower the resolution. This is one of the best ways to compress a video while still keeping it clean and professional.
The most common format for this is MP4, usually paired with the H.264 or H.265 codec. Both are widely supported and do a good job of balancing file size with quality. If you want to go even smaller, you can try using the newer AV1 codec, which compresses video even more efficiently, though it isn’t supported by every platform yet.
To convert a video, you’ll need a tool that lets you change the format and codec. Free apps like Handbrake, Shutter Encoder, or VLC work well for this. Some video editors also offer this as part of their export settings.
Here’s what the process usually looks like:
- Open the app and load your video file.
- Choose your new format, MP4 is usually a safe choice.
- Select a codec like H.264 or H.265.
- Adjust other settings if needed, like resolution or bitrate.
- Export and save the new file.
Once it’s done, compare the new file size to the original. In most cases, you’ll see a noticeable drop without any visible loss in quality. And because formats like MP4 are supported just about everywhere, your compressed video will be easy to upload, email, or publish right away.
3. Lower the Resolution
Resolution is the number of pixels in each frame of your video. Higher resolutions look sharper, but they also take up more space. If your video was recorded in 4K, for example, it’s going to be much larger than a video in 1080p, even if they’re the exact same length.
The key is to match the resolution to how the video will be viewed. If you’re uploading to YouTube or sharing content on social media, most people won’t notice if you scale your video down a bit. For desktop viewing, 1080p is usually more than enough. For mobile, even 720p can look great.
To lower your resolution:
- Open your video in an editor like Podcastle, iMovie, or Adobe Premiere.
- Head to the export or share settings.
- Look for the resolution or size options.
- Choose 1080p or 720p, depending on where the video will be used.
- Export and save the new version.
You can also crop your video to a square or vertical format, which helps reduce size even further. This works well for Instagram or TikTok, where most people are watching on smaller screens.
4. Trim Unnecessary Footage
The longer your video is, the bigger the file. That might sound obvious, but it’s something people often forget. A few extra seconds at the beginning. A long pause at the end. A part in the middle that doesn’t really need to be there. These all add weight to your file. Cutting them out is one of the easiest ways to bring the size down without affecting quality at all.
You don’t need advanced editing skills to do this. Most basic video editors make trimming simple. If you’re using a tool like iMovie, CapCut, or Podcastle, the process is almost always the same.
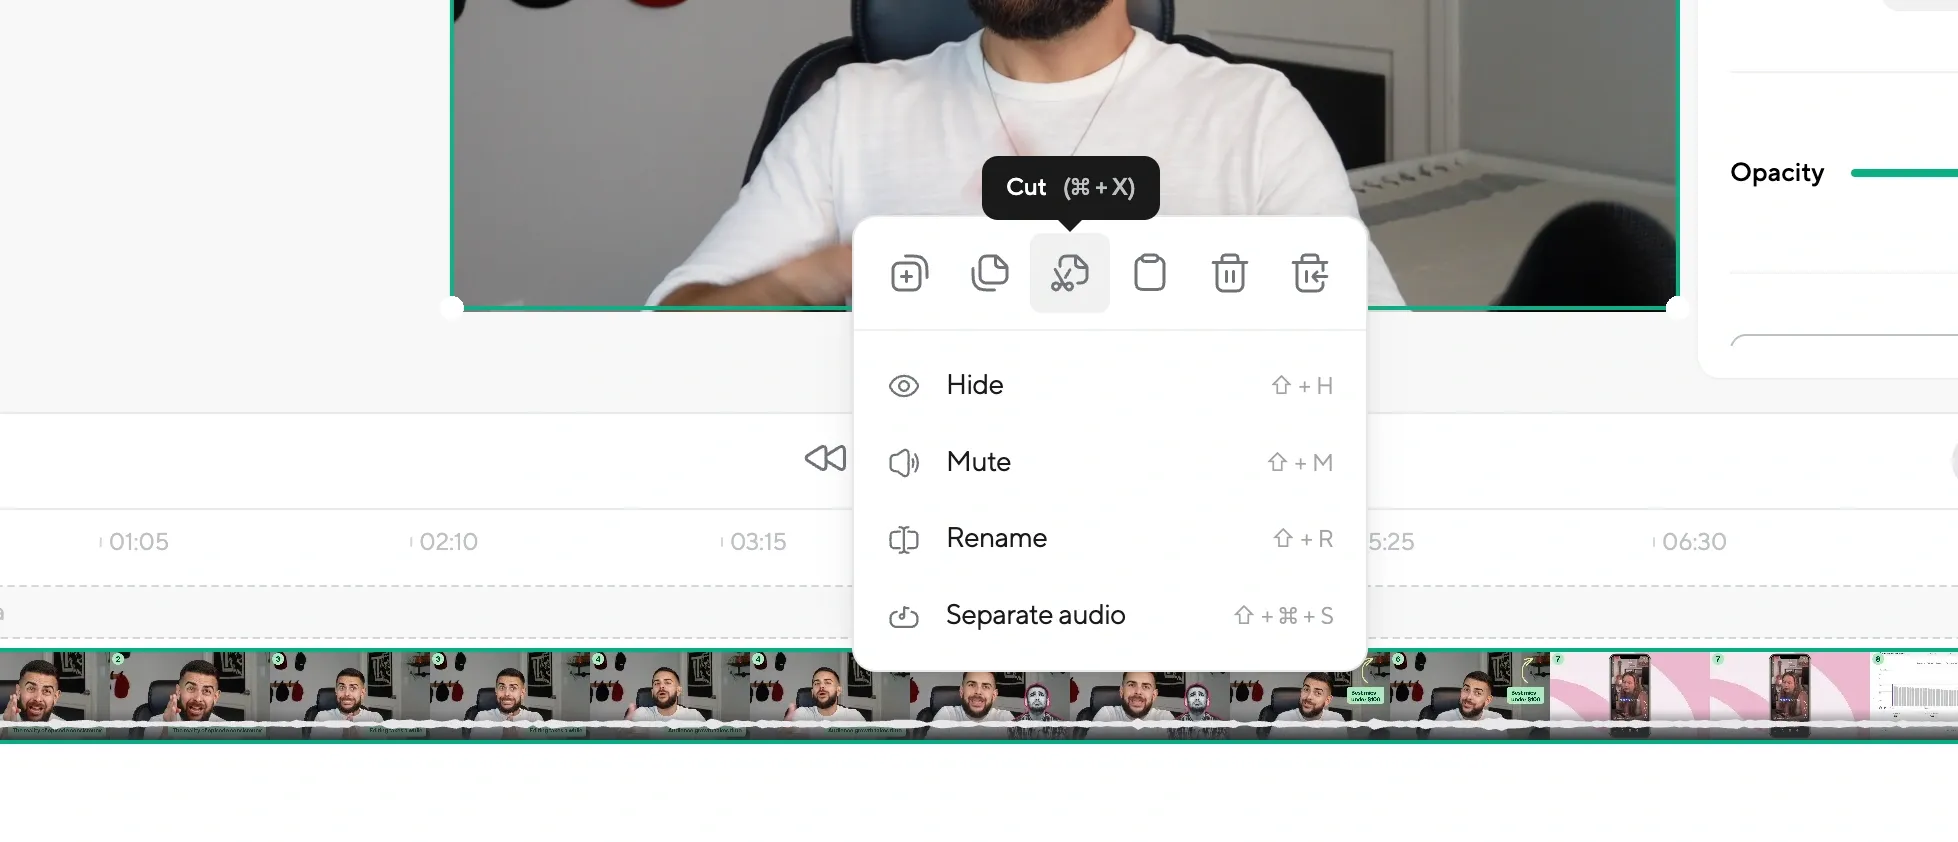
Here's how to trim your video:
- Import your video into the editor.
- Drag the ends of the clip to trim the beginning or the end.
- Use the cut or slice tool to remove any sections you don’t need in the middle.
- Export the edited version and save it as a new file.
The shorter your video, the smaller the file, especially if it was recorded in high resolution. And if you’re compressing for social media, you may not need the full video anyway. Most platforms favor short, sharp clips, so trimming can help you stay within time limits too.
5. Crop the Frame to Remove Dead Space
Sometimes a video includes visual space that doesn’t add anything. That could be black bars on the top and bottom, extra room around the subject, or cluttered areas that aren’t necessary. Cropping those parts out doesn’t just clean up the look of your video—it also reduces the overall dimensions, which helps shrink the file.
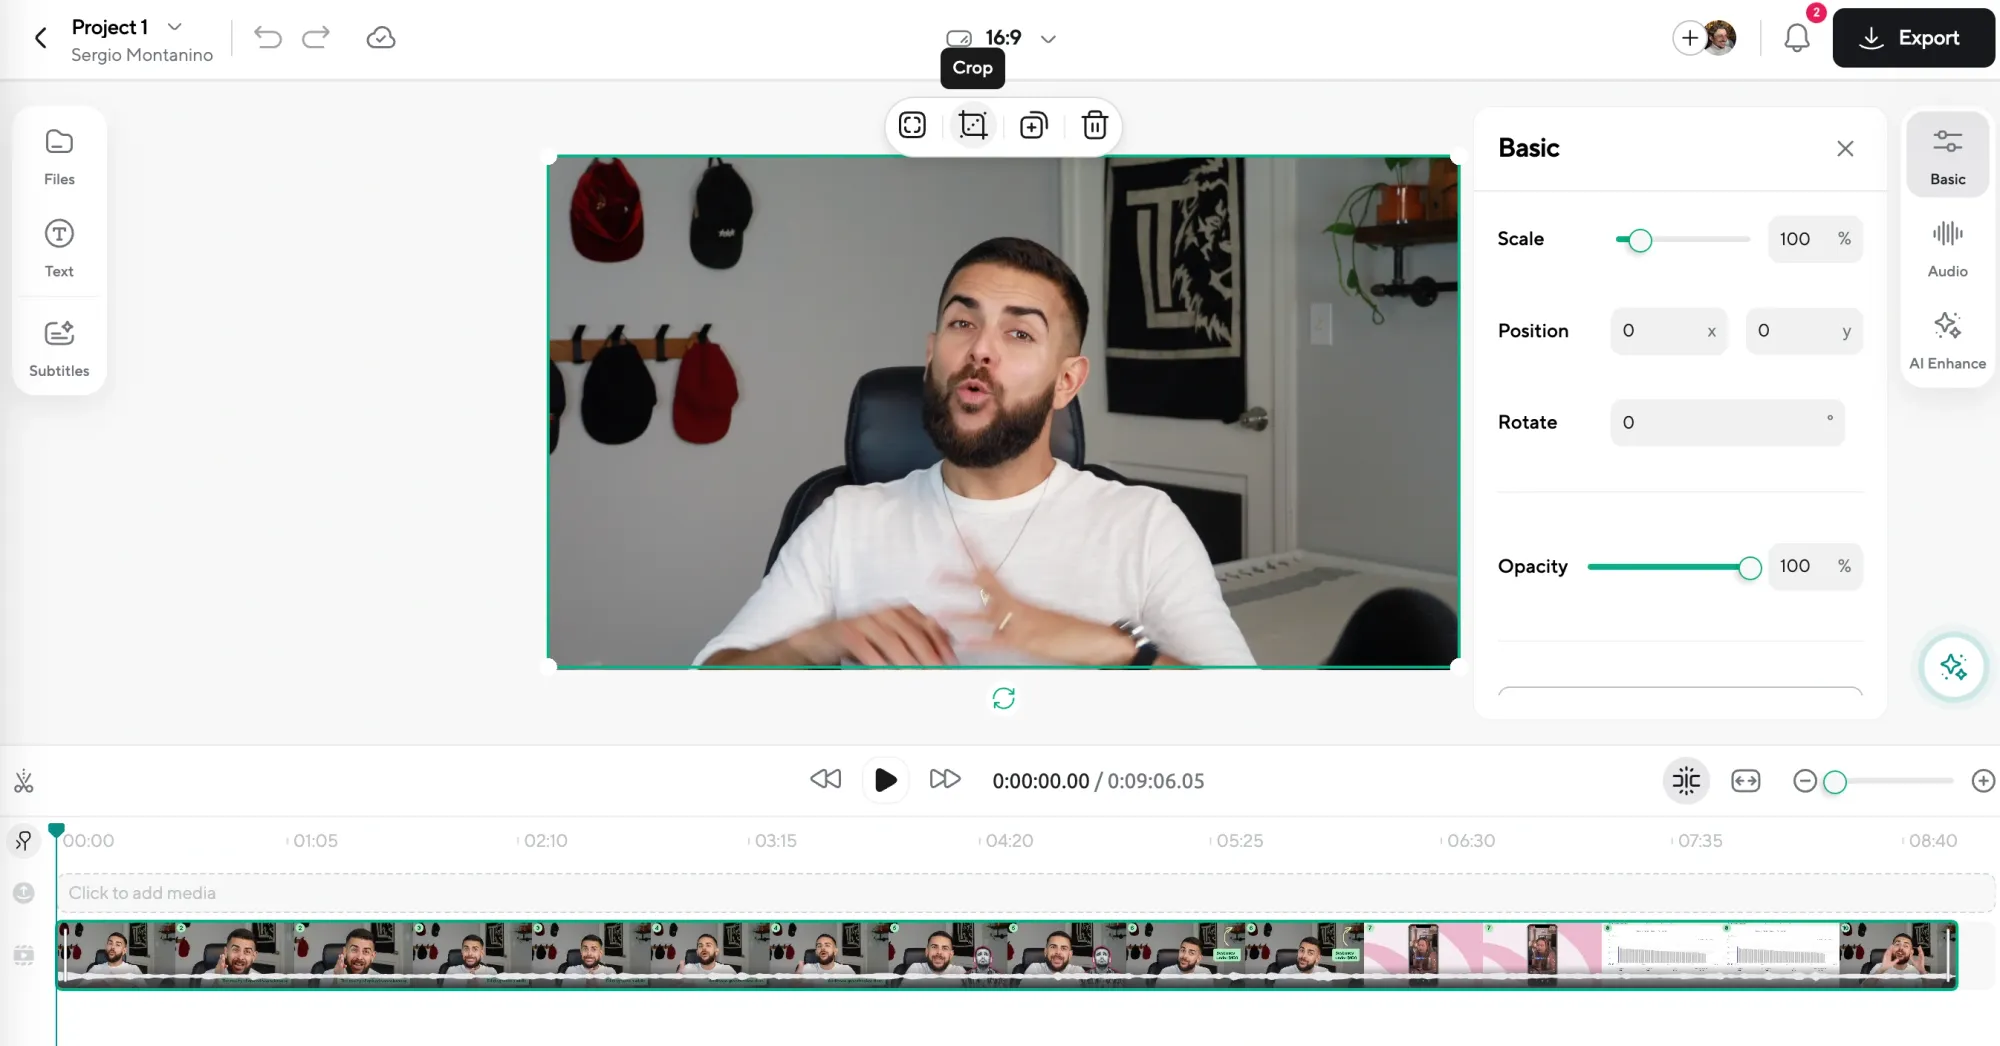
To crop your video:
- Open the file in an editing tool like Podcastle or iMovie.
- Look for a crop or resize option in the toolbar.
- Drag the frame inward to cut out any empty or distracting edges.
- Preview the new framing to make sure it still looks right.
- Export and save the video at its new size.
Smaller dimensions mean fewer pixels per frame. That means less data to store, less data to transfer, and a lighter file overall. This is especially helpful for videos going to mobile platforms or social media, where tighter framing often works better anyway.
6. Lower the Frame Rate
Frame rate refers to how many images, or “frames,” your video plays per second. Most videos are either 30fps or 60fps. The higher the frame rate, the smoother the motion—but the tradeoff is a much larger file size. If you’re working with something that doesn’t need ultra-smooth motion, like a screen recording, tutorial, or talking-head clip, you can often cut the frame rate in half without anyone noticing.
Here’s how to lower the frame rate:
- Open your video in an editor like Handbrake, Podcastle, or Adobe Premiere.
- Go to the export or render settings.
- Look for a setting labeled “frame rate” or “fps.”
- If it’s set to 60, bring it down to 30.
- Export and check the new file size.
Just like with bitrate and resolution, a lower frame rate means less data per second, which leads to a smaller file. If your video doesn’t have fast motion, you probably won’t notice a difference in how it looks—but the size savings can be huge.
7. Adjust the Video Bitrate
Bitrate controls how much data is used per second of video. The higher the bitrate, the more detail gets stored—but that also means a much larger file. If you lower the bitrate, the file size drops. The trick is to find a setting that keeps your video looking good without using more data than necessary.
Most video editors let you adjust bitrate during export. Some will let you type in a number, while others give you presets like “low,” “medium,” or “high.” As a general rule, 5 Mbps is a good starting point for 1080p video. If you’re working with 720p, you can drop that to 2.5 or 3 Mbps.
Here’s how to adjust video bitrate:
- Open your video in an editing program like Podcastle or Handbrake.
- Go to the export or render settings.
- Find the section labeled “bitrate” or “quality.”
- Choose a lower bitrate or select a preset that’s designed for web or mobile use.
- Save and export the new version of your video.
If you see an option for variable bitrate, use it. That allows the bitrate to change throughout the video depending on what’s happening on screen, which gives you better quality with a smaller file. You can also select two-pass encoding if your software offers it. It takes longer, but it helps maintain clarity during compression.
8. Use Online Compression Tools
If you don’t want to download new software or mess with complex settings, online video compressors can be a quick fix. These tools run right in your browser, and most of them let you upload a file, adjust a few settings, and download a smaller version in just a few minutes.
Sites like Clideo, FreeConvert, VideoSmaller, and Adobe’s online tools are easy to use and work with most video formats. Some also let you choose the target file size or set the resolution manually.
Here’s how to compress a video online:
- Go to the compression site of your choice.
- Upload your video file.
- Choose your settings. This could include resolution, file size target, or quality level.
- Click compress and wait for it to process.
- Download the new file once it’s ready.
These tools are great for one-off jobs or when you’re away from your main editing software. Just keep in mind that most online compressors have size limits, and some may watermark the output or limit how many videos you can compress per day unless you upgrade to a paid version. Also, avoid uploading sensitive content, since you’re handing your file over to a third-party server.
How to Compress Videos with Podcastle
If you want a fast, reliable way to compress videos without downloading extra software or juggling multiple tools, Podcastle makes the process simple. You can upload any video file, regardless of format or size, and export a smaller version that’s ready to share. Everything happens inside the Video Editor, and the steps are easy to follow, even if you’ve never edited a video before.
Here’s how to compress a video using Podcastle:
1) Upload your video file

Open the Podcastle Video Editor and drag your file into the workspace. You can upload MP4s, MOVs, WEBP, AVI, MKV, and other common formats. Larger files may take a few moments to load, but there’s no strict size limit.
2) Make any edits you need (without losing quality)
If your video has extra footage you don’t want to keep, now’s the time to trim it. You can cut the beginning or end, remove sections in the middle, or tidy things up using Podcastle’s editing tools.
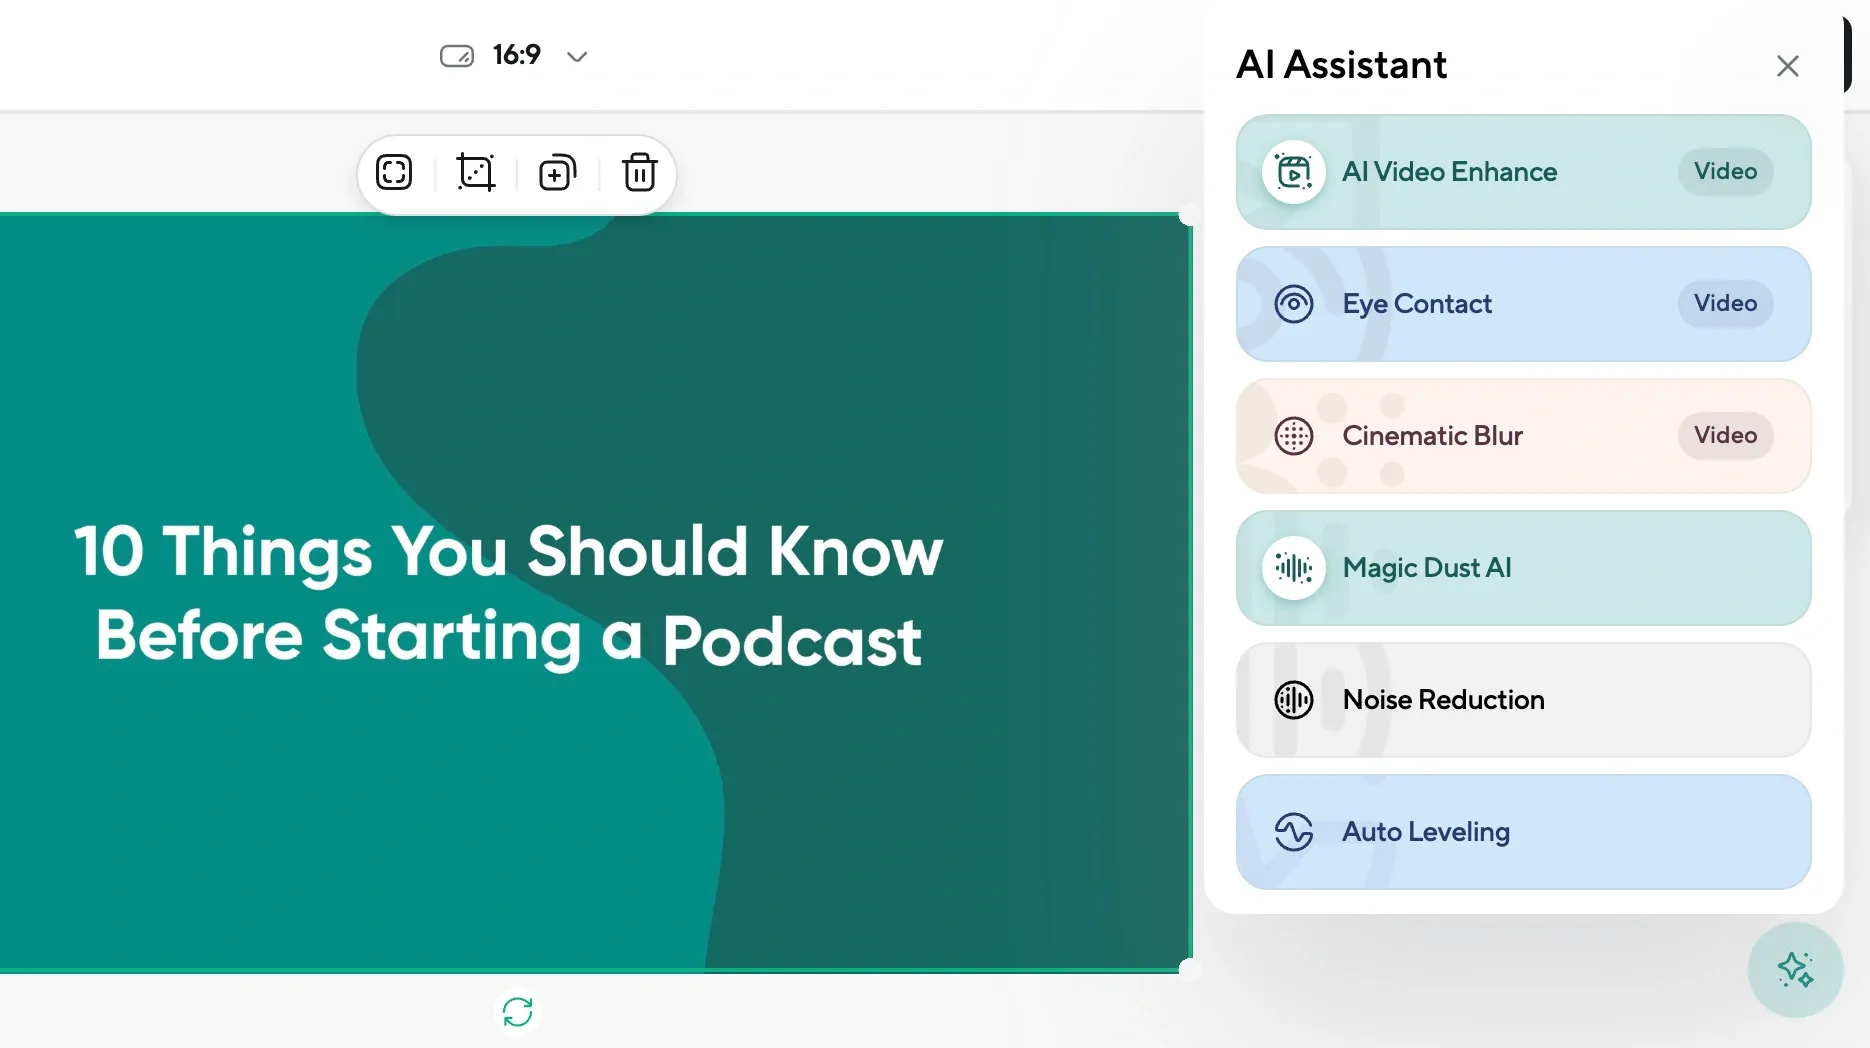
The best part? We have an AI video enhancer. In just one click, you can keep the quality of your footage perfect regardless of which export setting you choose.
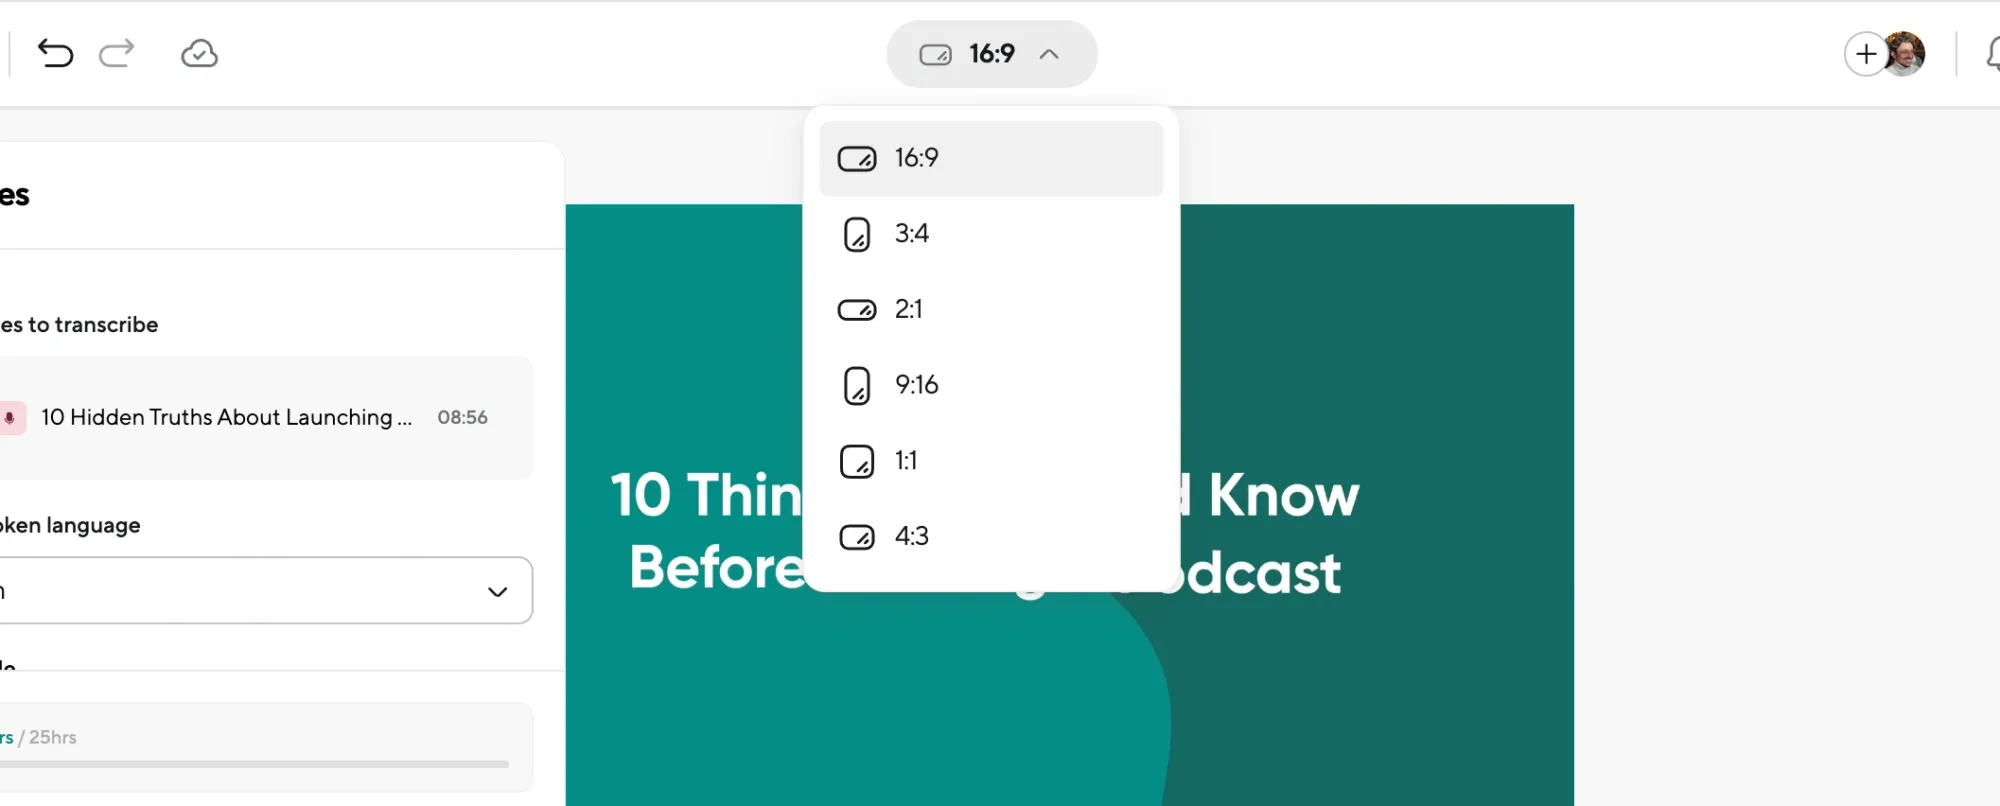
3) Choose your file format and export
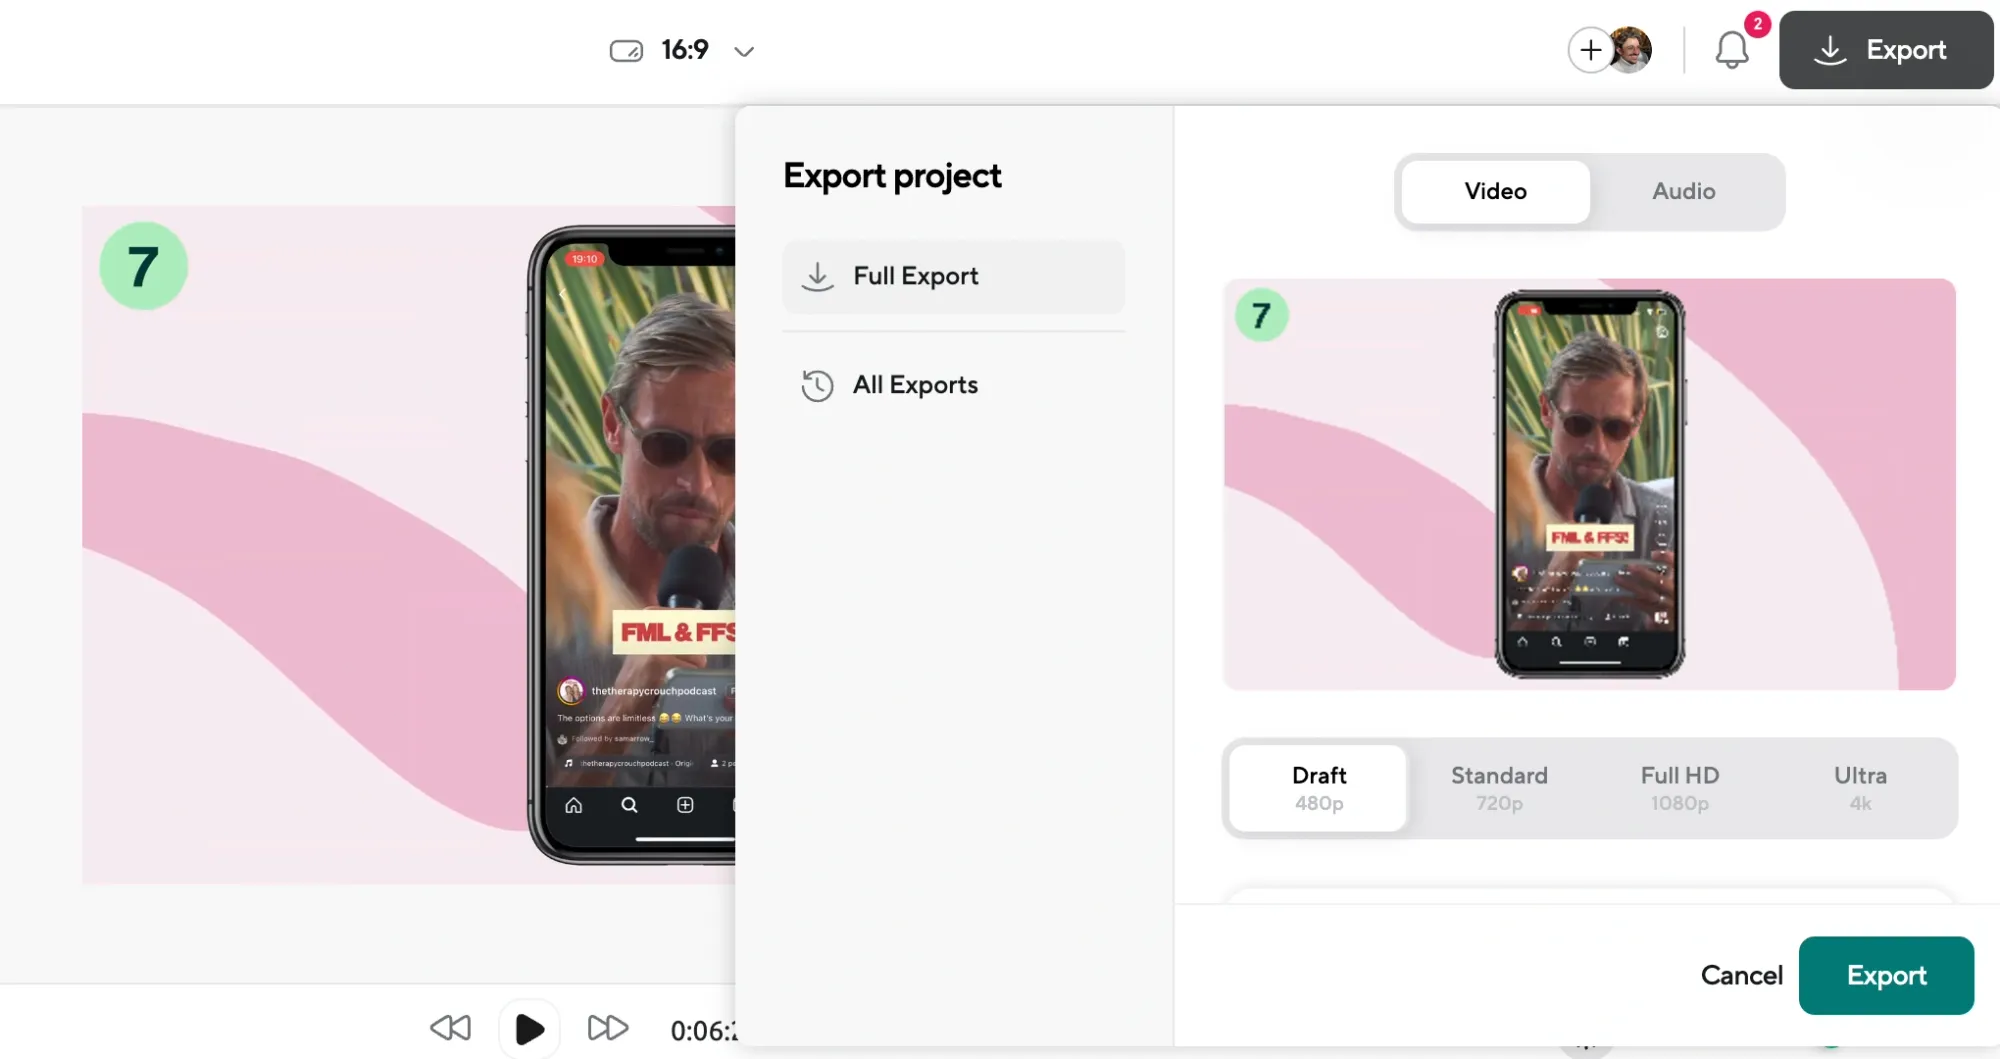
Once your video is ready, click Export. You’ll see options to change the resolution (like 1080p or 720p) and pick a file format. MP4 is a good default for most platforms, but you can choose others depending on where the video will be used.
After setting your preferences, start the export. Podcastle will process the file and prepare a new, smaller version.
How to Compress a Video on Any Device
No matter what device you’re working on, there’s a simple way to compress video files. Whether you’re editing on a laptop or your phone, the goal is the same: make the video smaller without losing too much quality. Here’s how to do it across Mac, Windows, iPhone, and Android.
How to Compress a Video on Mac
If you’re using a Mac, you can compress video files using QuickTime Player or iMovie. Here's how:
QuickTime File Compression
- Open the video in QuickTime.
- Click File > Export As.
- Choose a lower resolution (like 1080p or 720p).
- Save the exported version.
iMovie File Compression
- Open iMovie and create a new project.
- Import your video.
- Trim or crop if needed.
- Click File > Share > File.
- Adjust the resolution and quality settings.
- Export and save the compressed file.
How to Compress a Video on Windows
If you're on Windows 11, the best way to compress video files is through Clipchamp. You can also rely on other handy tools like VLC to get the job done!
Clipchamp (built into Windows 11)
- Open Clipchamp and start a new project.
- Add your video to the timeline.
- Trim or cut as needed.
- Click Export and select a lower resolution.
- Save the new file.
How to Compress a Video on Android and iOS
Smartphones don’t usually include a native video compressor, but there are several trusted apps that get the job done fast. That said, you can use iMovie or Photos to trim and resize your footage.
Option 1: Use a Free App
- Download an app like Panda from the App Store/Google Play Store.
- Open the app and import your video.
- Choose your compression settings, like resolution or target file size.
- Start the compression and save the new version to your camera roll.
Option 2: Use iMovie (for basic trimming)
- Open iMovie and create a new project.
- Add your video and trim anything unnecessary.
- Tap Done, then the Share button.
- Choose Save Video, then select a lower export resolution.
Option 3: Trim in Google Photos
- Open the video in Google Photos.
- Tap Edit, then Trim to shorten the video.
- Save a copy. This won’t compress in the technical sense, but it reduces size by cutting length.
Final Thoughts
Video compression doesn’t need to be complicated. Once you understand what affects file size, things like resolution, bitrate, and frame rate, you can control how large your video is without giving up on quality.
Try a few of the methods above, see what works best for your workflow, and don’t be afraid to experiment with settings until you find the right balance. A smaller file doesn’t have to mean a worse video. It just means a smarter one.
FAQs
Why is my video file size so big?
Large file sizes usually come down to a few factors: resolution, bitrate, frame rate, and video length. If your video was recorded in 4K, uses a high bitrate, runs at 60 frames per second, or is several minutes long, it’s going to take up a lot of space. Certain formats like MOV or AVI are also less efficient than MP4. Even if the video doesn’t look especially complex, the way it was encoded can make a huge difference in how large the final file ends up.
What’s the best format for small video files that still look good?
MP4 with the H.264 codec is still the safest choice for compatibility and decent compression. If your audience is using modern devices and platforms that support it, H.265 or AV1 can shrink files even further while keeping the quality high.
How small can I make a video without it looking terrible?
It depends on how it’s being viewed. For YouTube or desktop viewing, try not to go below 1080p and 5 Mbps unless the footage is very simple. For mobile or social media, 720p and 2.5 Mbps still looks sharp on smaller screens. Always test your output on the device it’ll be viewed on.
Why does my video look blurry after compression?
That usually means the bitrate or resolution was lowered too much during export. Try increasing the bitrate slightly or exporting in a higher resolution. Also check that you’re not using a low-quality preset in your compression tool.
Does uploading a video to YouTube automatically compress it?
Yes. In fact, most social media platforms will compress all uploaded videos to fit their own playback system. However, if your original file is already compressed properly, the result will look better after upload. If your video is too large or unoptimized, YouTube's compression may make it look worse.