Most people will sit through slightly grainy footage if the story pulls them in or the pacing keeps them hooked. But the second the audio is muffled, scratchy, or too quiet to understand, they’re out.
Doesn’t matter if it’s a behind-the-scenes doc, a TikTok, or a product demo. Sound plays a much bigger role in how professional something feels than most people realize.
But there's a simple, quick and easy solution to this. One that takes just a couple of minutes. Here’s how to enhance the audio on your video in three simple steps, plus a few helpful tips in case things go sideways along the way.
How to enhance audio in a video
Your video might sound off if there’s background noise, or the volume’s all over the place. Here's how to use our handy AI audio enhancer to apply fixes to the entire video with one click.
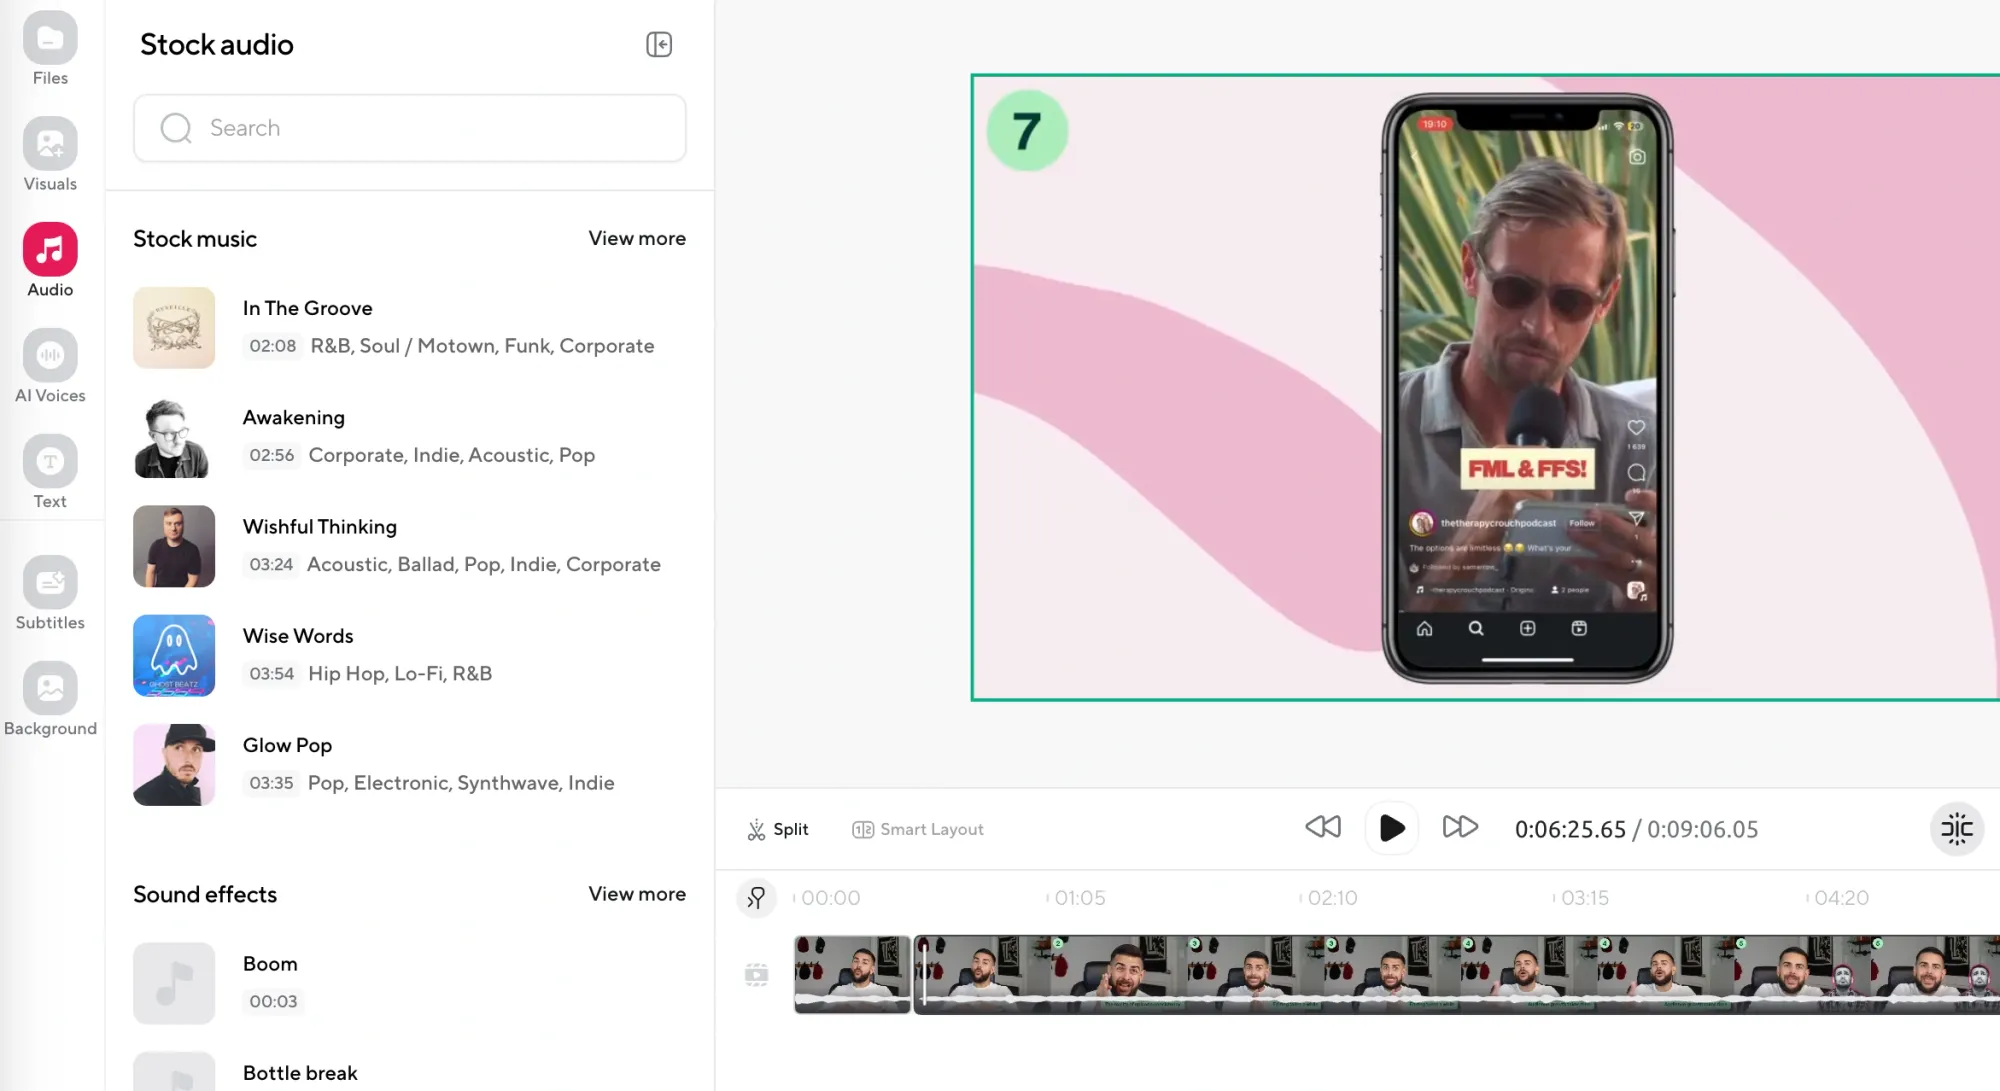
Step 1: Open the video editor and upload your footage
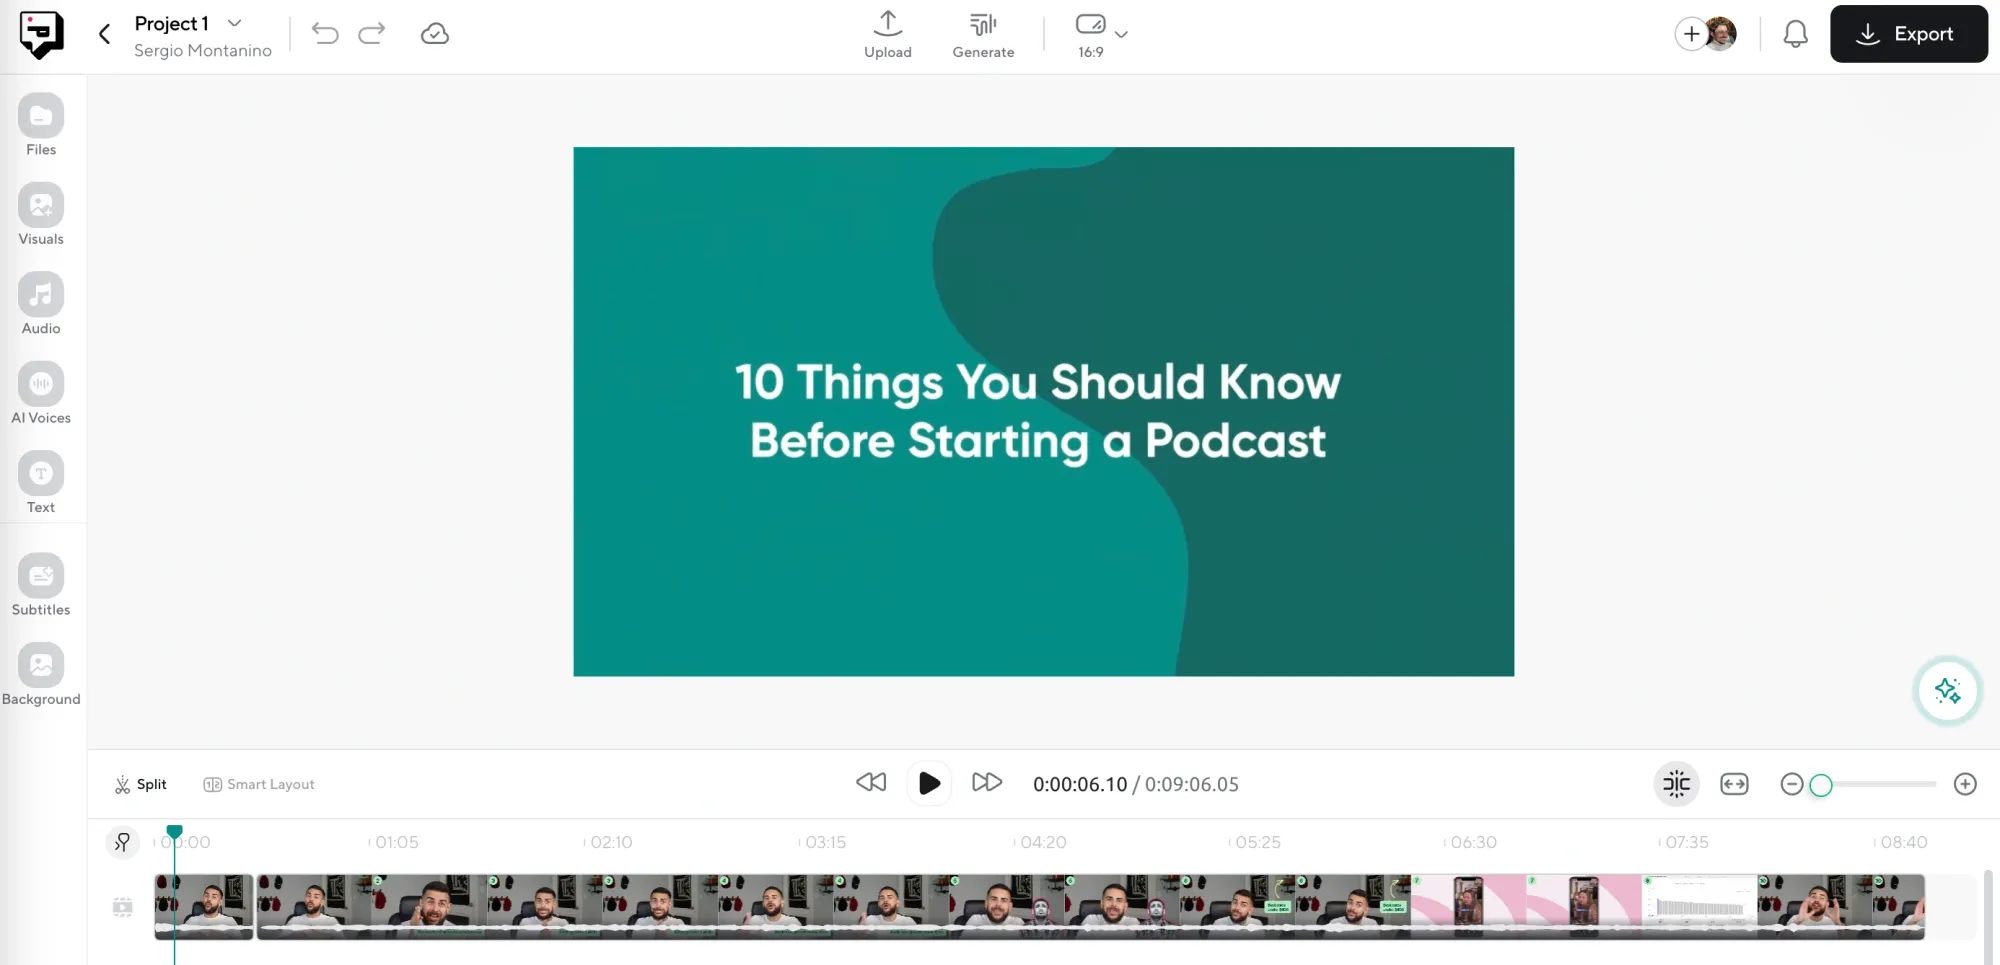
Start by logging into Podcastle and heading to the Video Editor. Once you’re in, upload the video file you want to work on. After it loads, you’ll see both the video and its audio waveform, which is where the magic starts to happen.
You can trim, split, or rearrange clips from here if you need to, but the main focus for now is getting your raw footage into the timeline and making sure everything is lined up. If you recorded your audio separately, you can also drop that in here.
Step 2: Click on the AI Assistant and choose “Magic Dust AI”
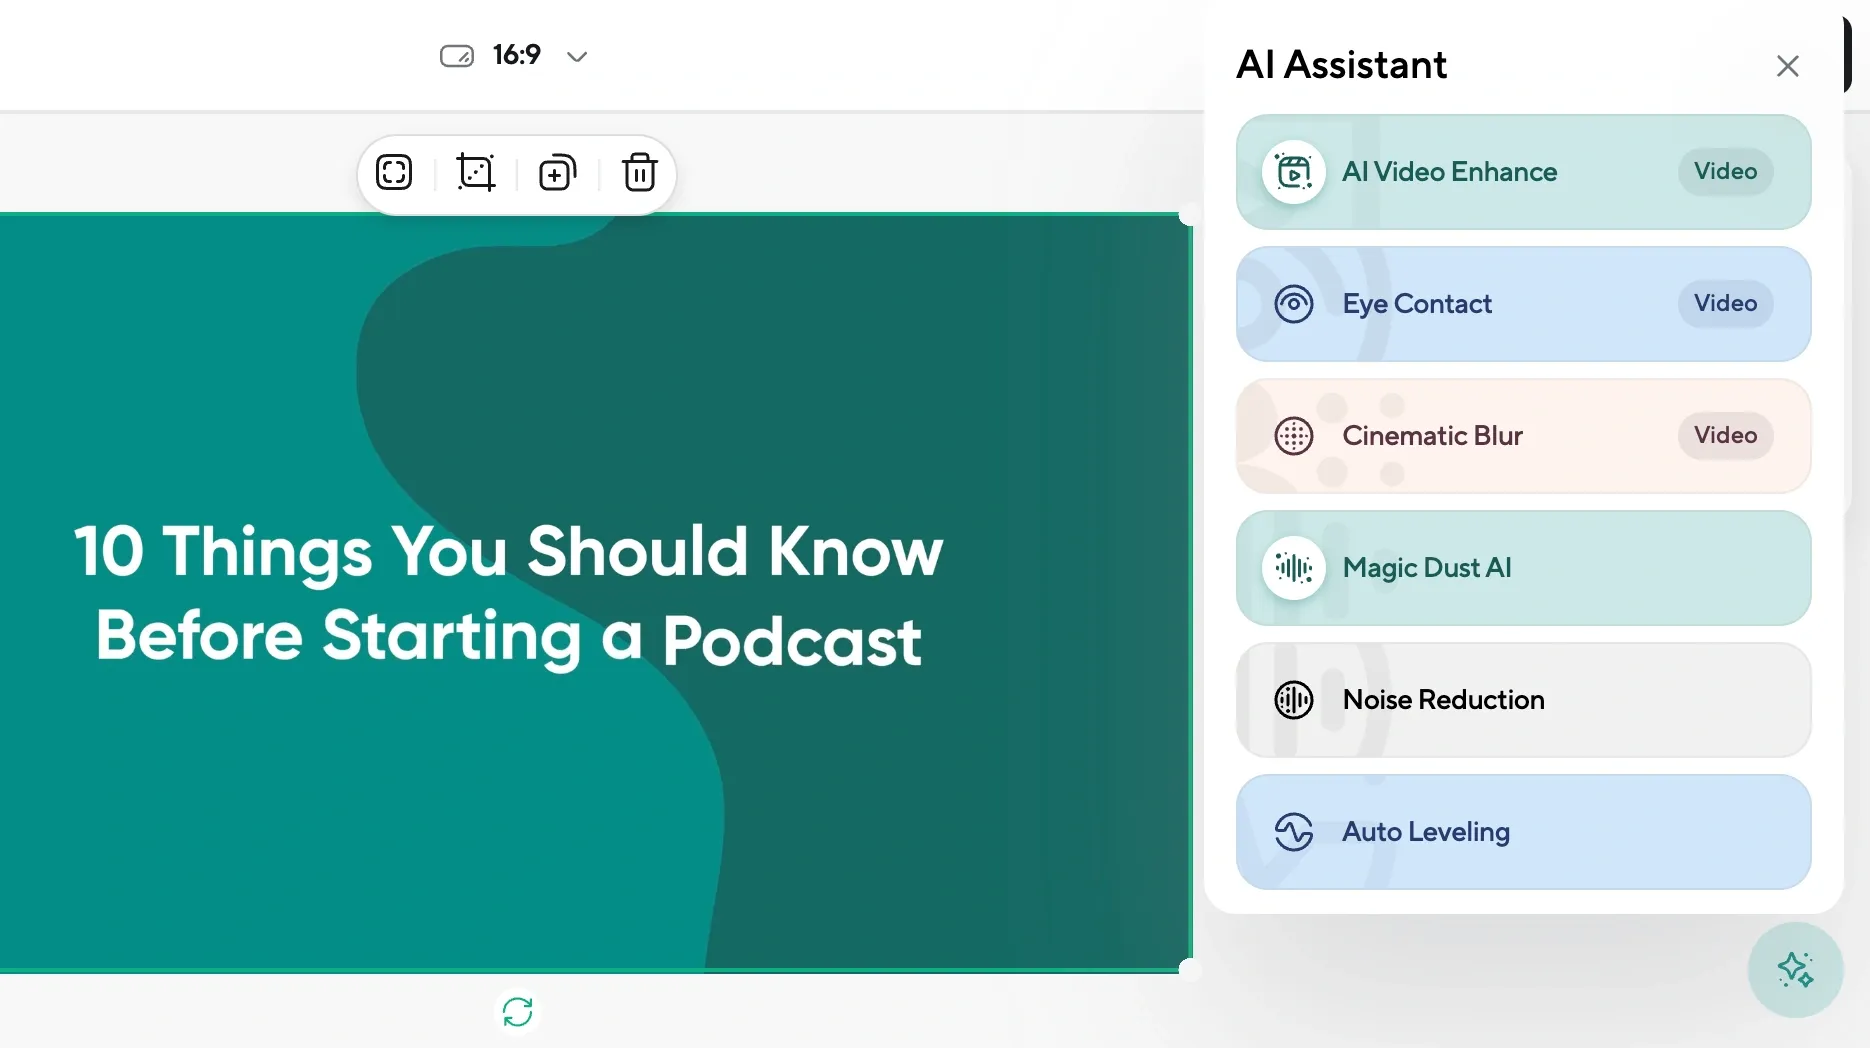
Once your footage is ready to go, hit the AI Assistant button in the top menu bar. From the available options, select Magic Dust. This is the AI-powered enhancement tool that’s designed to clean up background noise, fix volume inconsistencies, and generally make your video sound like it was recorded in a professional studio. It works on both voiceovers and on-camera speech, so whatever you’ve got, it’ll get a boost.
Step 3: Make final tweaks and export
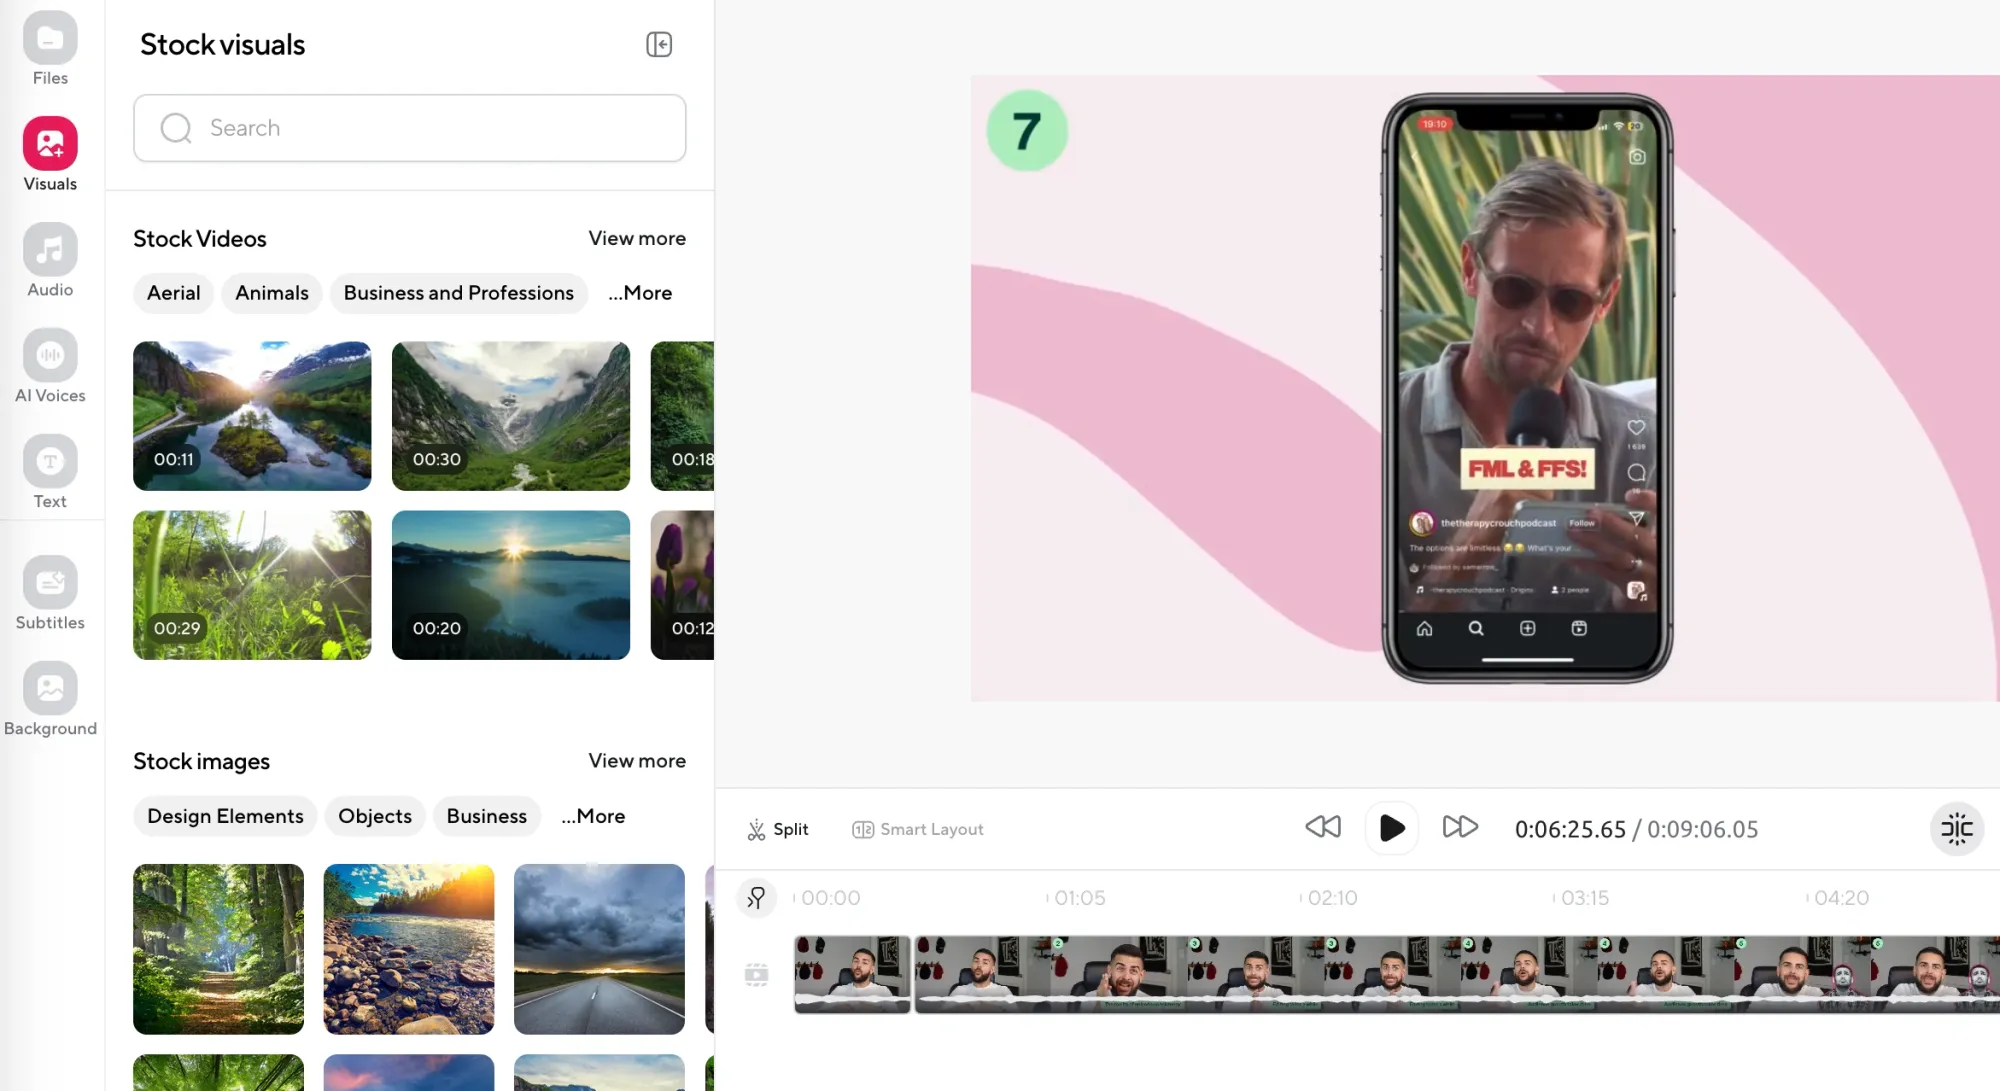
After the enhancement is applied, this is your moment to make any final adjustments. Want to add music? Head to "Visuals" and drop in a background track. Need narration? You can record directly into the editor or use Text to Speech to generate an ultra-realistic AI voice. There are over 1000+ voices to choose from, and you can adjust tone, speed, and pacing to make it fit your video naturally.
You can also blur or replace your background if the visual isn’t up to par. And once everything’s looking and sounding how you want it, hit Export to save your final video.
Why audio can make or break your video
There’s a reason people often say, “I could watch it, but I couldn’t listen to it.” Audio sets the tone, builds trust, and guides attention. Even if you’ve edited your footage beautifully, bad audio will drag everything down. And when your audio is clean, people are far more likely to stay engaged, even if the visuals aren’t perfect.
Here’s why sound tends to matter more than people think:
1. Viewers will forgive bad video before bad audio
People are surprisingly tolerant when it comes to visuals. You can shoot on your phone, have imperfect lighting, or film handheld with a bit of shake, and most viewers won’t care as long as they can hear what’s being said clearly. But if the audio is muffled, distorted, too quiet, or full of background noise, the experience becomes frustrating almost immediately. They’ll click away before they even realize why they’re doing it.
2. Audio carries emotion and authority
The tone of your voice, the subtle pauses, the way your volume rises or falls to match the mood, all of this communicates emotion in a way visuals can’t always capture. When your audio sounds clear and confident, your content feels more trustworthy. That matters for everyone: educators, marketers, vloggers, coaches, even casual creators. Audio is how you connect with people on a more human level.
3. Most people watch on mobile, in noisy environments
A huge portion of online content is consumed through earbuds, phone speakers, or on laptops with less-than-great audio output. Many people watch videos on their way to work, or in other environments that aren't exactly quiet. So if your audio isn’t clear, or if it competes with a lot of ambient noise, your message gets lost.
What causes bad audio in the first place?
Even if you’re careful, it’s easy to mess up audio. Usually it's because you don’t realize something went wrong until it’s too late: a mic was in the wrong place, the gain was too high, the room was louder than you thought. These are small things, but they snowball quickly. The good news is that once you know what to look out for, you can avoid most of them.
Here are the most common issues creators run into, and what causes them:
1. Recording in a bad-sounding room
A lot of people assume their microphone is the problem when it’s actually the room they’re in. Hard surfaces like windows, tile floors, bare walls, and countertops all reflect sound, which creates echo and reverb. If your voice sounds distant, hollow, or like it’s bouncing around, the room is probably to blame.
The solution isn’t always expensive foam panels. It can be as simple as recording near soft furniture, hanging a blanket behind your mic, or choosing a smaller, more enclosed space.
2. Background noise you don’t notice until it’s too late
We tend to tune out sounds in our own environment, but microphones pick up everything. If your gain is set high or your mic isn’t directional, you’ll end up with layers of unwanted noise baked into your recording. Once it’s there, you’re stuck either trying to filter it out or covering it up with music or voiceovers. That’s why it’s always worth listening back to your raw recording with headphones before you commit to editing.
3. Mic placement that feels fine but sounds off
Even if you’ve got a good mic, where you place it matters. Too far away, and your voice will sound thin or drowned out. Too close, and you’ll get unwanted pops, breathing, or distortion. Small shifts, which could be just a few inches in any direction, can actually make a big difference. It’s not always obvious when you’re recording, but it’ll become painfully clear when you listen back later.
4. Gain levels that are too high or too low
Gain controls how sensitive your mic is to sound. If it’s too high, you’ll get clipping, distortion, and extra noise. If it’s too low, your voice will sound buried and you’ll need to amplify it in post, which also brings up the background noise.
A lot of beginners assume they should “fix” bad volume in editing, but that rarely works well. Getting your levels right before you record will save you hours later. Use your mic’s meters or test recordings to find the sweet spot where your voice is loud and clean but doesn’t spike into the red.
5. Mixing multiple audio sources without leveling them
Let’s say you have music, a voiceover, and some ambient sounds in your video. If those elements aren’t balanced properly, they’ll fight each other. The music might drown out your words, or the background noise might sound louder than your voice.
Leveling each track, which would mean adjusting volume, adding ducking, or spacing sounds out with quiet gaps, helps the audience focus on what matters most at any given moment. A lot of creators skip this step, assuming the software will “just figure it out,” but taking a few minutes to mix intentionally makes a huge difference in how professional your video feels.
Final thoughts
We hope you found this guide helpful. We know how much audio can affect the way a video feels. When it’s clear and balanced, people stay focused on what you’re saying, but when it’s rough or uneven, even the best footage can start to feel distracting or unfinished.
Sometimes it’s just about cleaning up what you’ve already got (with a little AI magic touch) so it actually works the way you intended.