Sometimes it’s the smallest visual details that can make a video feel instantly polished.
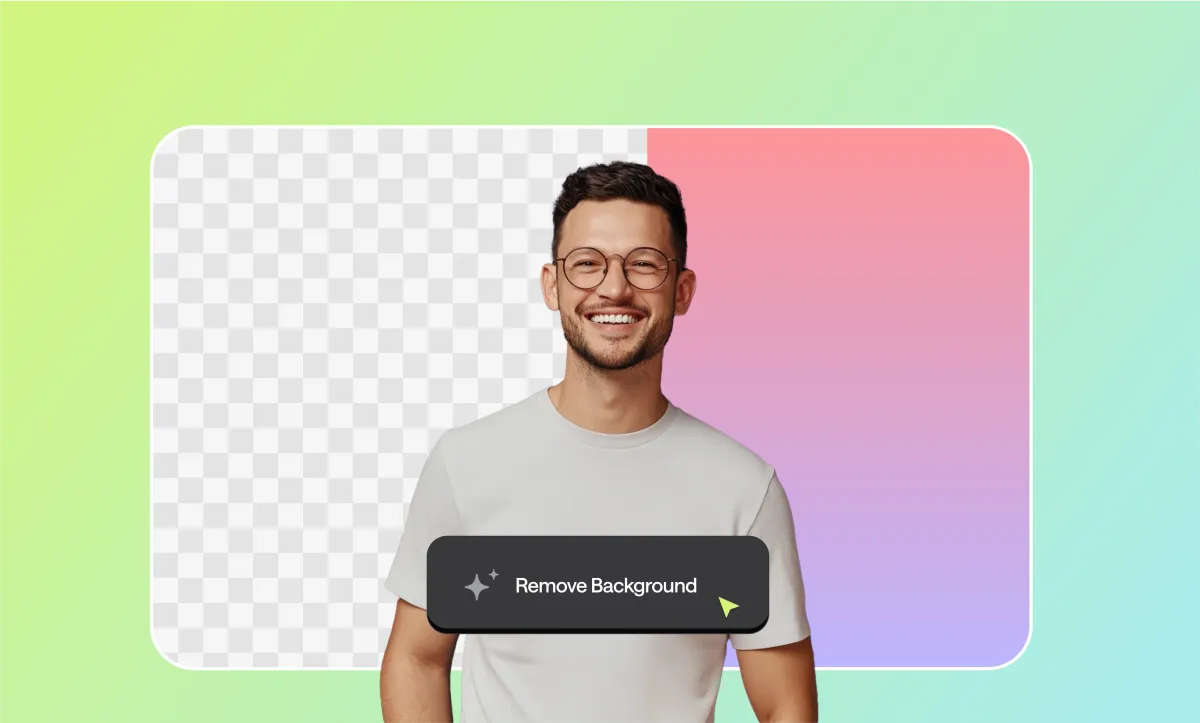
A clean background, or a background that actually fits what your video is trying to say, can change how your content is perceived entirely. That’s why removing a background can give you a fresh start visually without needing to reshoot anything or invest in expensive gear.
With Podcastle, you can do this in just a few clicks without needing any experience with green screens, rotoscoping, or learning a brand-new tool.
Let’s walk through exactly how to do it.
Table of Contents
– Remove Video Background: Step-by-Step Guide
– Tips When Removing Video Backgrounds
– Background Remover vs Green Screen
– Reasons to Remove a Video Background
How to Remove Background from a Video: Step-by-Step Guide
Step 1: Upload your video into Podcastle’s Video Editor
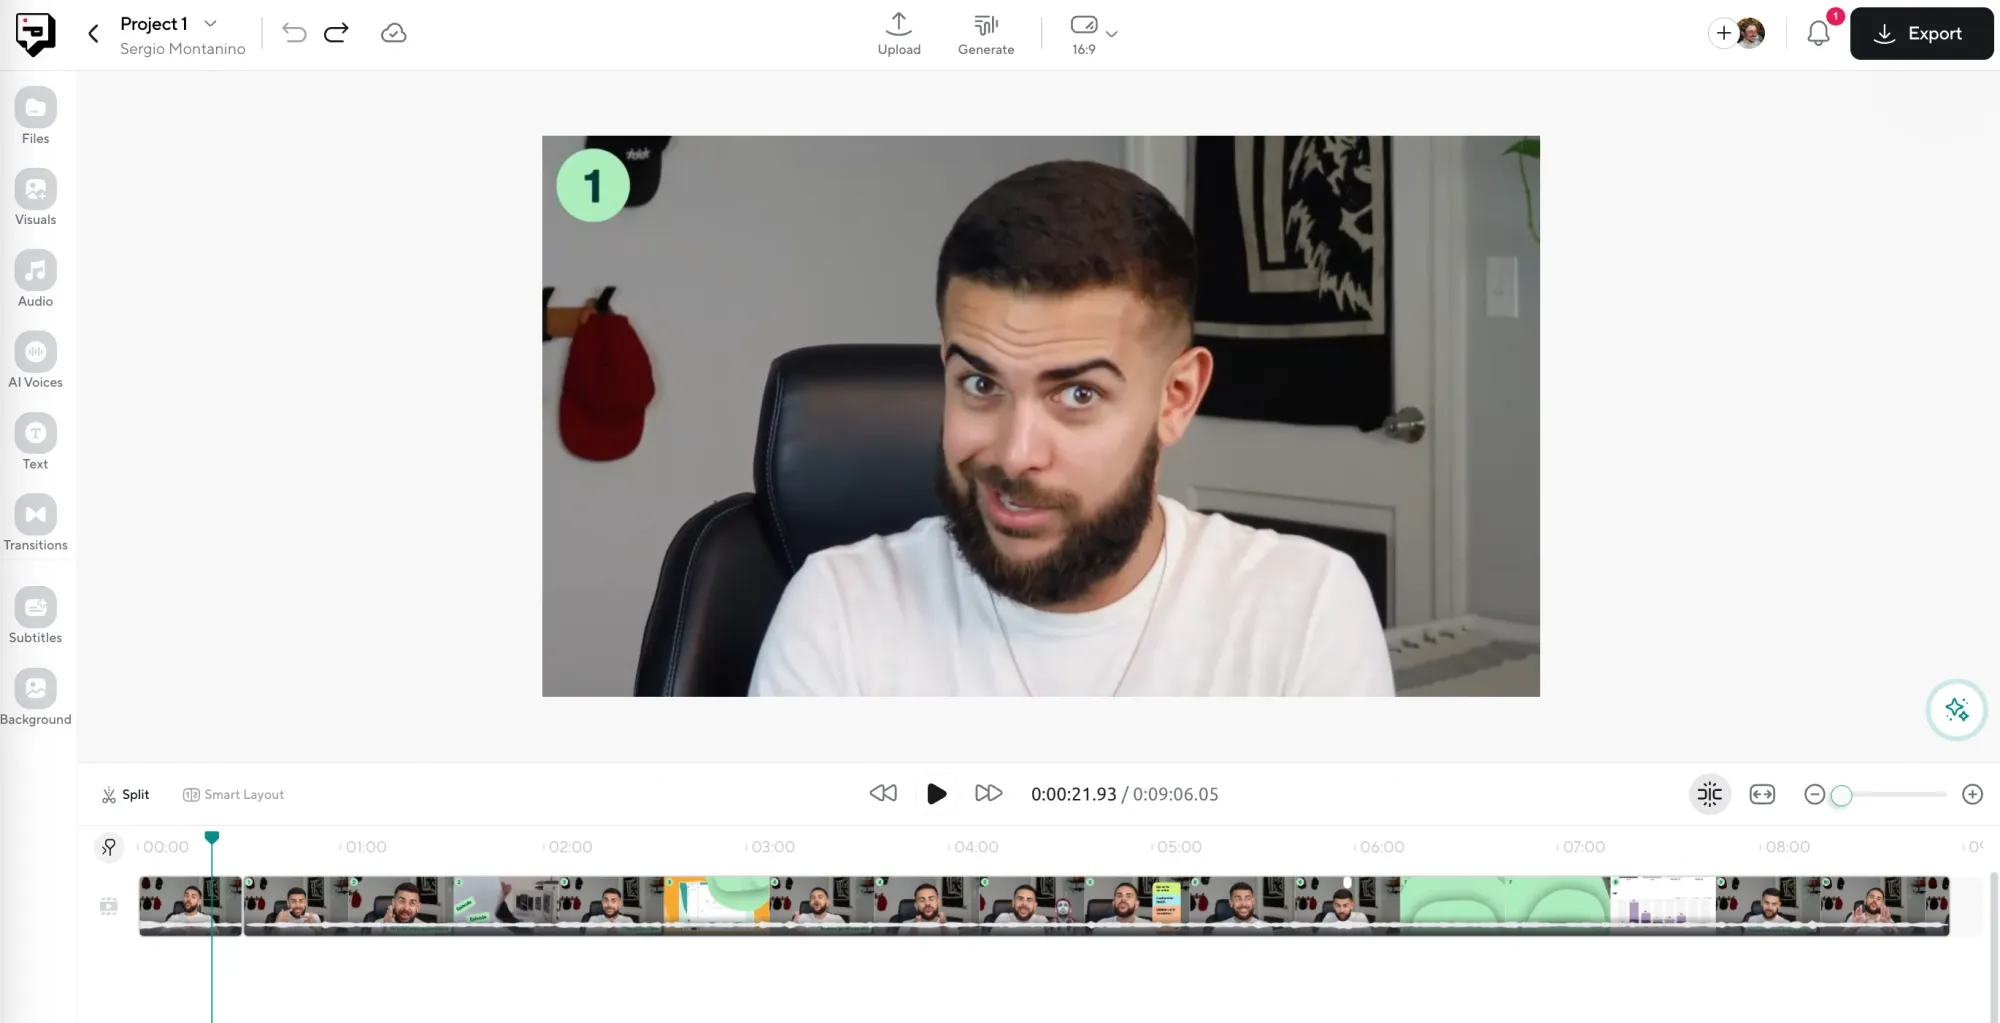
First, log into your Podcastle account (or sign up—it’s free), and head over to the Video Editor. Once you’re in, you’ll see a big “Upload” button right in the middle of the screen. Click it and upload the video footage you want to edit. You can drag and drop the file or pick it from your computer. Once uploaded, your video will appear on the timeline, ready for editing.
Step 2: Use the AI Assistant to remove the background
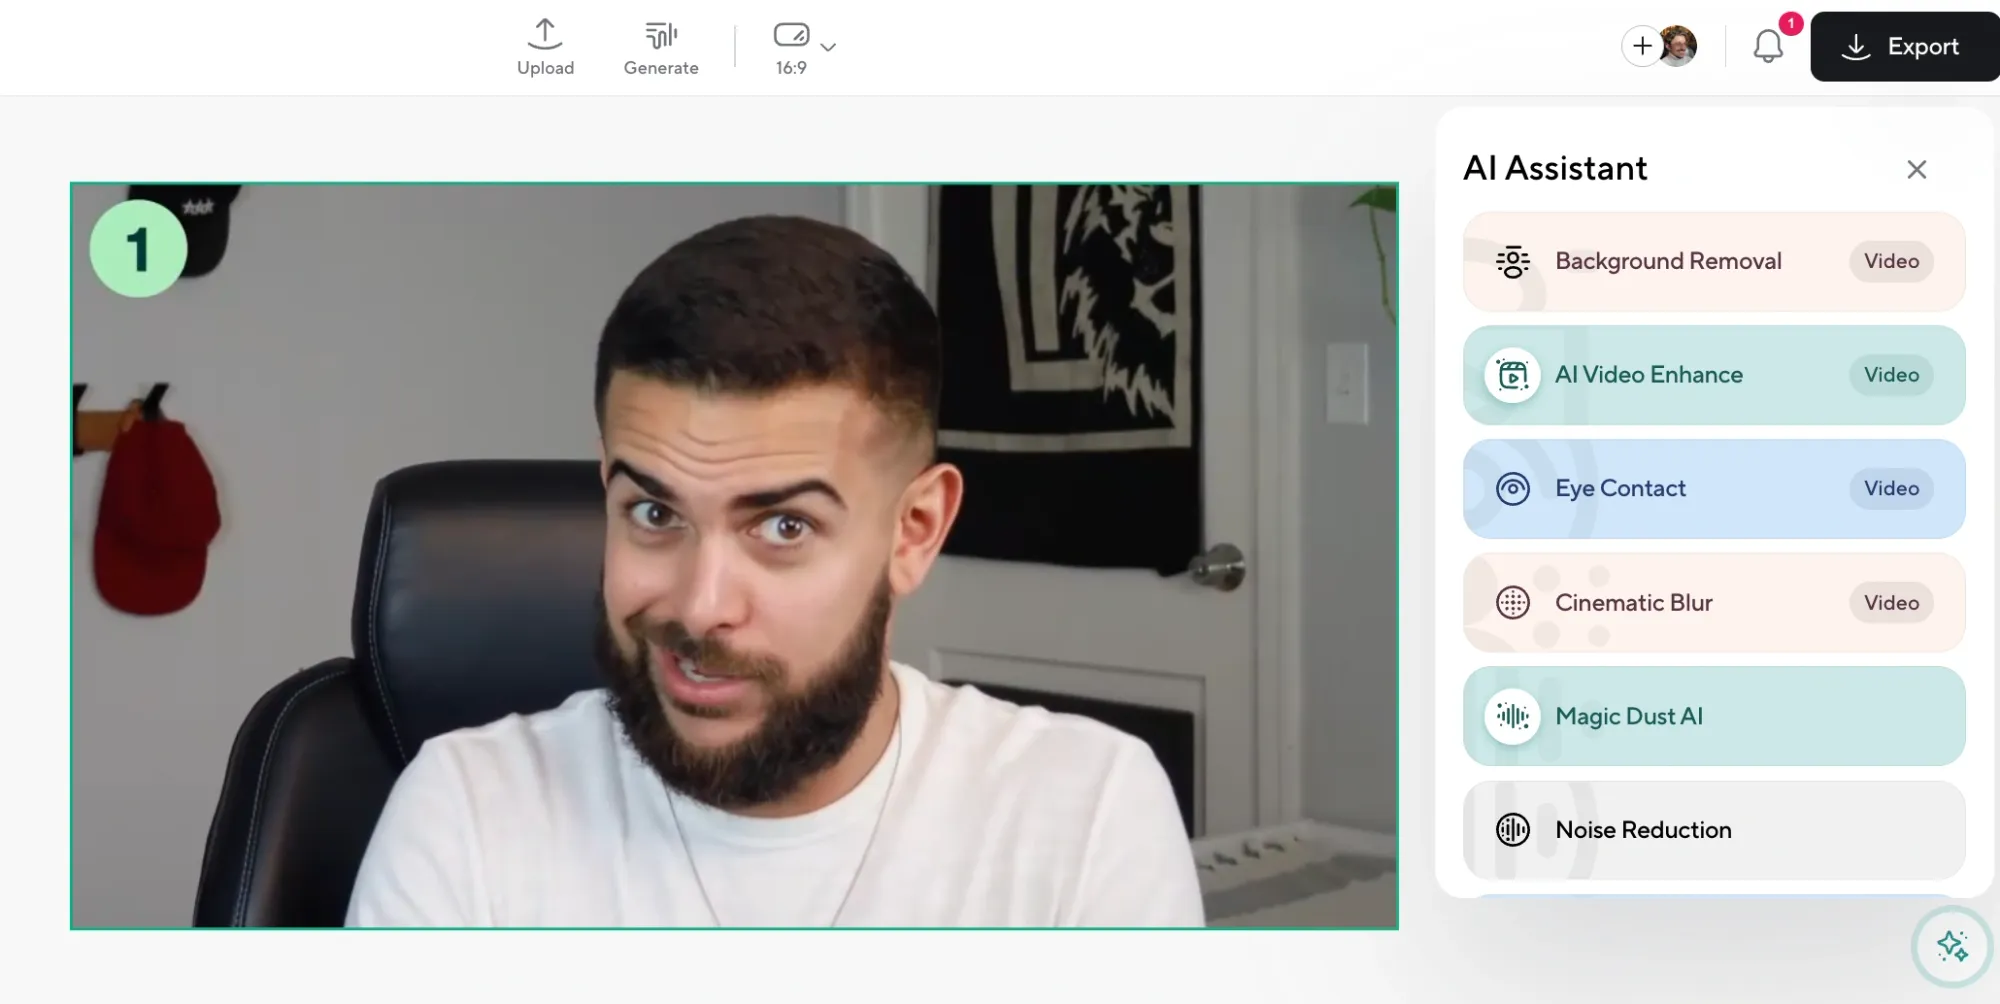
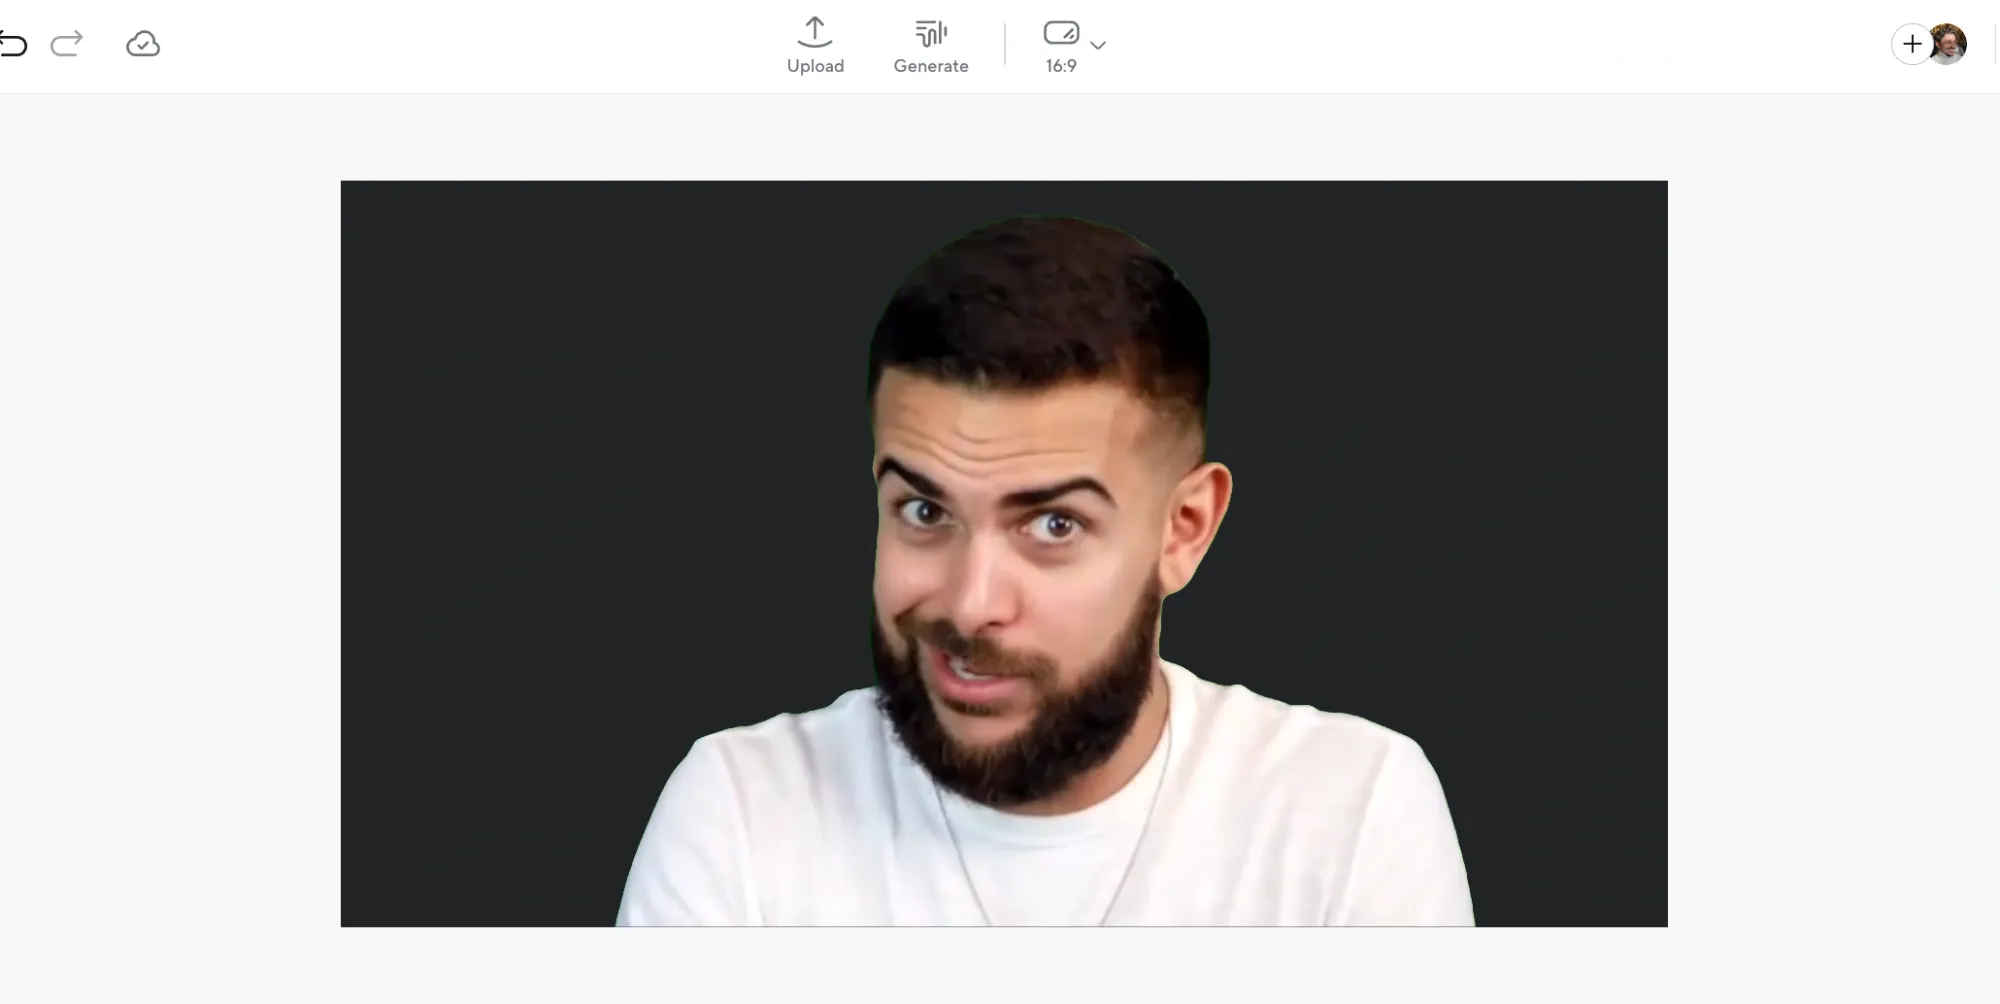
Once your video is uploaded, look to the right-hand side of the editor and click AI Assistant. Inside the list of options, you’ll see one labeled Background Removal. Click it, and within a few seconds, Podcastle will automatically remove everything in the background of your footage while keeping you, your product, or whoever’s in the shot perfectly intact.
Step 3: Choose a new background from stock images, video, or GIFs

After the background is gone, you’ll probably want to replace it with something. This is where the creative part kicks in. Podcastle has a built-in stock library full of free high-resolution images, looping video clips, and even fun GIFs you can drag straight onto your canvas. Just click “Visuals,” browse the categories, and click on the one you like to apply it behind your subject.
Step 4: Export and share
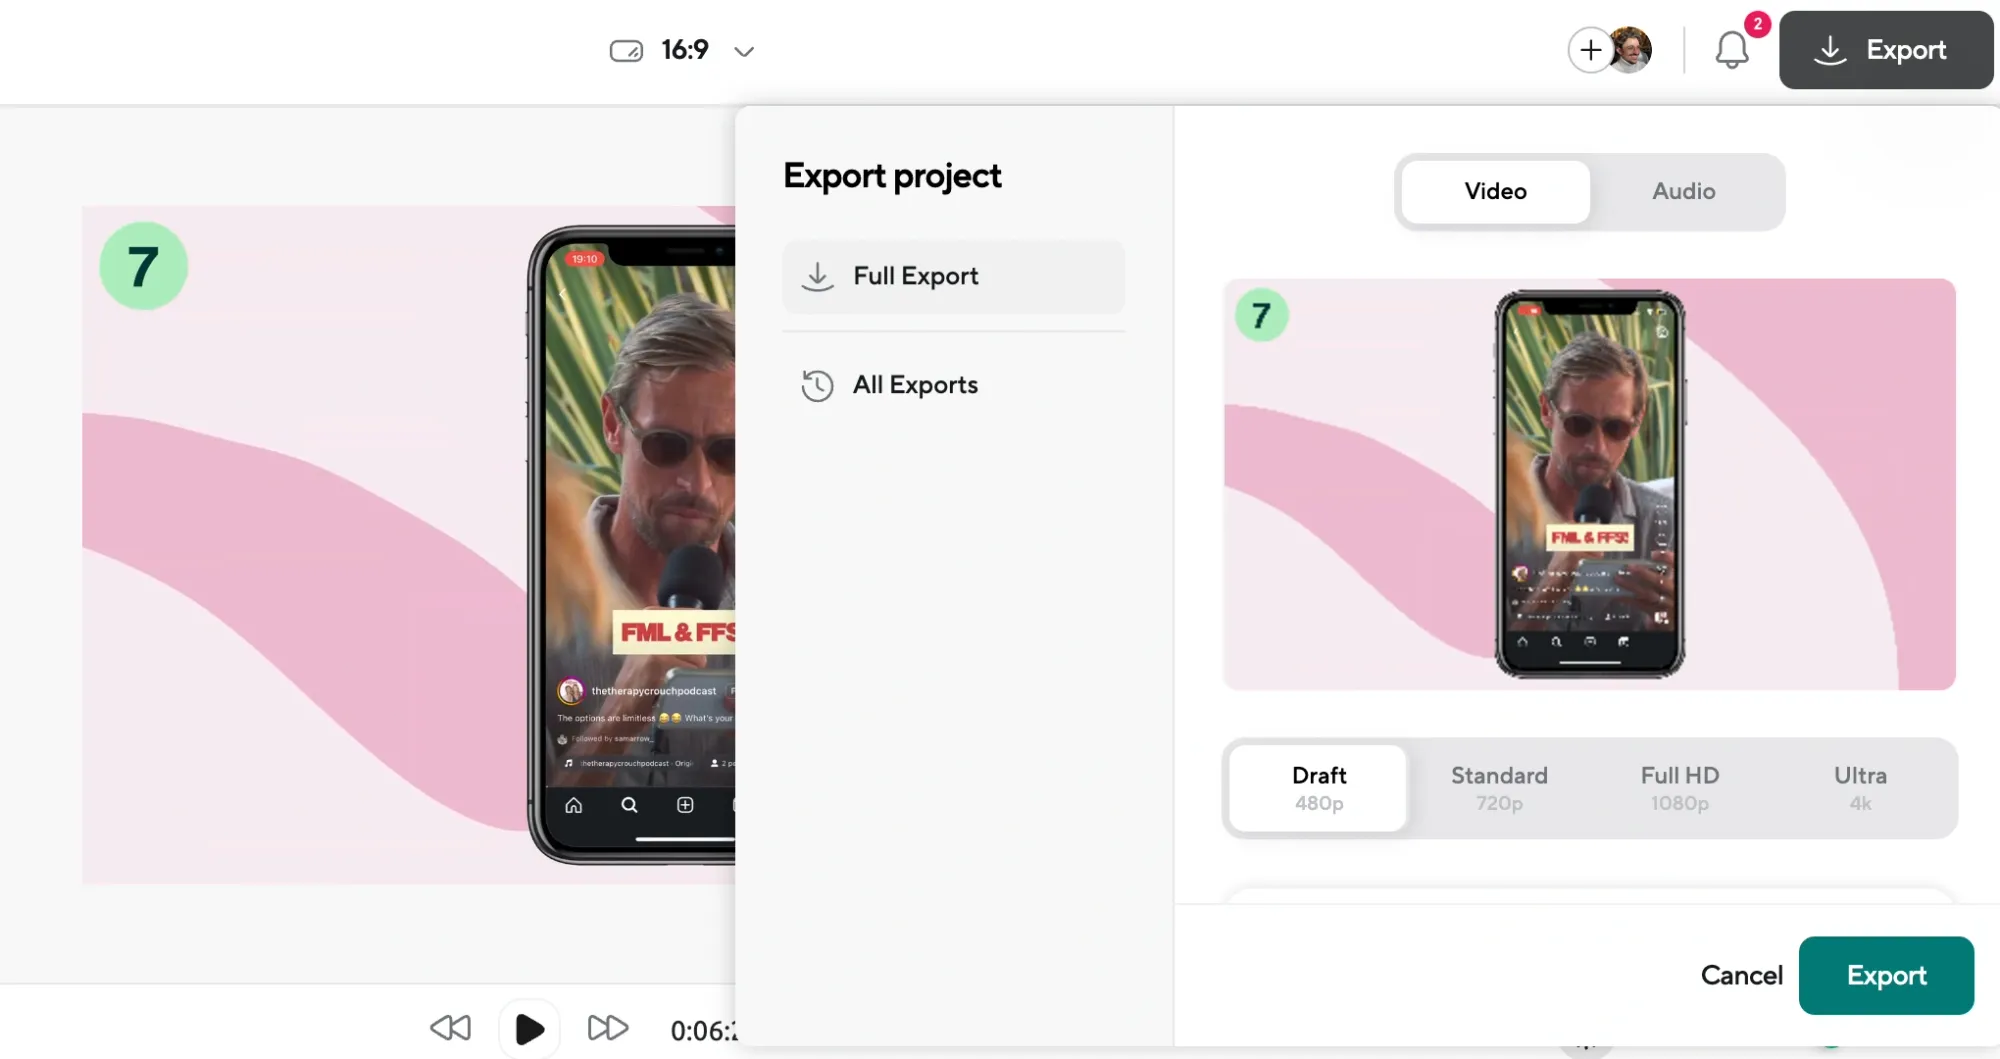
Once your new background is in place and everything looks good, head to the top right and click Export. Wait a few moments for the export to process, and you’re done.
Need Help? Tips When You Remove Video Background
If the background doesn’t come out as clean as you hoped, don’t worry. It usually just takes a small adjustment. Here are a few things that can help:
1. Check your lighting
Videos with soft, even lighting usually work best. If you’re sitting in front of a bright window or have harsh shadows behind you, the AI might have a harder time telling what’s foreground and what’s background. Try recording in a well-lit room with light coming from the front or sides.
2. Make sure there’s contrast between you and the background
If your shirt is the same color as your wall, or if you’re blending into the background visually, it gets harder for the tool to separate the two cleanly. Try wearing clothes that pop, or filming against a wall that’s a different tone or texture than you.
3. Keep the camera still
Shaky footage or sudden movement can make it harder for the background removal to stay consistent from frame to frame. If you can, set your phone or camera on a tripod or stable surface before hitting record.
4. Try trimming the messy parts
If only part of the video is having issues—like the first few seconds or the end—use the timeline to trim it out. That way you keep the parts that worked while cutting out what didn’t.
5. Re-upload and run the tool again
Sometimes, the background remover just needs a fresh run. If something went wrong the first time, try removing the background again after re-uploading your footage or refreshing the editor.
Background Remover vs Green Screen: What’s the Difference?
Both green screens and AI background removal tools are designed to do the same thing: separate you from your background so you can replace it with something else. But there are a few key differences to keep in mind.
A green screen traditionally was a physical setup, and still is in many cases, however there are AI tools that will add a green screen to your videos now. But in the traditional sense, you film in front of a solid green (or sometimes blue) backdrop, then use editing software to “key out” that color and replace it. It works well when you have full control over your lighting and space. But it can be finicky: wrinkles, shadows, uneven lighting, or even wearing the wrong color shirt can mess with the final result. And you’ll still need editing software that supports chroma keying.
A background remover, like the one in Podcastle, uses AI to detect you as the subject and automatically erase everything around you, no matter what your actual background looks like. There’s no need for a special screen or perfect lighting. You don’t have to worry about what colors you’re wearing. You upload your footage, click a button, and the background’s gone. That’s it.
Which one is better?
That depends on how you’re working.
If you’re filming in a tightly controlled environment with pro lighting and you already own a green screen setup, you might still get slightly sharper edges using traditional chroma keying, especially if your video includes fast movement or very high resolution.
But for most creators, especially solo creators, remote teams, people filming in bedrooms or offices or anywhere that isn’t a studio, the AI method wins hands down. It’s faster. It requires no setup. And it lets you get straight to editing, not troubleshooting lighting or ironing fabric. Plus, modern AI is good enough that for the majority of projects, the difference in quality is barely noticeable, if at all.
In short, green screen gives you control, but background removal is quicker and simpler. If you’re trying to save time and make great-looking content without a technical learning curve, the AI route is probably the one you’ll actually use.
When Should You Remove the Background of a Video?
Here are a few common situations where removing the background makes a real difference:
You’re filming in a space that’s distracting or messy.
Not everyone has a studio setup or a tidy bookshelf that magically looks camera-ready. If your environment feels cluttered, boring, or just doesn’t reflect the vibe you’re going for, removing the background helps you take back control. It puts the focus where it belongs.
You want to create a consistent look across all your videos.
If you’re building a series, filming in multiple locations, or repurposing footage shot weeks apart, your background can shift wildly from clip to clip. Swapping in a clean, matching backdrop helps everything feel more cohesive and branded, even if you filmed it all on the go.
You’re making content for a brand or client.
Sometimes your own space just doesn’t fit the tone or style your client wants. Maybe you’re working on a pitch video, a product demo, or a sponsored reel that needs a cleaner or more branded backdrop. Background removal helps you hit that mark without needing to rearrange your apartment.
You want to have a little fun with it.
Let’s be honest, sometimes, you just want to put yourself in space, or in a retro diner, or in front of a moving pattern that makes the whole video feel more alive. Background removal opens the door to creative experimentation, especially if you’re working with comedy, storytelling, or any format that leans visual.
You’re repurposing vertical videos for different platforms.
When you’re turning a vertical TikTok clip into a YouTube Short or placing your headshot in the corner of a horizontal video, background removal can help clean up the frame and make the layout easier to control, especially when paired with custom stock or solid-color backdrops.
Need Editing Tips?
Want to see how our AI tools can actually speed up your video editing workflow in real time? We’ve got a quick YouTube breakdown that walks through some of our favorite time-saving features!
Final Thoughts
With Podcastle, removing and replacing your video background is quick, clean, and free, so you can focus on what you’re actually trying to say, instead of what’s sitting on the shelf behind you.
Whether you’re making a product demo, recording a podcast with video, or stitching together social clips, that background shouldn’t be the thing holding you back. Now that you know how to remove it (and how to replace it), you’ve got one more tool in your back pocket to help your content look the way you imagined it!