If you are already designing presentations or videos inside Canva, you might be wondering how to add your own voice to bring the content to life. The good news is that learning how to do a voiceover on Canva is way easier than you might think.
You do not need to download extra apps or invest in fancy equipment. Canva actually has built-in tools that let you record your voice right inside your project.
Listen to this article
How to Record a Voiceover Directly in Canva
Whether you are making a pitch deck, a tutorial video, or a quick social media post, adding voiceover narration can instantly make your content more personal and engaging.
Here is exactly how you can get started step-by-step:
Step 1: Open Your Canva Project
First, log into Canva and open the project you want to add a voiceover to. This can be anything from a single presentation slide to a full video sequence. Make sure your project is fully designed before you start recording because it is much easier to match your voice to the visuals when everything is already laid out.
Step 2: Go to the Uploads Tab
On the left-hand side of your screen, you will see a panel with several tabs like Templates, Elements, and Uploads. Click on Uploads. You will notice that there is an option for not just images and videos but also Audio. This is where your recordings will show up once you create them.

Step 3: Find the Voice Recording Feature

Right now, Canva’s direct voice recording option is available mainly when you are working inside the Canva Video Editor. If you are editing a video project, look for the Record Yourself button. It might appear under the Uploads tab or in the top right corner depending on your layout.
When you click Record Yourself, Canva will open a mini recording studio inside your browser. You will be able to record both your screen and camera if you want, but if you just need audio, you can turn off the camera option and focus purely on the sound.
Step 4: Record Your Voiceover
Click Start Recording and begin reading your script naturally. Try to keep your voice clear and steady, and imagine you are speaking directly to your audience. That little mindset shift will make a huge difference in how your voiceover narration sounds.
If you make a mistake, do not worry. You can simply stop the recording and try again. Canva lets you review the clip before saving it, so you can make sure you are happy with how it sounds.
Step 5: Save and Add to Your Project

Once you are satisfied with your canva voice recording, hit Save and Exit. Your audio file will automatically upload into your Canva project under the Uploads tab.
From there, you can drag and drop the audio onto the specific slide or video frame you want it to play over. You can also trim, move, and adjust the timing to match the visuals perfectly. It is a simple but powerful way to create a polished canva voiceover without ever leaving the platform.
Step 6: Fine Tune Your Audio Placement

One of the great things about recording audio in Canva is how flexible it is. You can easily shift your voice clip around to line up with different parts of your presentation or video. If you want the voiceover to only start after a certain animation plays or after a visual appears, just move the audio clip along the timeline until it lines up the way you want.
How to Instantly Enhance Your Voiceover with Podcastle
If you are just presenting to a few friends or a small class, no one is going to mind if a dog barks halfway through. But if you are aiming for something a little more polished, it is definitely worth giving your audio a quick upgrade after you record it.
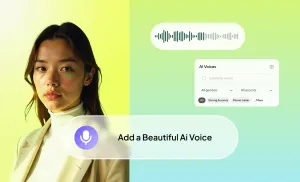
That is where Podcastle comes in. It is the easiest way to clean up your voiceover recording, boost the sound quality, and even upgrade your narration with realistic AI voices if you want to.
Whether you are creating a presentation, a social media video, or a full training course, strong voiceover narration makes your content feel more professional and engaging. Here is exactly how you can use Podcastle to take your voiceover to the next level.
Step 1: Upload your Audio to Podcastle's Free Audio Editor
First, you need to get your recorded audio out of Canva. If you recorded it directly onto a video timeline, you can download the full video and then extract the audio, or simply download the audio track separately if Canva gives you that option.
Make sure you have your voiceover recording saved in a format like MP3 or WAV so you can easily upload it into Podcastle.
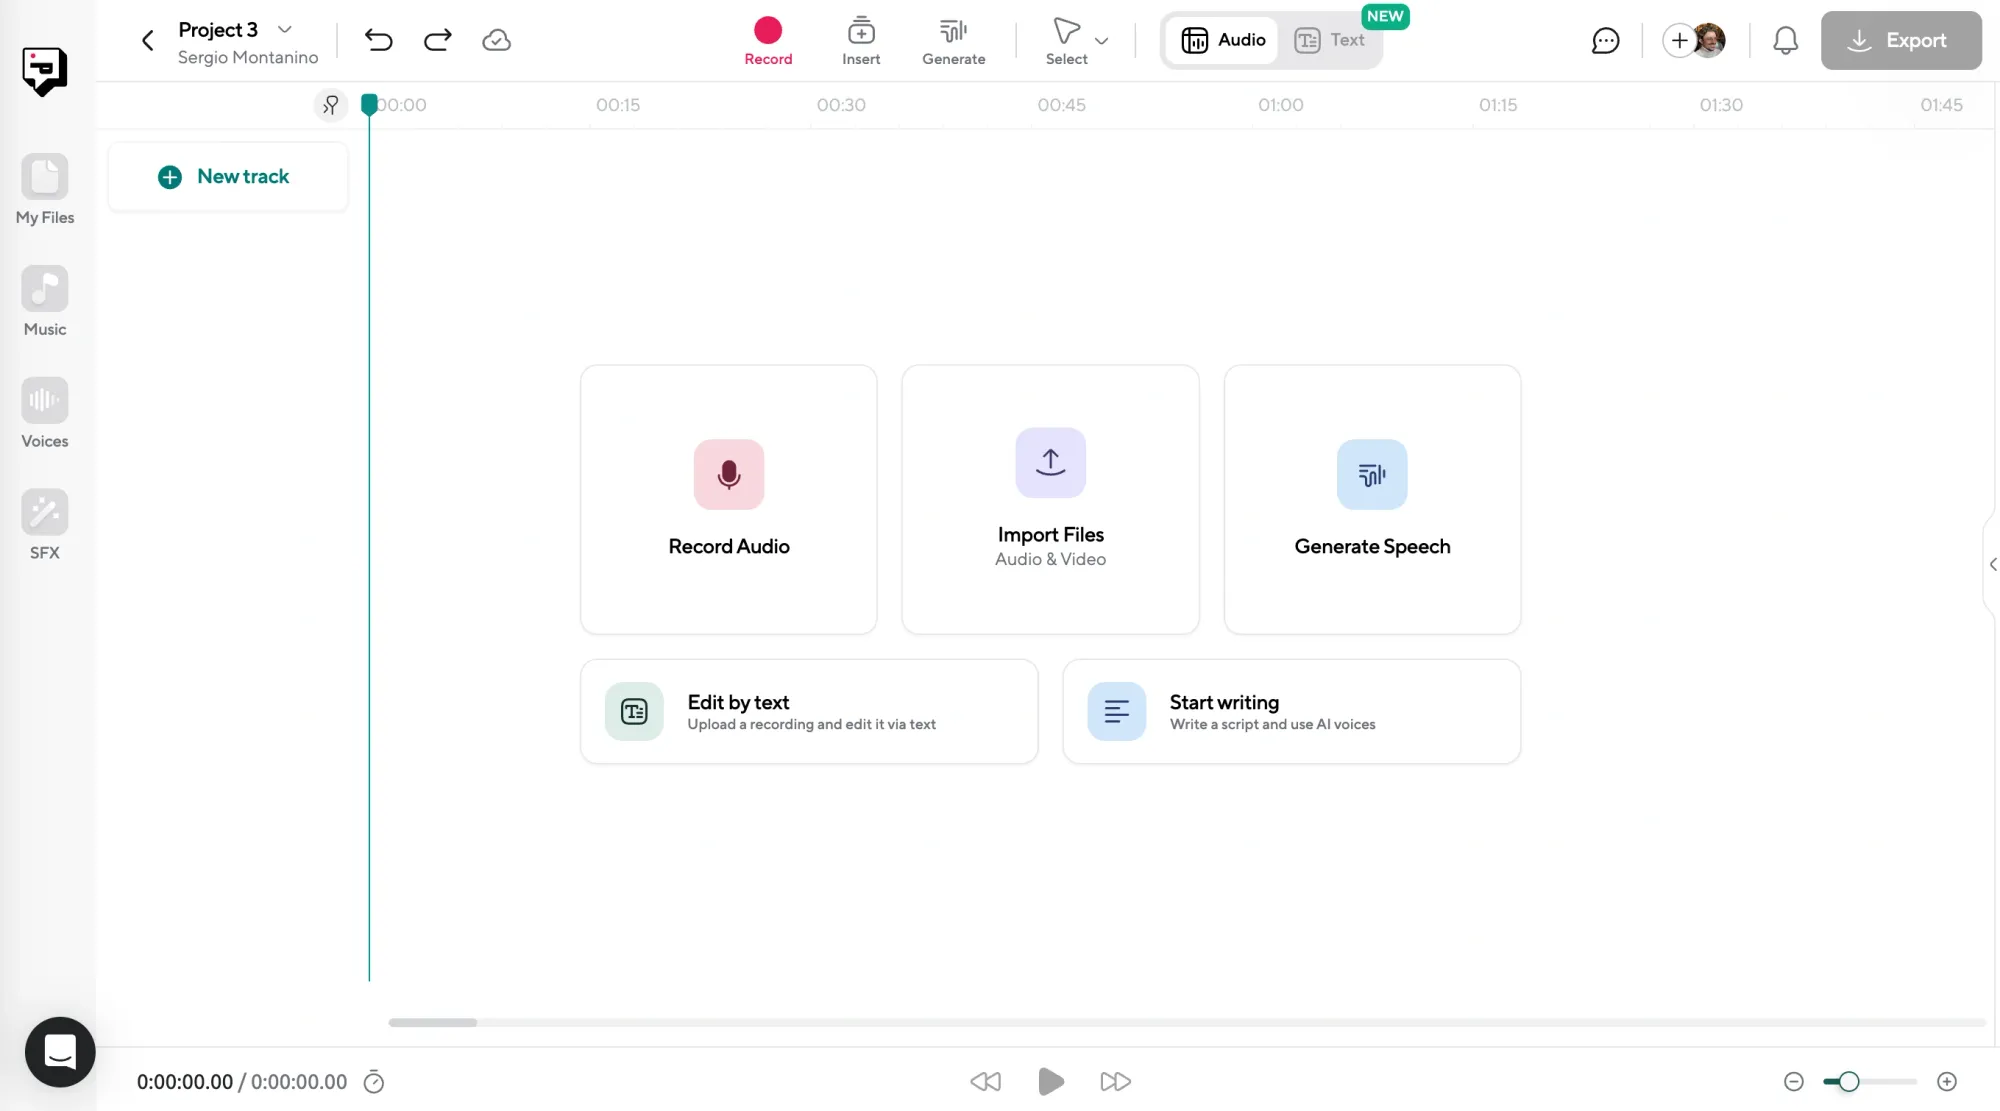
Next, head over to Podcastle and log into your account. Once you are in, click Create and select Audio Project.
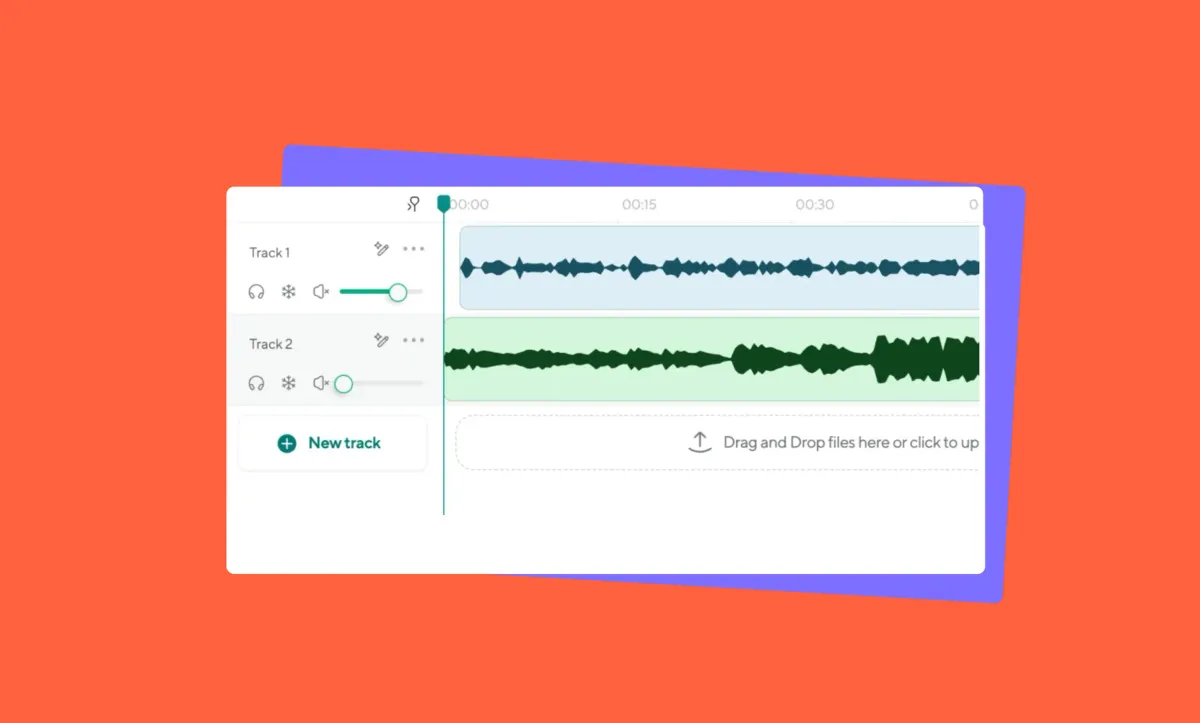
Then just upload your file by dragging and dropping it into the editor. Within seconds, you will see your voiceover narration displayed visually in the audio editor. Now you are ready to start making it shine.
Step 2: Generate an AI Voiceover for Free (Optional)
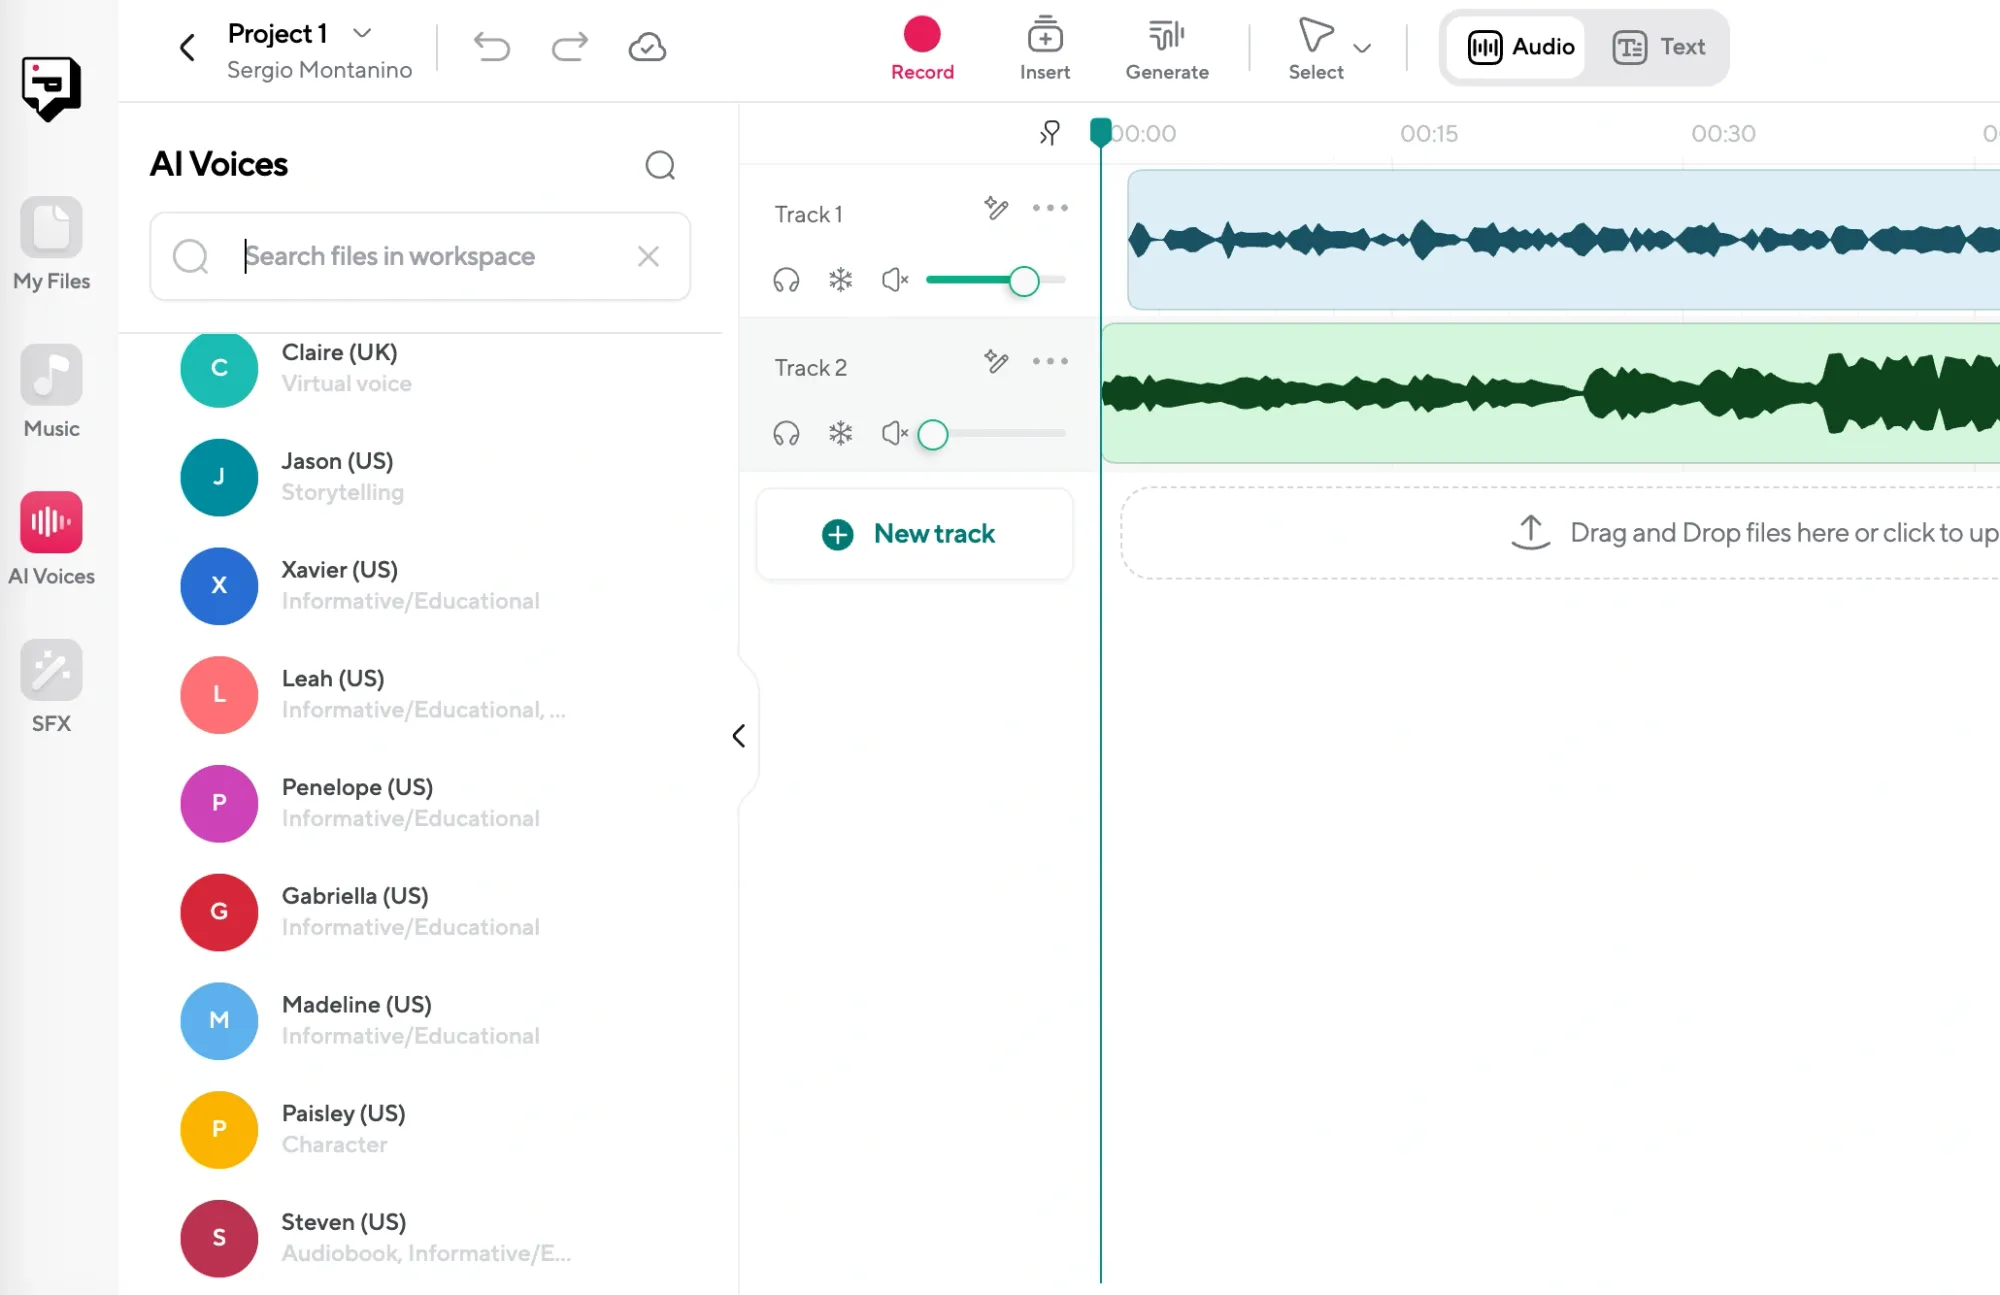
Maybe you recorded your voice but you are not 100 percent happy with how it sounds. Or maybe you want a different tone depending on the project. In Podcastle, you can actually swap your original recording for a high-quality AI voice if you want.
All you have to do is paste your script into the text editor, choose an AI voice that matches the style you want, and generate the narration. You can pick from different accents, tones, and speeds so your final voiceover narration feels exactly right for your content.
This is a great option if you are working on multiple projects and want to keep your voiceovers consistent without having to record every single time.
Step 3: Clean Up Your Audio with Premium AI Tools
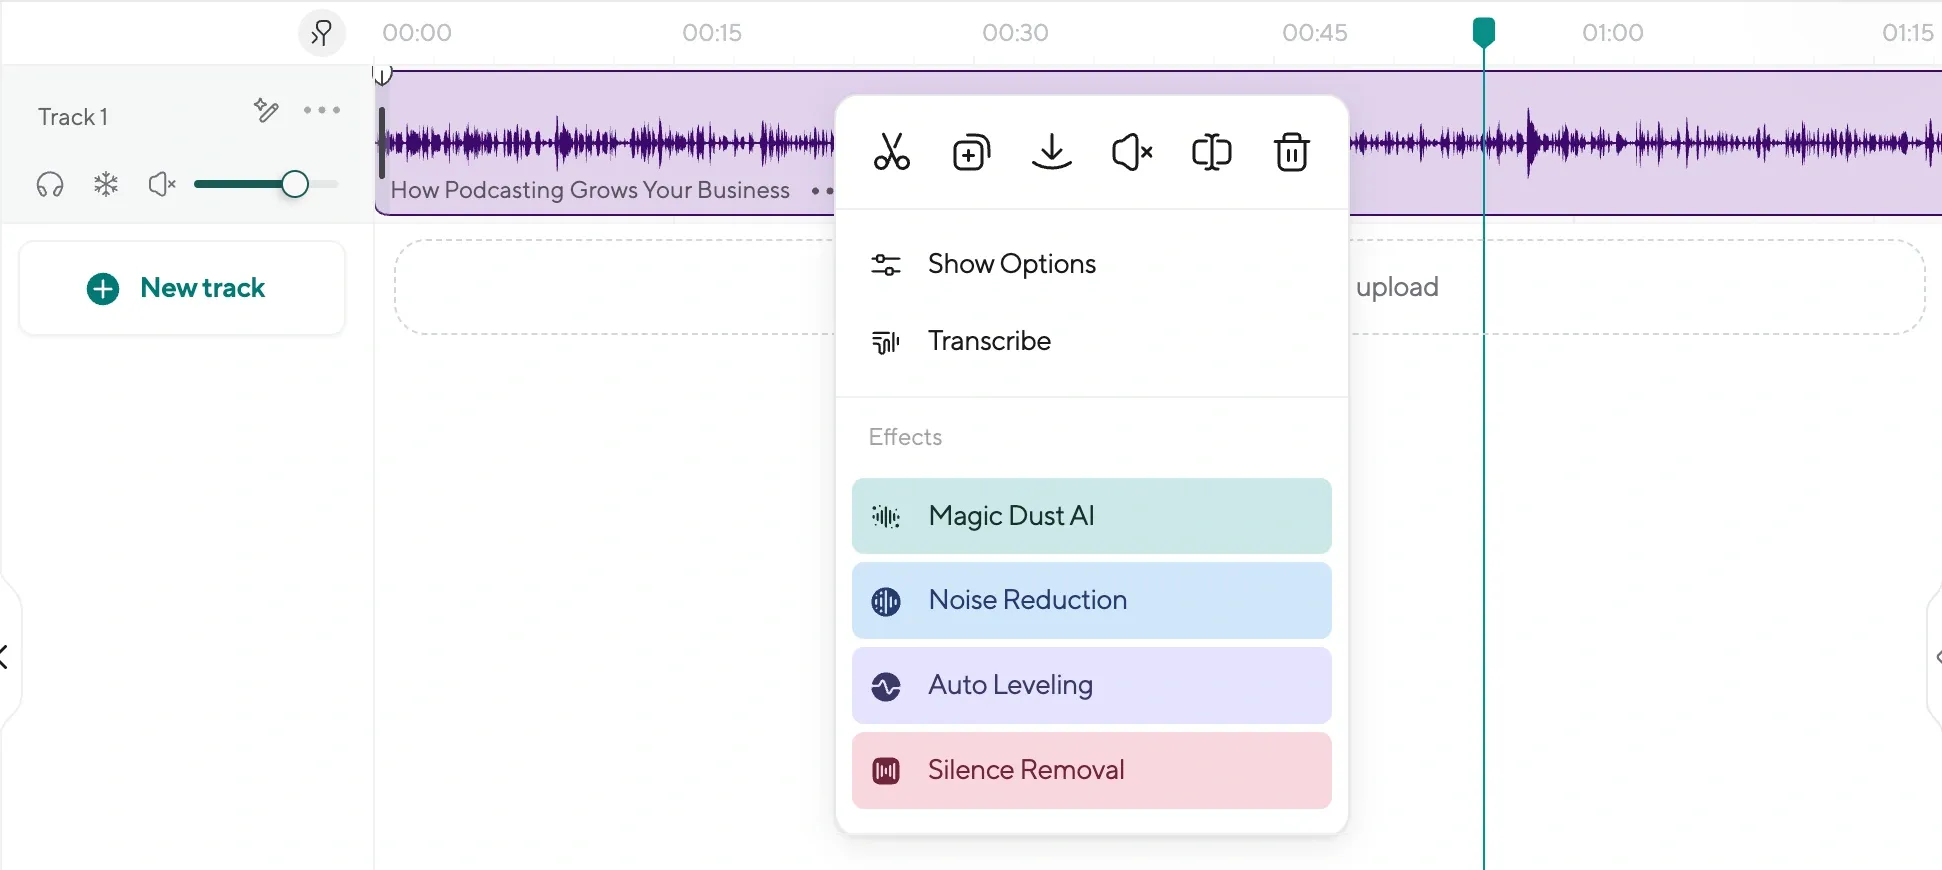
One of the best features of Podcastle is its automatic audio enhancement. With just one click, you can remove background noise, fix volume inconsistencies, and sharpen your voice to sound studio-quality.
Click on your audio track, find the Magic Dust enhancement option, and apply it. It seriously feels like magic because it instantly smooths out your voiceover recording without you needing to manually tweak anything.
If you notice any awkward pauses or stumbles in your recording, you can also use the simple cut tool to trim them out. Good voiceover editing is all about making your audio flow naturally, and Podcastle makes that super easy even if you are a total beginner.
Step 4: Export and Upload Back to Canva
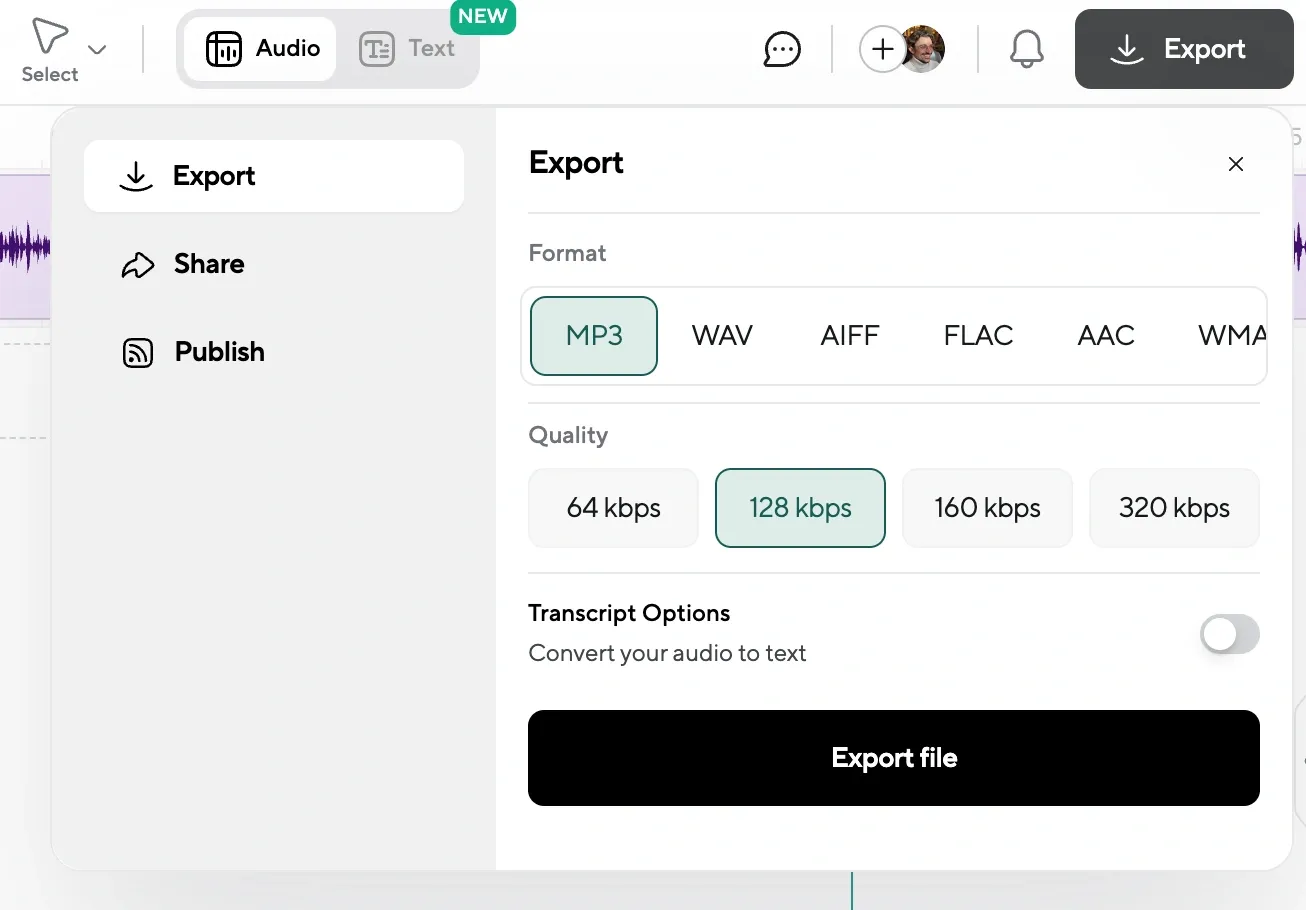
Once your voiceover editing is done and you are happy with the result, just export the final audio file. Then jump back into Canva, upload your polished voiceover, and drag it into your project.
Now you have the best of both worlds: Canva’s awesome visual design tools plus Podcastle’s professional-grade audio quality. Your audience will immediately notice the difference.
Voiceover Tips When Recording Yourself
Once you get the basics of voiceover recording down, there are a few little tricks that can take your audio from “pretty good” to “wait, did they hire a pro?” Good voiceover narration is not just about having a nice voice: it is about paying attention to the details that most people miss.
Here are some real tips to help you level up your recordings:
1. Record in the Quietest Spot You Can Find
Yes, even if it means sitting in your closet surrounded by winter coats. Blankets, clothes, and pillows absorb sound and stop your voice from echoing all over the place. A little DIY soundproofing can make a $50 mic sound like a $500 one.
2. Warm Up Your Voice (Seriously)
You do not need to sing scales like an opera singer, but a few silly tongue twisters or humming exercises before recording will wake up your voice and make you not only sound way more energetic, but also feel comfortable with your voice. No one wants to listen to a tired, croaky narrator unless it is for a sleep podcast.
3. Mind Your Mic Distance
Too close and you sound like you are eating the mic. Too far and it sounds like you are shouting from another room. Aim to stay about a hand’s length away from your microphone. Small thing, huge difference.
4. Pace Yourself Like You Are Telling a Story
One of the biggest mistakes in voiceover narration is rushing through the words. Slow down a little, pause where it feels natural, and imagine you are explaining the story to one single person. It makes your voiceover way more engaging without sounding fake.
5. Always Do a Quick Test Recording
Before you dive into the full recording, do a 10-second test. It saves you from realizing 15 minutes later that you accidentally recorded the neighbor’s lawnmower louder than your own voice. A tiny extra step, but it will save your sanity.
6. Edit Smarter, Not Harder
When it comes to voiceover editing, it is easy to fall into the trap of trying to cut out every tiny breath or fix every pause. Do not. A little bit of natural breathing and rhythm actually makes your voiceover sound human. Unless you want to sound like a robot; then by all means, edit away.
7. Keep Water Nearby (But Not Right Next to the Mic)
Dry mouth is the enemy of good voiceover recording. Keep water close enough to sip but far enough so you do not accidentally record yourself gulping like a cartoon character. Trust me, it happens.
8. Listen Back Like a Stranger Would
After you finish recording and editing, step away for a few minutes. Then listen back as if you were hearing it for the first time. You will catch tiny things you did not notice while recording, like weird volume dips or sections that sound rushed.
Recording your voiceover in Canva is just the first step: now give it a little love with Podcastle to make it sound crisp, clean, and totally pro. A few tweaks and tricks later, your audio will have your audience hooked from start to finish.
Final Thoughts
While Canva gives you a quick and easy way to record your voice, sometimes you’ll want that extra level of polish. Something that sounds a bit cleaner, a bit sharper, maybe even more confident than what came out in the first take.
That’s where Podcastle can really help, because it gives you the tools to upgrade your voiceover without needing to know anything about sound design or audio software. You don’t need to become an editor. You just need to care enough to give your voice a quick cleanup, maybe adjust the tone, and make sure it lands the way you imagined when you first hit record.
If you’re someone who wants their content to feel thoughtful, smooth, and actually pleasant to listen to, this is one of those small steps that quietly makes a huge difference. And once you’ve done it a couple times, it becomes part of your creative rhythm. Just another part of how you bring your ideas to life.