Sometimes a video isn’t what you need. Maybe you recorded a conversation for your podcast and don’t care about the footage. Or maybe the visuals came out messy, but the sound is solid.
In any case, converting video to audio makes all of that easier. You can strip away the parts you don’t need and turn a bulky file into something lightweight and portable. You can take a YouTube vlog, pull out the narration, and listen to it like an audio diary. Or grab a recorded Zoom call, export only the sound, and cut it into clips you can actually use.
Whatever your reason, the process is easier than you might think. You don’t need to download complicated software or fumble through editing tools. All you need is the right method for your setup (and that’s what this guide will walk you through.)
Table of Contents
– Convert Video to Audio for Free with Podcastle
– How to Convert Video to Audio on Desktop
– How to Convert Video to Audio on Your Phone
– Recording Video and Audio Separately
Convert Video to Audio for Free with Podcastle
If you’re looking for a quick, browser-based option that doesn’t require a single download, Podcastle makes the entire process simple. You can drop in a video file, edit the audio if you want to, and export it in the format you need, all in one place.
Step 1: Create a free account and start a new project
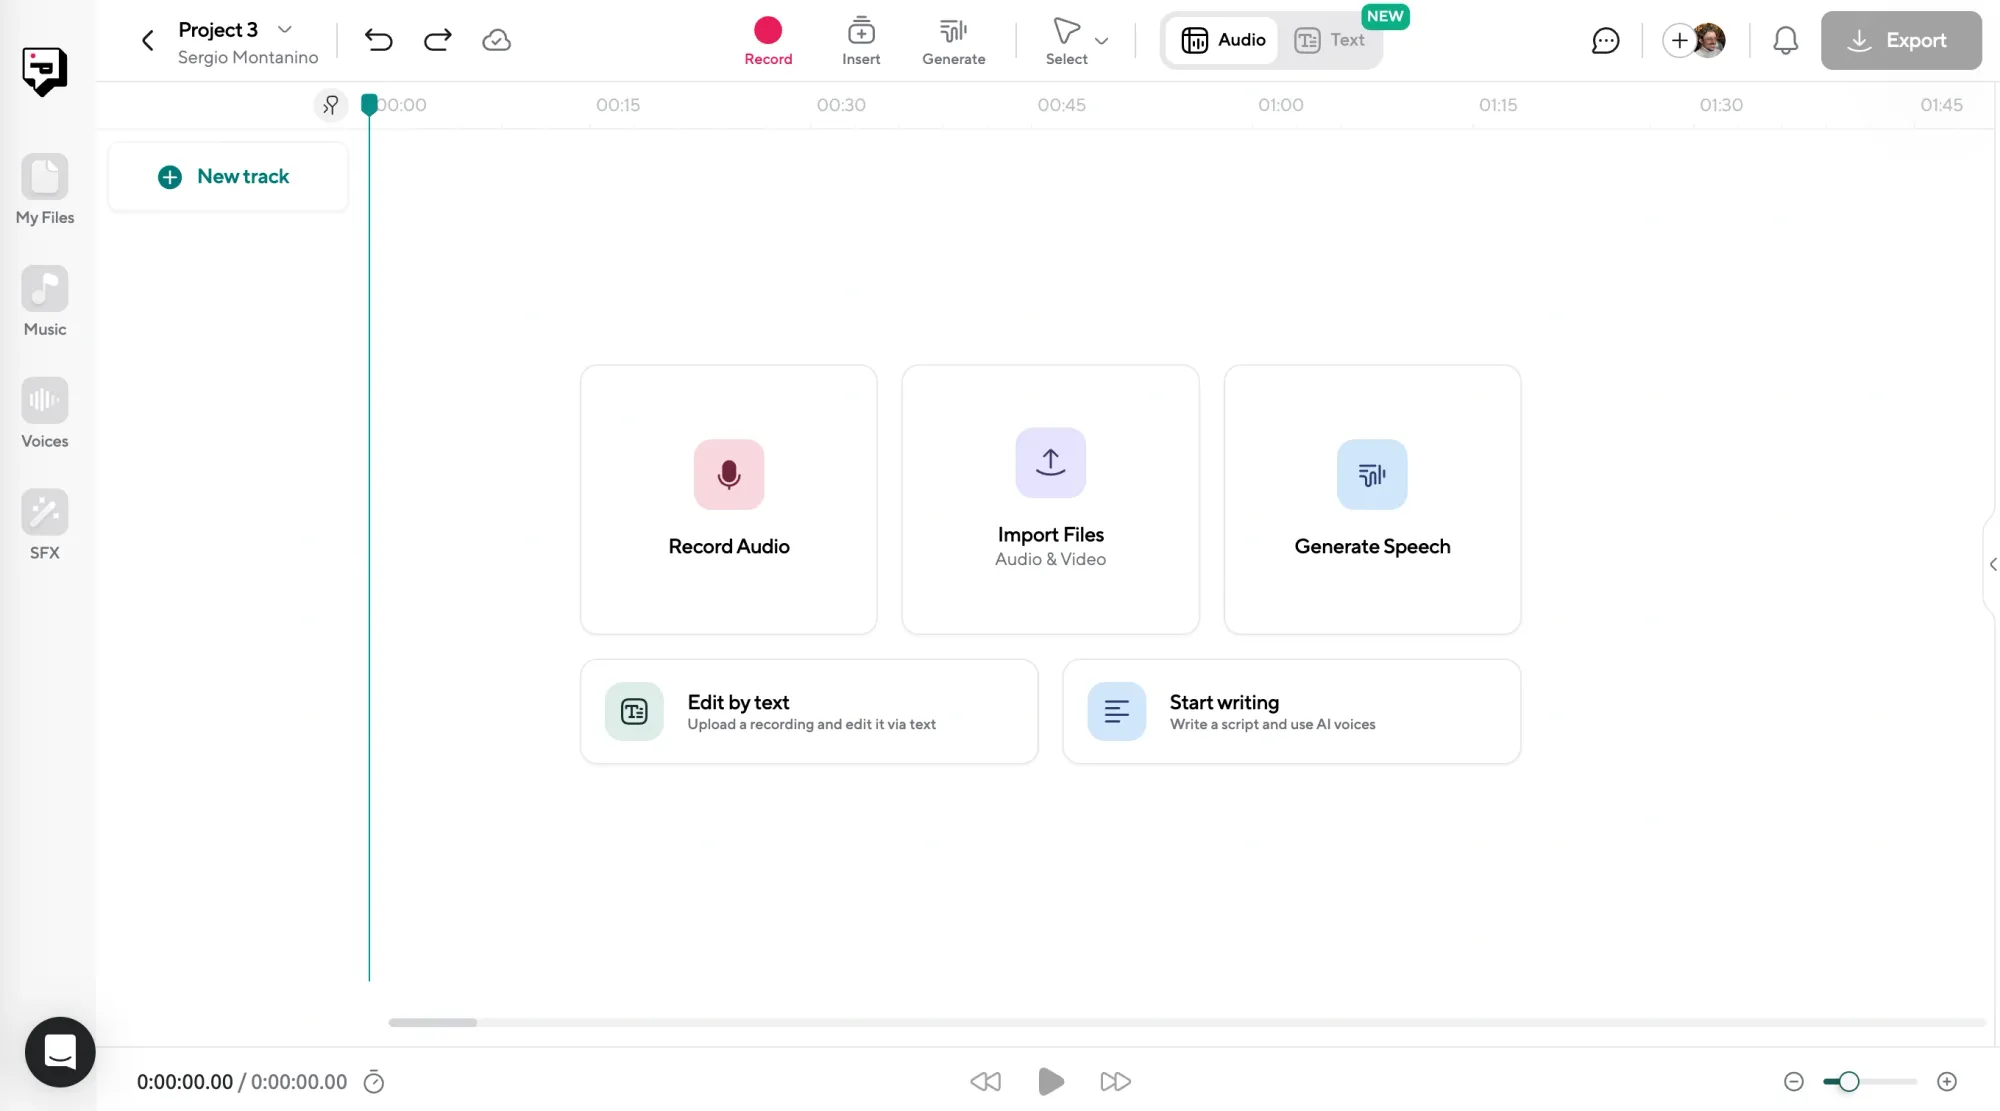
Go to Podcastle and sign up for free. It only takes a few seconds, and you can use your existing Google, Apple, or Facebook login if that’s easier. Once you’re in, click Create and choose New Project, then select Audio Project to get started.
Step 2: Upload your video file
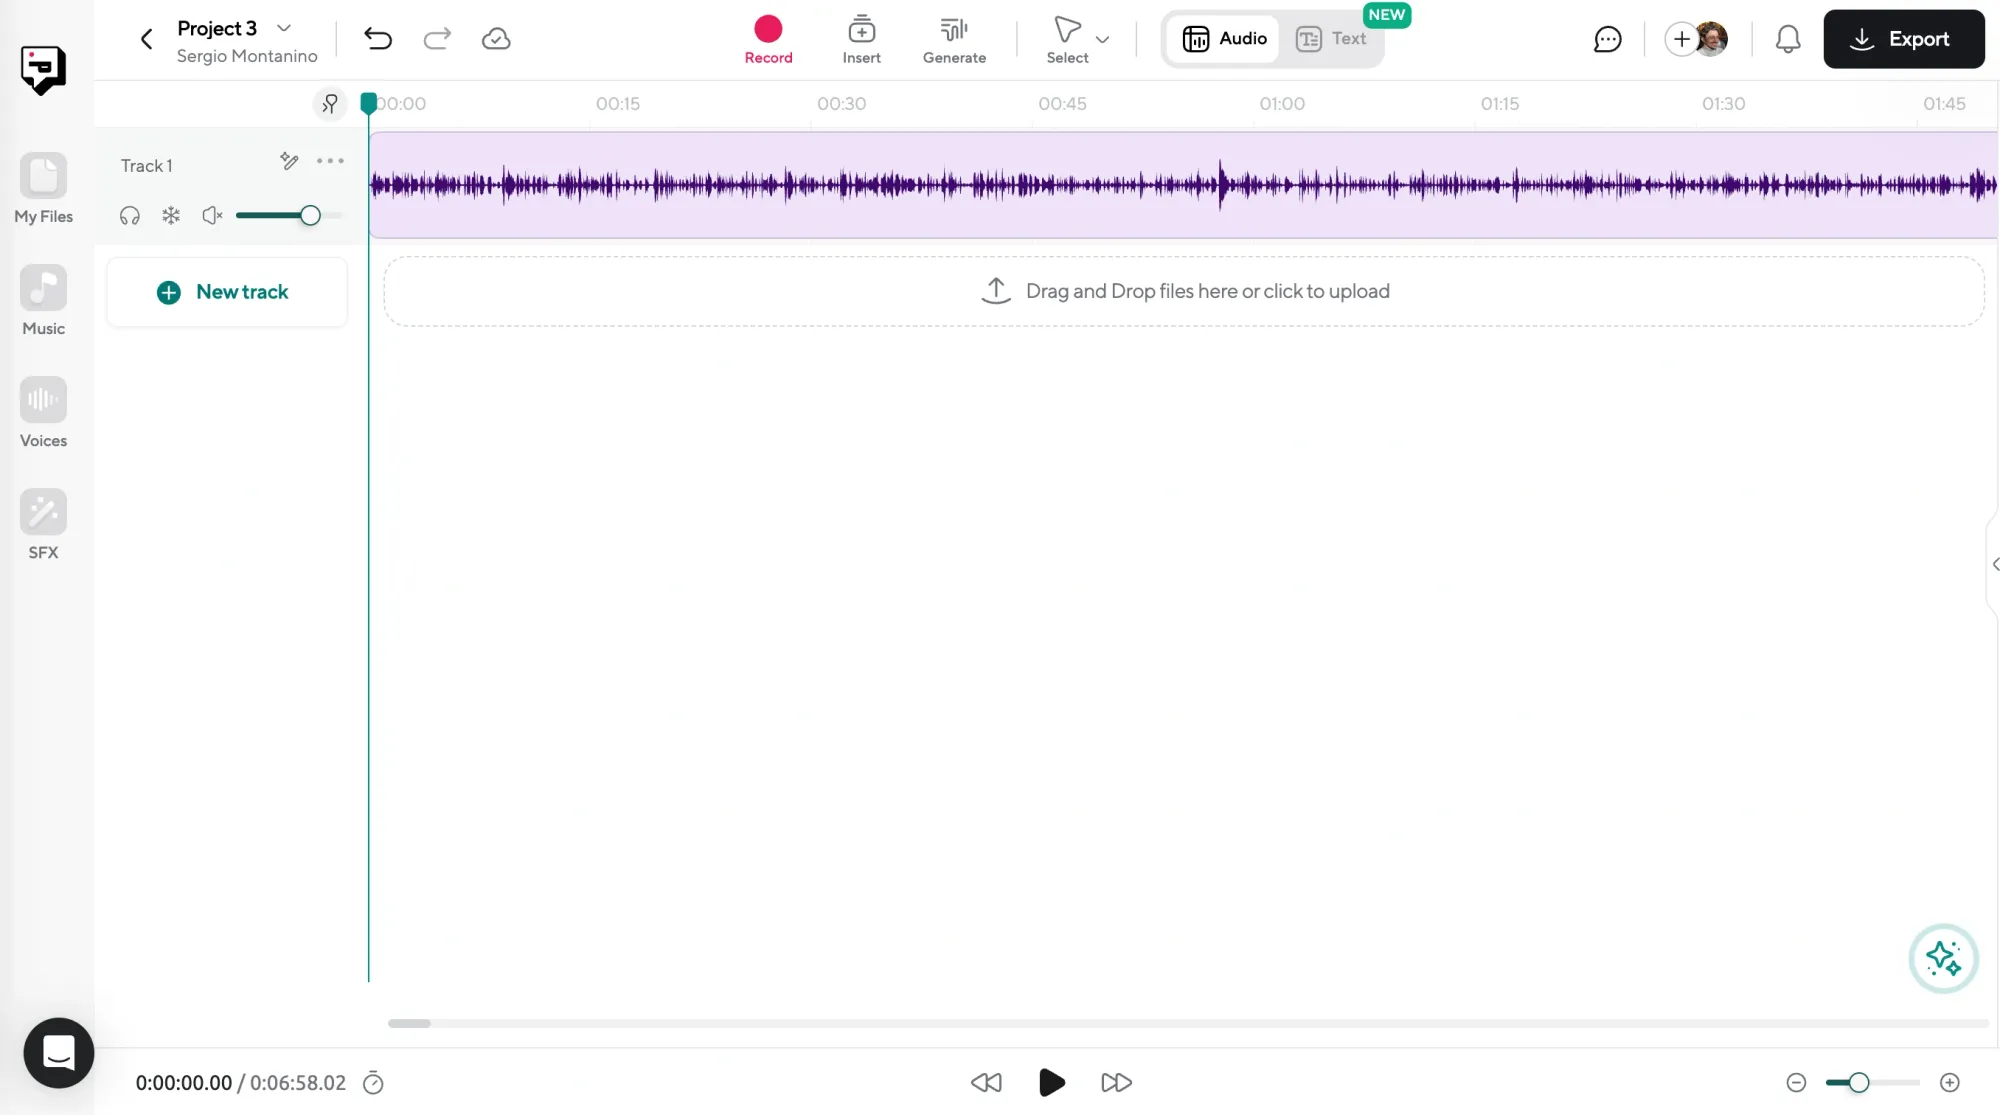
Drag your video into the timeline, or click to upload it manually. As soon as it finishes uploading, Podcastle will extract the audio automatically and display it as a waveform right inside the editor. You don’t have to fiddle with any settings or choose conversion modes. It just works.
Step 3: Polish the audio with built-in tools
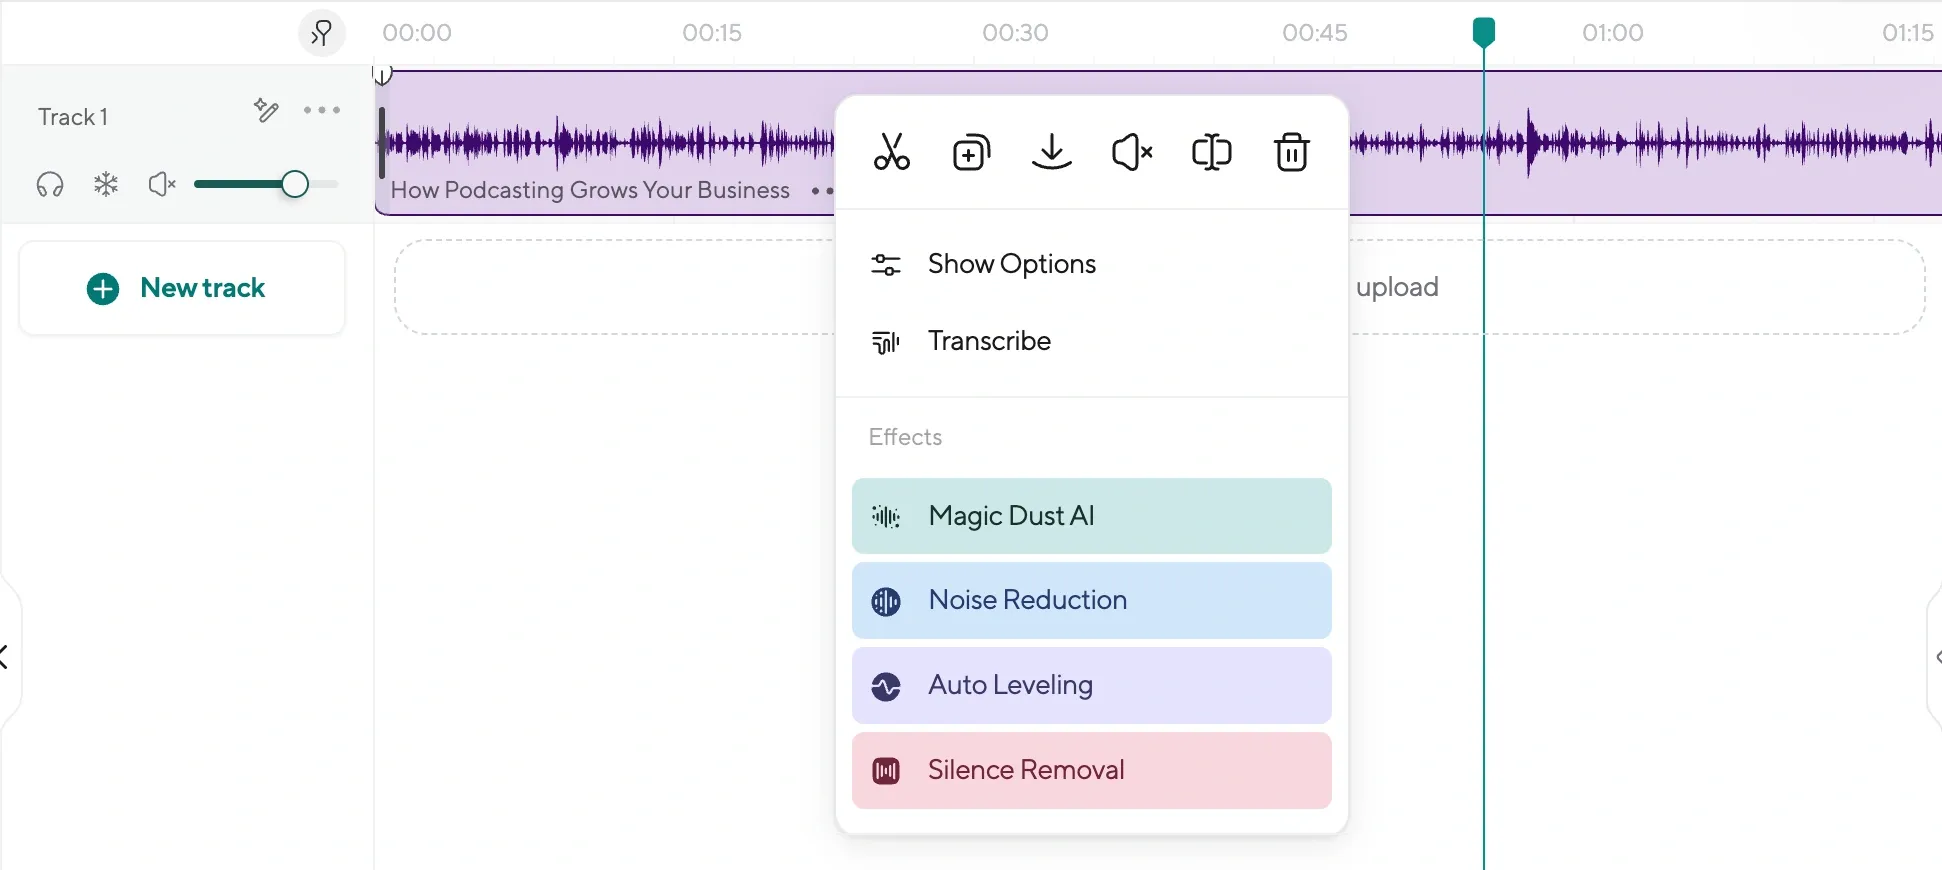
This step is optional, but if you want your audio to sound clearer, Podcastle has AI tools that can help. You can remove background noise, balance the volume, or even generate a transcript with one click. It’s especially useful if you plan to turn the file into a podcast or need a written version of what was said.
Step 4: Export your finished audio
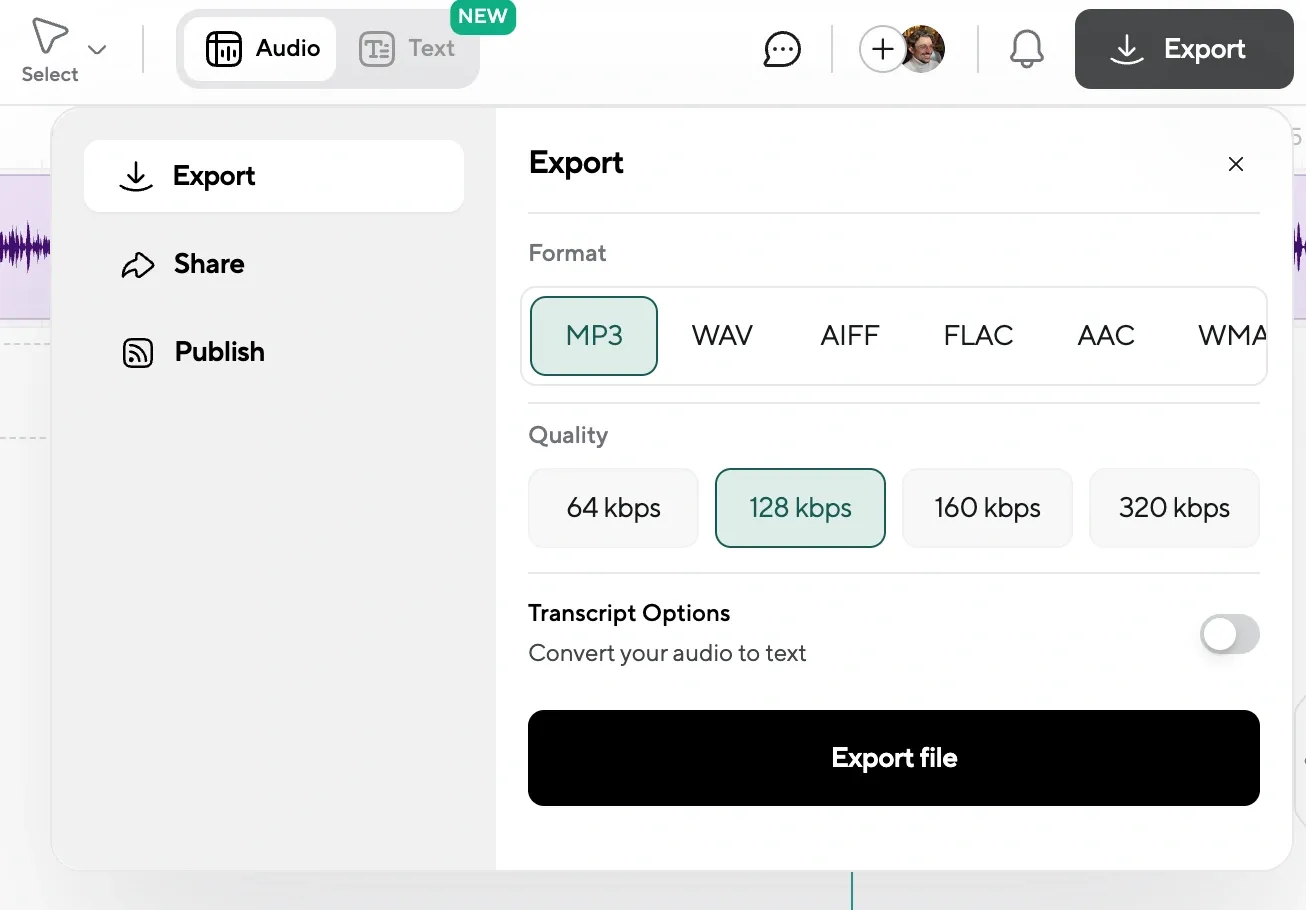
Once you’re happy with the result, head to the export menu and choose your preferred audio file format. You now have a clean audio file, pulled straight from your original video, and ready to share wherever you want.
How to Convert Video to Audio on Desktop
If you prefer to work on a laptop or desktop computer, there are plenty of reliable tools that can help you convert video to audio. Some are built-in, some are free to download, and most of them only take a few minutes to use once you get the hang of them.
Whether you’re using Windows or macOS, here are the easiest ways to get it done.
Convert Video to Audio on Windows
You have a few options, not just with native tools, but also with free third-party software like VLC or Audacity.
Option 1: Clipchamp (Windows 11 and up)
Clipchamp is Microsoft’s built-in video editor and comes pre-installed on most newer Windows devices. While it doesn’t offer a formal “Export as MP3” option, it does let you separate the audio from a video and save it as a standalone file in M4A format.
Here’s how to use it:
- Open Clipchamp and create a new project
- Drag your video into the timeline
- Right-click the clip and choose Detach Audio
- The audio will appear as a separate track
- Click Export, and choose Audio when prompted
The final file will be saved as an M4A. If you need it in MP3 format, you can convert it afterward using a free tool like Podcastle or an online converter. It’s a quick fix for basic needs and works well when you just want the audio and don’t need to edit much.
Option 2: Windows Media Player (Older Windows versions)
If you’re using an older version of Windows, like Windows 7 or Windows 10, you may still have Windows Media Player as your default media app.
To try it:
- Open Windows Media Player
- Click Organize in the top-left, then go to Layout > Show Menu Bar
- Once the menu bar appears, click File > Open, and select your MP4 file
- After the video loads, go to File > Save As
- In the Save window, rename the file with an .mp3 extension
- Choose where to save it and click Save
This method doesn’t ncessarily re-encode the file or strip out the video layer, it simply saves a version that may play as audio depending on the app you use. It’s not guaranteed to work in every case, and some platforms may reject it, but if it opens and plays as audio on your device, it might be good enough for simple personal use.
Convert Video to Audio on Mac
Just like on Windows, you've got a couple options to turn a video into audio, like with Quicktime Player!
Option 1: Using QuickTime Player
If you’re using a Mac, you already have one of the easiest tools built right in. QuickTime Player can open video files and export the audio from them in just a few clicks.
Here’s how to use it:
- Open QuickTime Player, then go to File > Open File and select your video
- Once it loads, go back to File, then choose Export As > Audio Only.
- Choose where to save the file, give it a name, and click Save.
That’s it. QuickTime will export the audio in M4A format, which works with most players and platforms. If you need a different format, you can always convert it afterward using another tool like Podcastle or VLC.
Best Third-Party MP3 Converters for Mac and Windows
What you see above are all native ways of doing so on your desktop. But, quite frankly, some of the best software is third-party. Here are a couple options that can convert video to audio on Mac and Windows.
Option 1: Using VLC Media Player
VLC is a popular free tool that many people already have on their computers. It’s known for playing just about any video file, but it also works surprisingly well as a converter.
Here’s how to use it:
- Download and install VLC if you haven’t already.
- Open the app, click on the Media menu, then choose Convert / Save.
- Click Add, and select the video file you want to convert.
- Click Convert / Save again, and under Profile, choose Audio - MP3 or any other format you prefer.
- Choose a destination folder and file name that ends with “.mp3” or your chosen audio extension.
- Click Start, and VLC will do the rest.
The process is quick, and the output is solid. It’s not the prettiest interface, but it gets the job done.
Option 2: Using Audacity (with FFmpeg plugin)
Audacity is one of the most popular free audio editors out there. It’s powerful, but a little more hands-on than VLC. You’ll also need to install something called the FFmpeg plugin if you want it to open video files directly.
Here’s the general process:
- Install Audacity, and follow their instructions for adding the FFmpeg library.
- Once that’s done, open Audacity and go to File > Open, then choose your video file.
- Audacity will automatically extract the audio and load it into the editor.
- From there, go to File > Export, pick your format (like MP3 or WAV), and save your new audio file.
If you’re someone who wants more control (maybe trimming silence, adjusting volume, or applying filters) Audacity is a great option. Just be ready for a bit of a learning curve if you’ve never used it before.
How to Convert Video to Audio on Your Phone
When you’re working from your phone, the process is still pretty straightforward. Whether you want to extract audio from a screen recording, a saved video, or something you’ve filmed yourself, there are reliable apps that can handle it. You won’t get the same level of editing control as you would on desktop or with Podcastle, but if you just need a quick conversion, these apps will do the trick.
How to Extract Audio From Video On iPhone
For iPhone users, one of the easiest tools is an app called Media Converter – Video to MP3. It’s free, simple to use, and works well for turning short videos into clean audio files.
Here’s how to do it:
- Open the App Store and download Media Converter – Video to MP3.
- Launch the app, tap the + icon, and choose Import Videos to bring in your file.
- Once the video is added, tap the options menu and select Extract Audio.
- Choose your preferred format — MP3 or WAV are both good choices.
- Tap Save, and your audio will be ready to use.
The app gives you a few extra features if you want to trim the file or adjust the bitrate, but even the default settings will work fine for most needs.
How to Extract Audio From Video On Android
Android users can try an app called Video to MP3 Converter, which has a similar layout and process. It’s available on the Google Play Store and supports a wide range of video file types.
To convert a video to audio on Android:
- Download Video to MP3 Converter from the Play Store.
- Open the app and tap + Add Files to select the video you want to convert.
- Choose the Video to Audio option from the menu.
- Pick your output format — again, MP3 is a safe bet — and confirm your settings.
- Tap Convert, and the app will process the file and save it to your device.
Keep in mind that if you’re working with YouTube videos, you’ll need to download the video to your phone first before you can convert it. These apps can’t pull content directly from YouTube.
Recording Video and Audio Separately
If you’re still planning your recording setup, it helps to think about what you actually need from the final files. Converting video to audio works well when you’re pulling from existing footage, or when quality isn’t your top concern. But in some cases, especially if you’re creating content for a podcast, a video course, or anything where sound clarity or visual sharpness matters, it might make more sense to record audio and video separately from the start.
When you do that, you’re not tied to the limitations of a single file. You can use a higher-end microphone for crisp audio while capturing video in the resolution that works best for your platform. You’re not locked into whatever quality your camera recorded. You get clean, dedicated files for each, and the flexibility to edit them on their own terms.
Podcastle's Audio Editor makes this easy by recording each track independently, even for remote interviews. Audio is captured locally on each participant’s device, so network hiccups don’t affect the final quality. You also have the option to record video alongside it, and both tracks stay synced automatically.
That said, this kind of setup isn’t always necessary. If you’re working with casual content or quick clips, using an MP3 converter is the fastest path. But if you’re aiming for a more polished result (or you know you’ll want to reuse the content in different formats) recording things separately can save you a lot of effort later.
Handle Video and Audio Content with Podcastle
If you’re pulling audio from a video you recorded months ago or creating something brand new, the right approach depends on what you’re making and how polished you want it to be. For some, a quick converter is all you need. For others, especially if you’re thinking ahead about quality, reuse, or multi-platform publishing, it makes sense to take a more intentional route.
That’s where Podcastle comes in. It’s more than just a converter. You can use it to extract audio from any video file, but you can also record from scratch, edit with precision, and enhance your content using built-in AI tools.
FAQs
Can I convert video to audio without downloading any software?
Yes. If you use a browser-based tool like Podcastle, you don’t need to install anything. Just upload your video, and the platform will extract the audio automatically. You can edit it, enhance it, and export in the format you want — all online.
What audio format should I choose when exporting?
MP3 is usually the best choice if you’re sharing the file online or want something lightweight and compatible with most devices. If you’re aiming for higher quality and don’t mind a larger file size, WAV or AIFF are great options.
Can I convert a YouTube video to audio?
Yes, but you’ll need to download the video first using a separate tool. Most converters won’t work directly with YouTube links. If it’s your own video, a public domain clip, or something you’re using for personal, non-commercial purposes, you’re good to go. Just use your judgment. Plenty of people do this to save interviews, lectures, or background audio for offline listening.
Is there a quality loss when converting video to audio?
There can be, especially if you’re using low-bitrate settings or unreliable apps. To keep your audio sounding clean, use a trusted tool and export in a decent quality setting. Podcastle, for example, preserves the original audio quality during conversion.
What’s the best format to convert video to audio?
MP3 is the most common format because it’s lightweight and compatible with nearly every device. If you’re focused on audio quality and don’t mind larger files, WAV is a solid choice. Tools like Podcastle let you choose between both when exporting.
Can I use Podcastle for free?
Yes. Podcastle has a free plan that lets you convert files, record audio, edit your content, and even generate transcripts. If you need more advanced features or want higher export limits, there are paid plans available, but you can get started at no cost.