Need to record audio on the go?
Your iPhone is one of the best tools to do it.
It’s quick, easy and surprisingly high quality, so all you need to do is just follow a few simple steps.
In this guide we’ll tell you how to record audio on iPhone and how to make the most out of it.
Psst... Want to Listen to This Blog?
Prefer listening over reading? Hit play below to hear this blog, brought to life using our AI Voice, Thea:
How to use Voice Memos on iPhone
The Voice Memos app is a built-in feature on iPhones that turns your device into a handy voice recorder app. Follow these steps to start recording like a pro:
1. Open the Voice Memos App
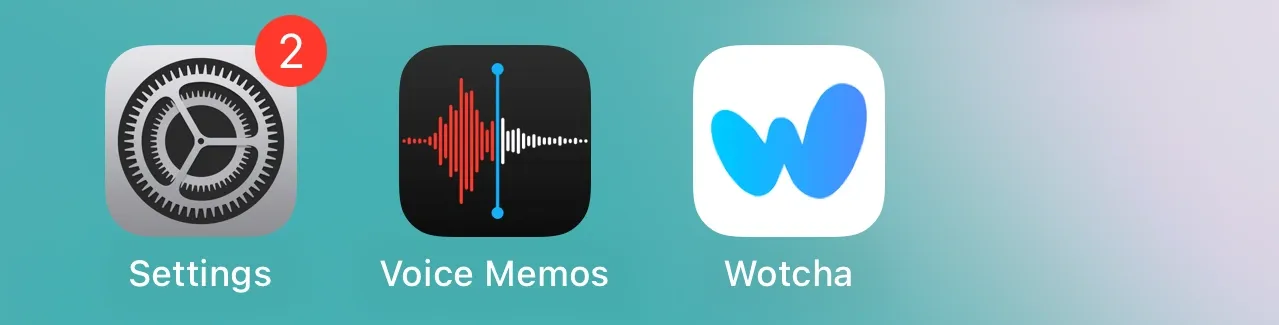
Find the Voice Memos app on your iPhone. It’s pre-installed and has an icon that looks like a waveform. If you don’t see it, search for “Voice Memos” in Spotlight or download it for free from the App Store.
2. Position Your iPhone Correctly
Hold your iPhone close to your mouth if recording yourself, or place it on a flat surface around 6–8 inches from the sound source. For group recordings, ensure the microphone is unobstructed.
3. Tap the Red Record Button
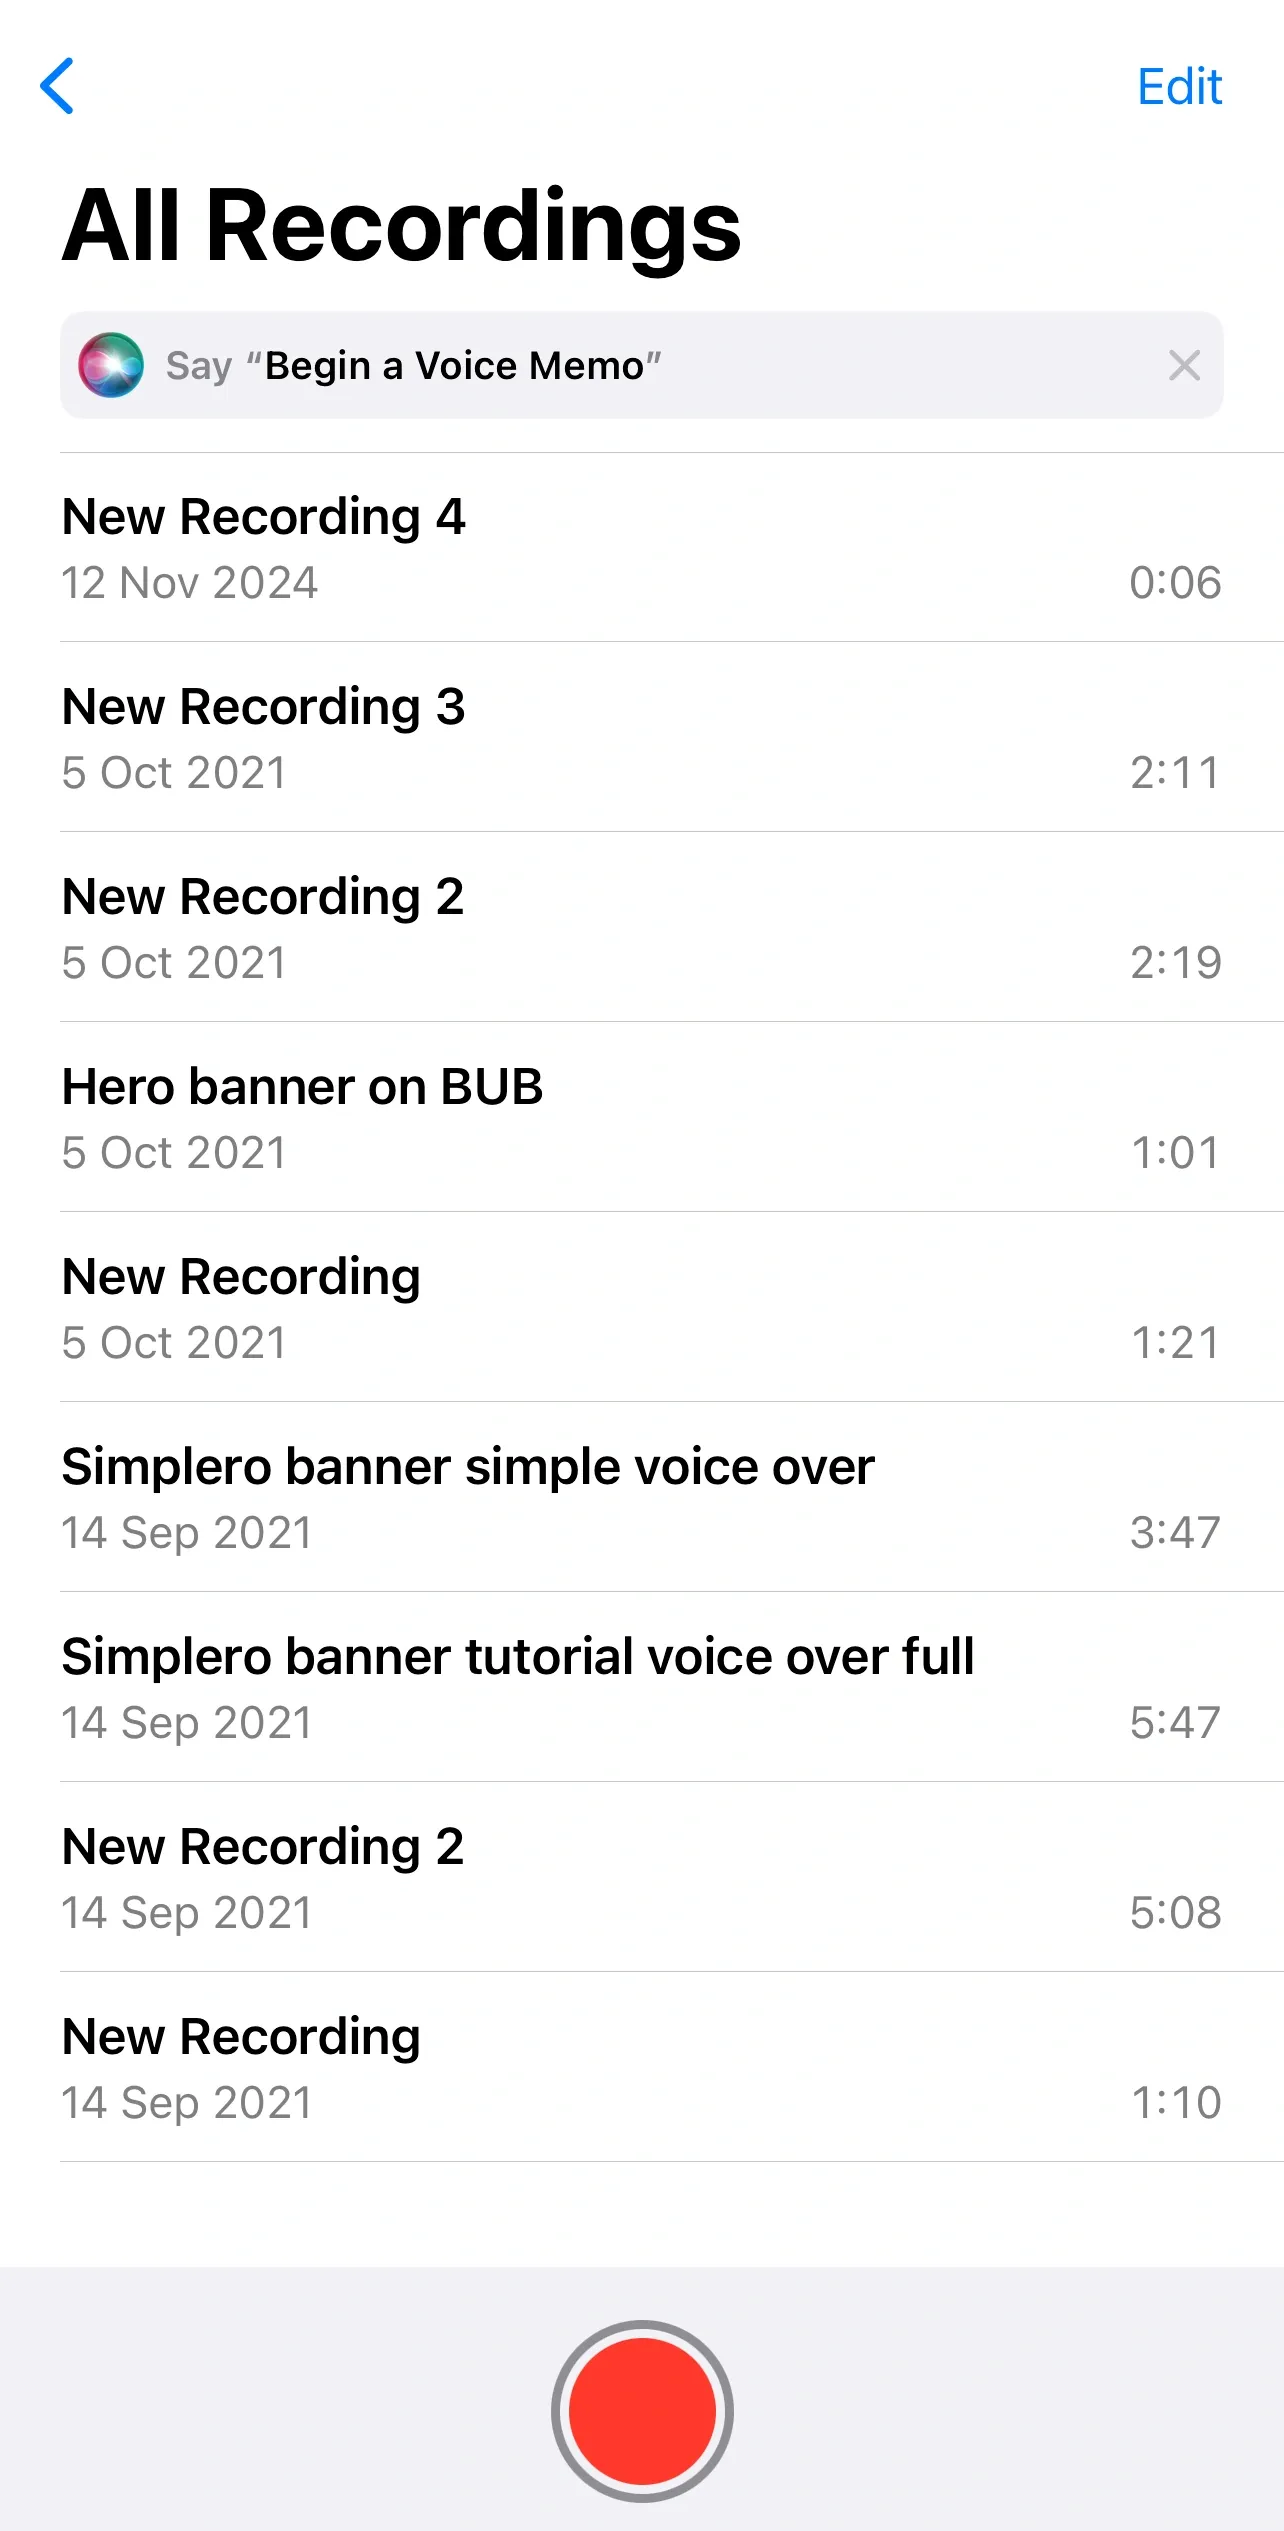
Once positioned, tap the large red record button to start recording. A waveform will appear, showing the audio levels as you record.
4. Speak Clearly
For the best results, speak at a steady volume and in a quiet room. Minimize background noise to enhance the clarity of your audio recording.
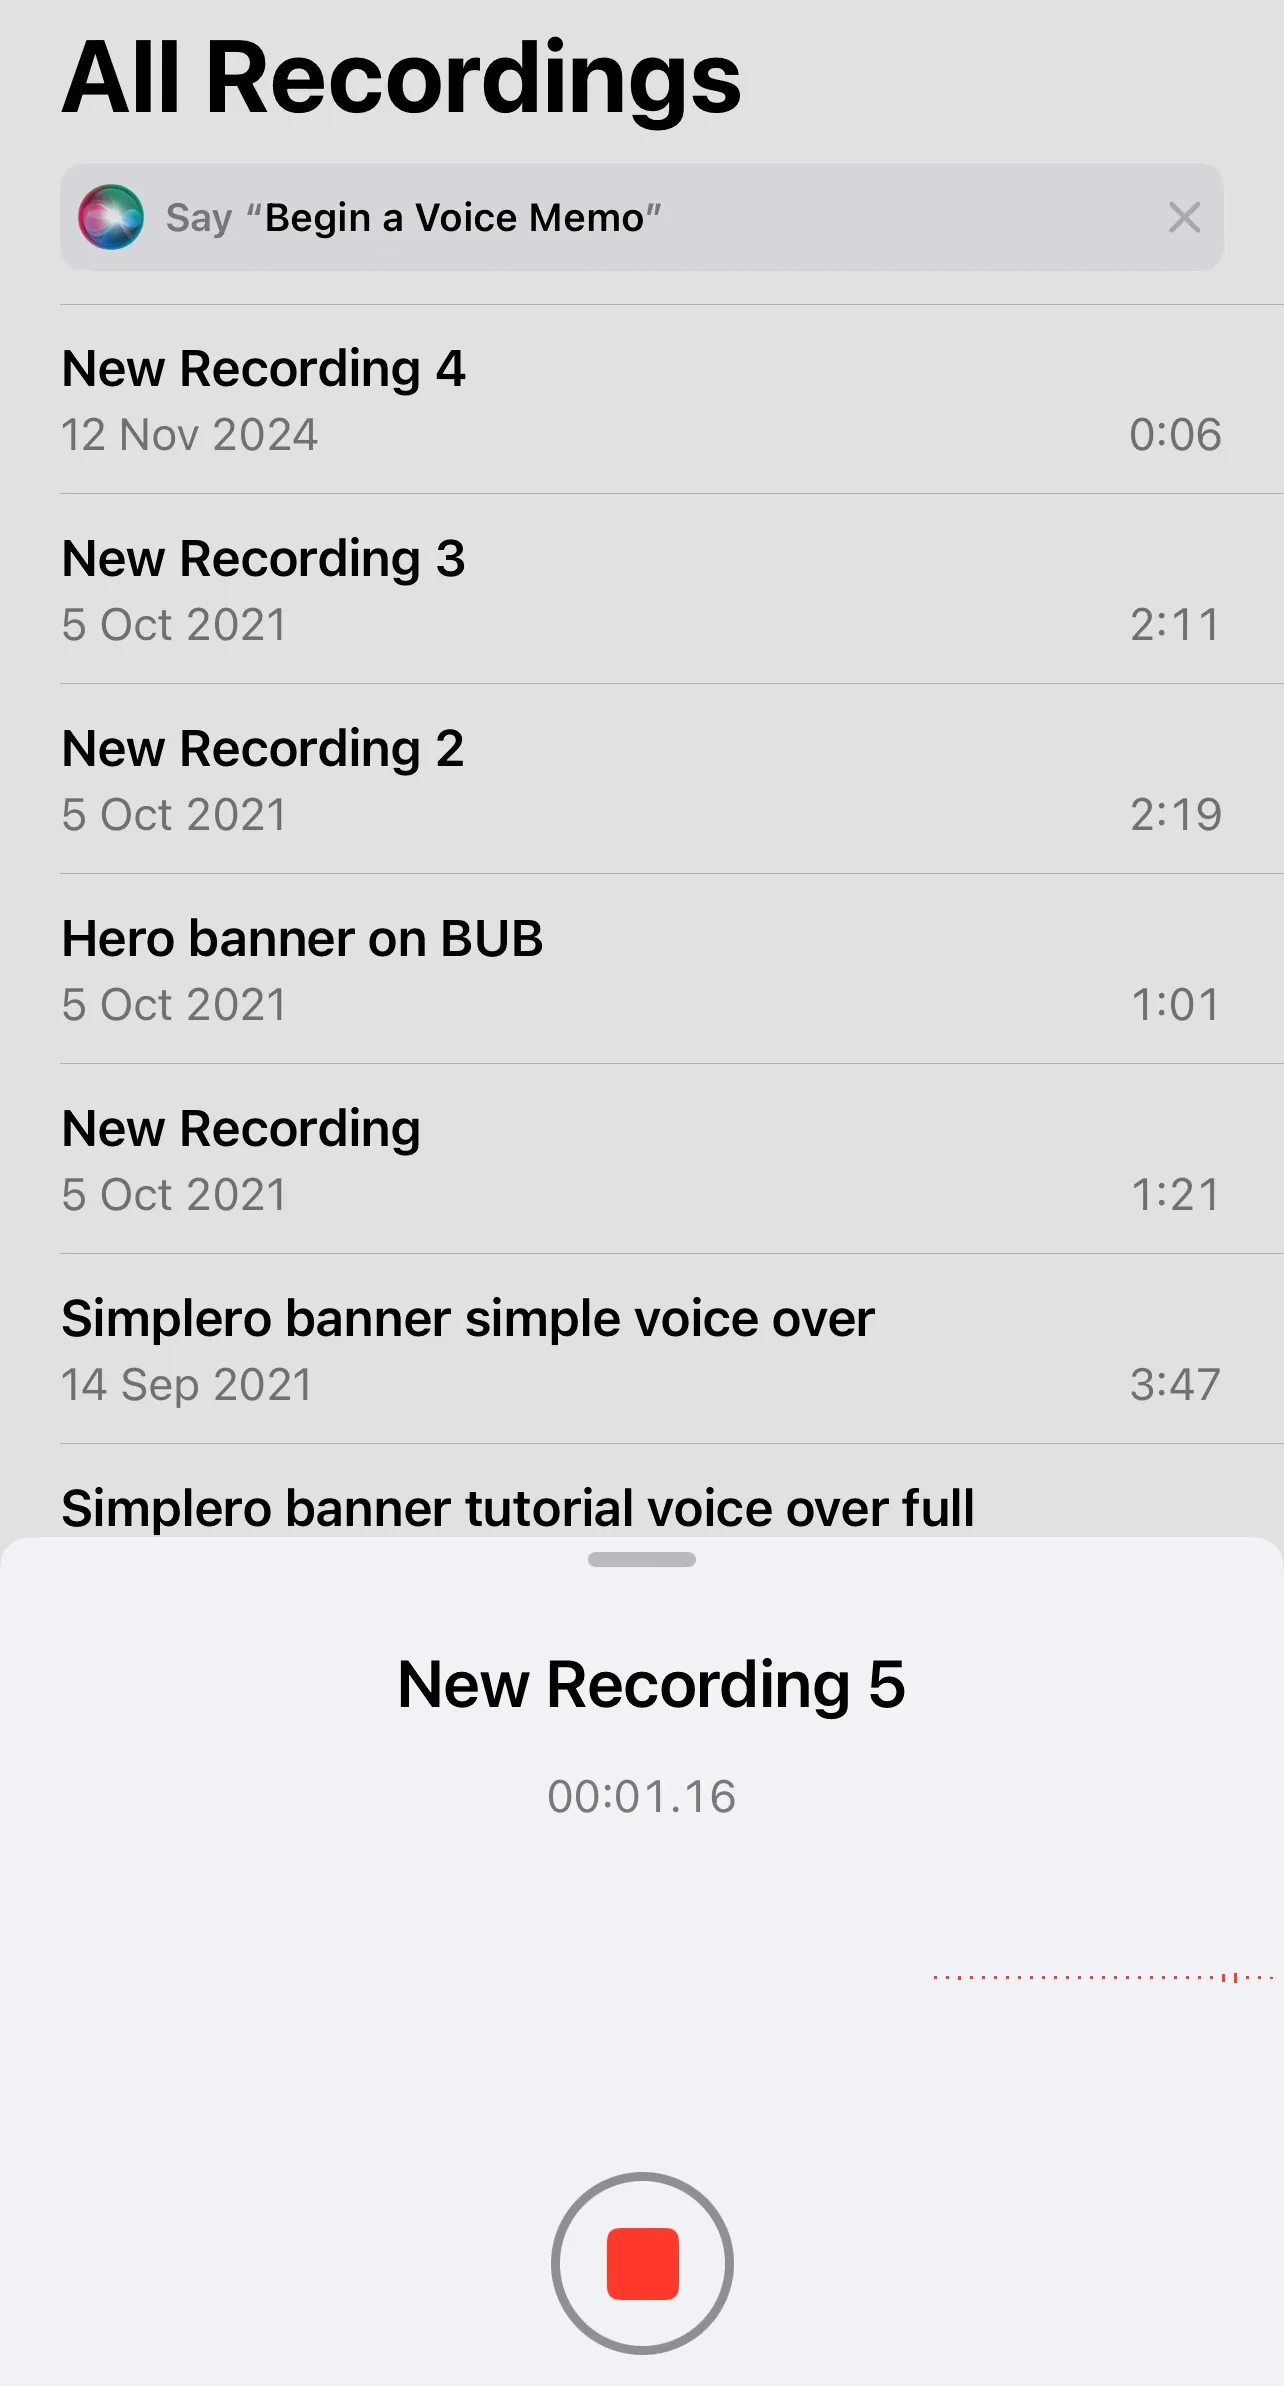
5. Pause or Stop the Recording
To pause, tap the recording bar at the bottom and hit “Pause.” When you’re done, press the stop button. Your recording is automatically saved under the name “New Recording.”
6. Save Your Recording, Rename it, and Share or Export
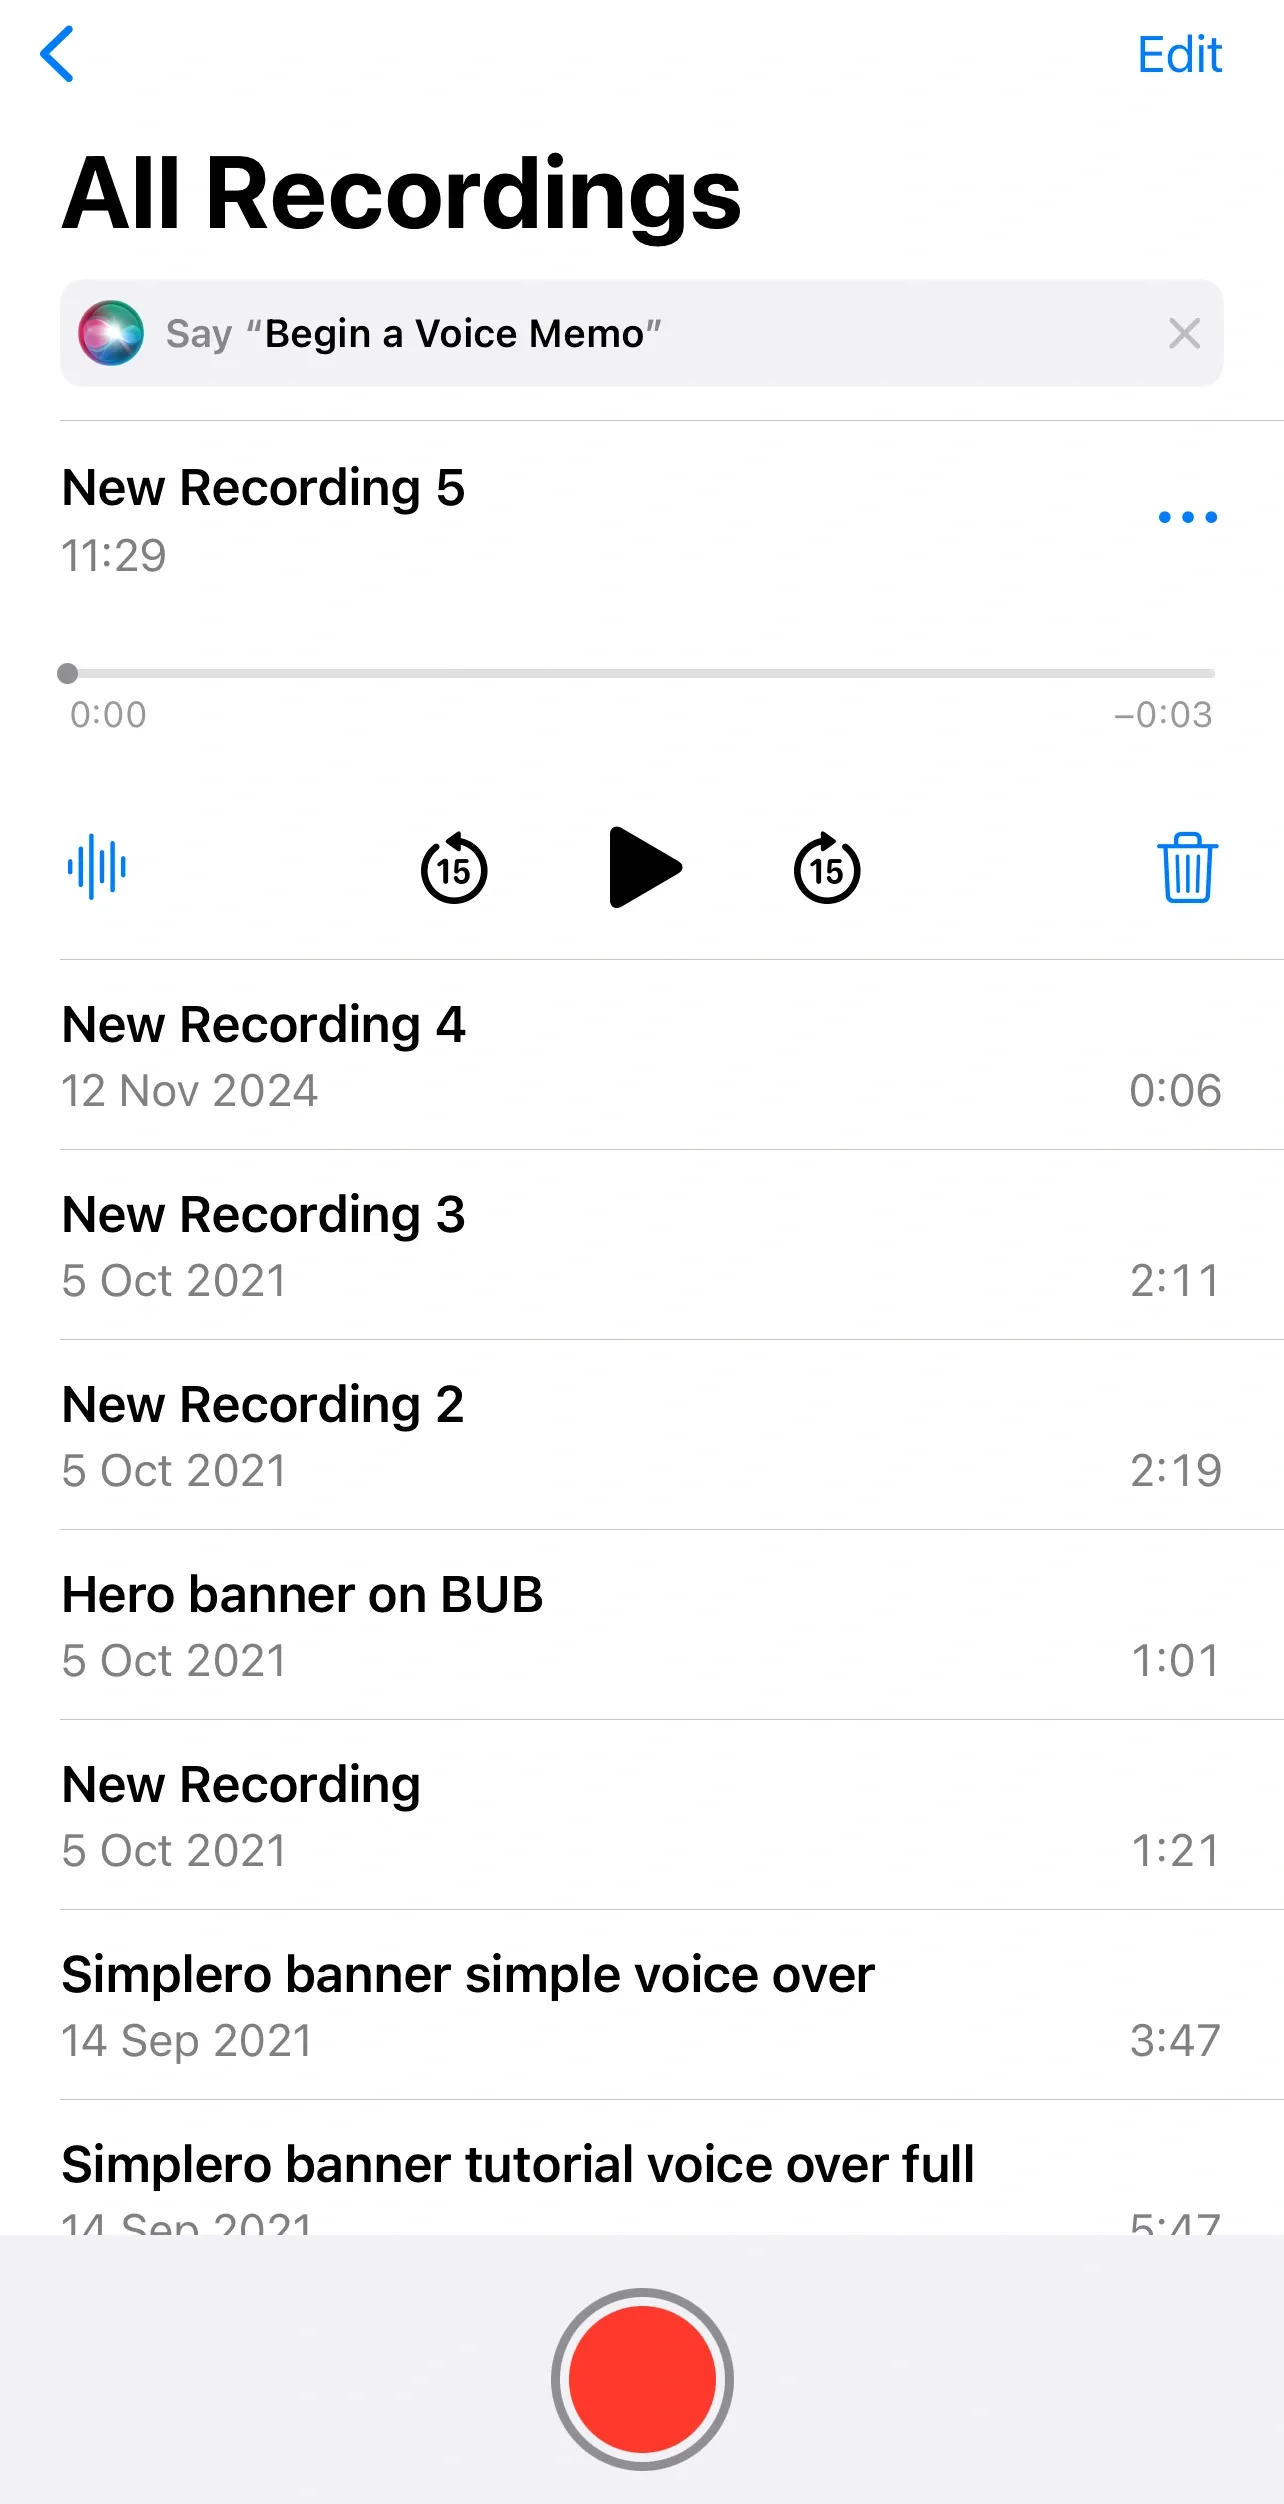
Tap on the recording to play it back, rename it, or trim unwanted parts. Just select “Edit Recording” to access the trimming feature and save your polished audio.
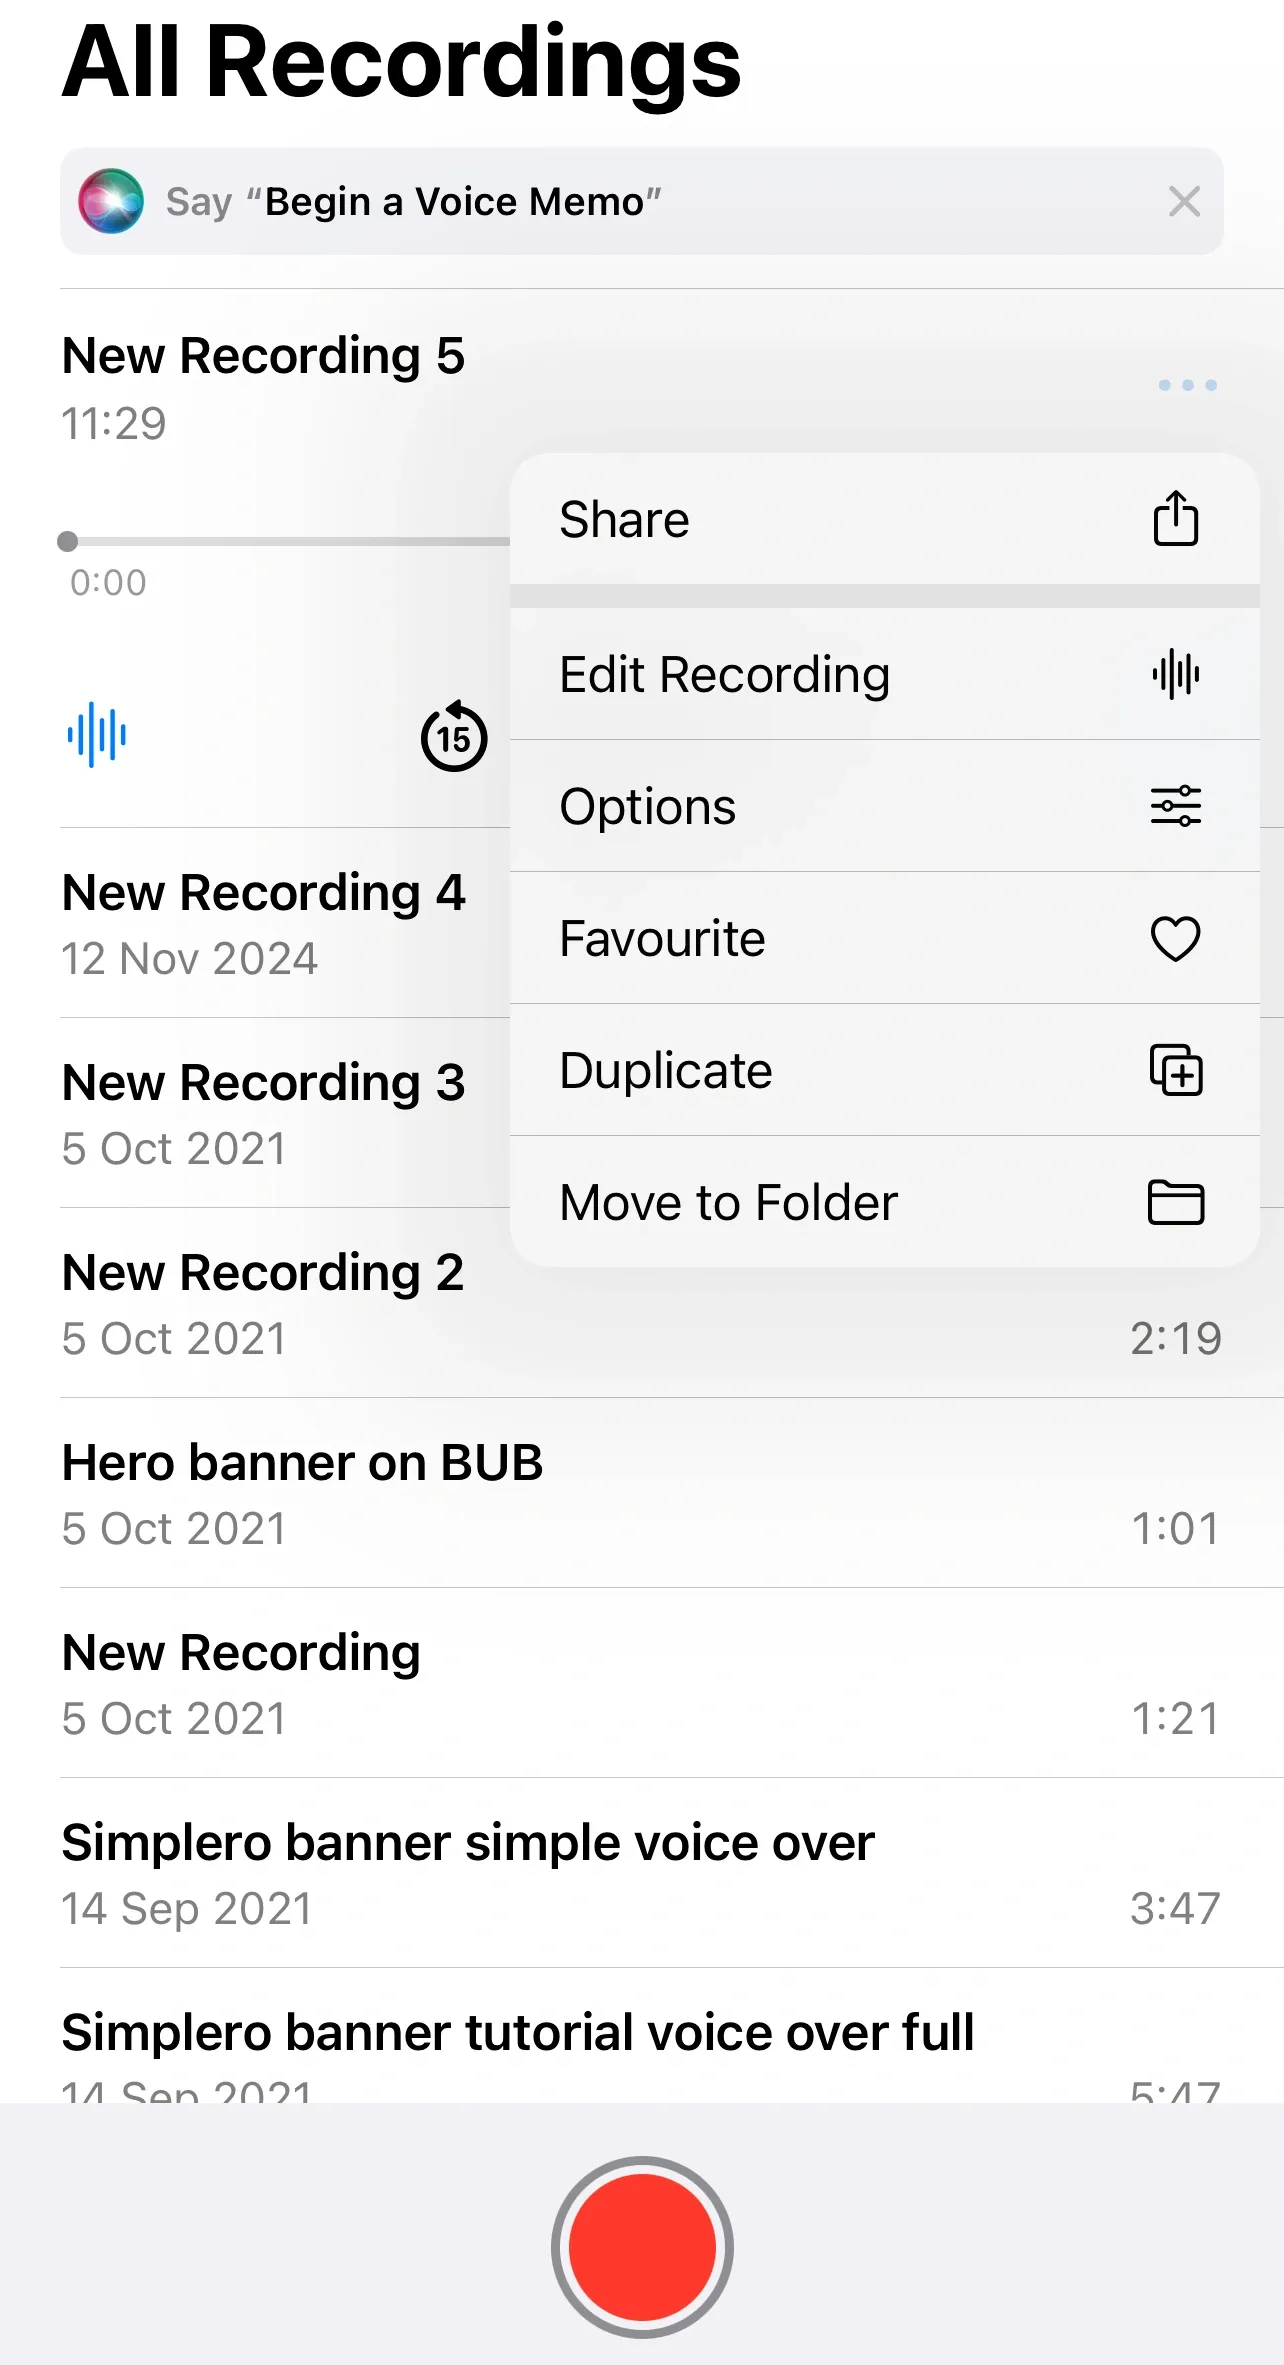
Need to share your recording? Tap the three dots next to the file, select “Share,” and choose options like AirDrop, Messages, or email.
The Voice Memo app is the easiest and best way to record audio on iPhone for most users, but if you need more advanced features, keep reading!
How to Record Audio with Podcastle’s App
If you’re looking for a more professional approach to audio recording, Podcastle’s app is an excellent choice. Designed for creators, it’s perfect for podcasting, interviews, or even recording group conversations remotely. Here’s how to use it:
1. Download and Install the App
The Podcastle app is available for iOS devices. Download it from the App Store and log in with your Podcastle account. Keep in mind that the app is only compatible with iPhones, not iPads.
2. Start a New Recording
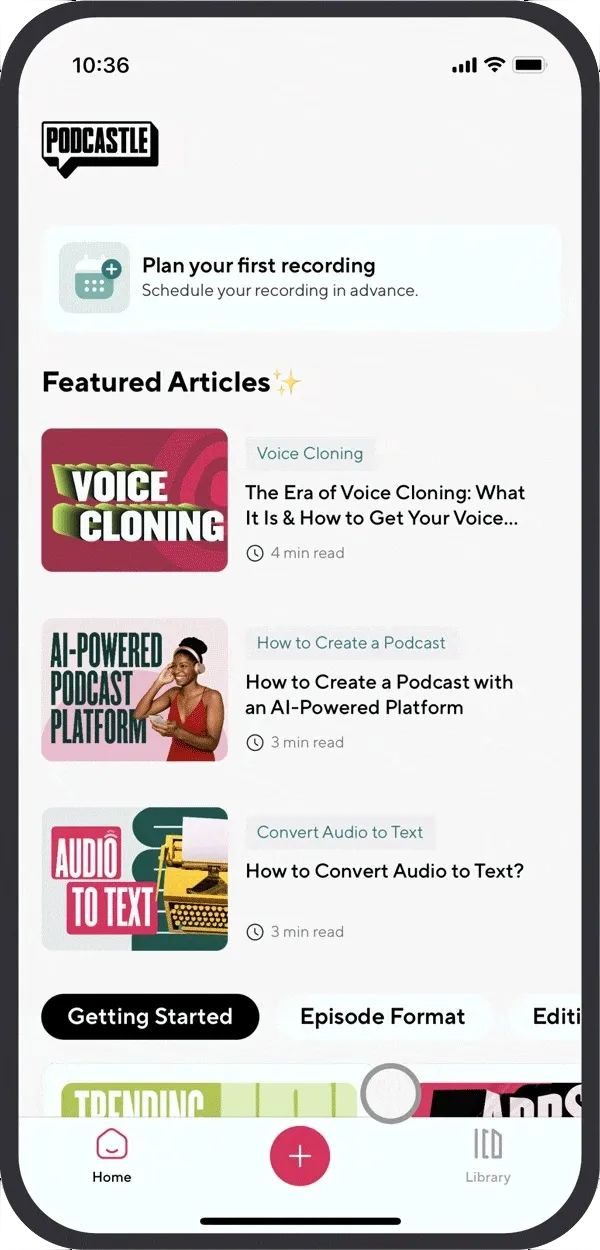
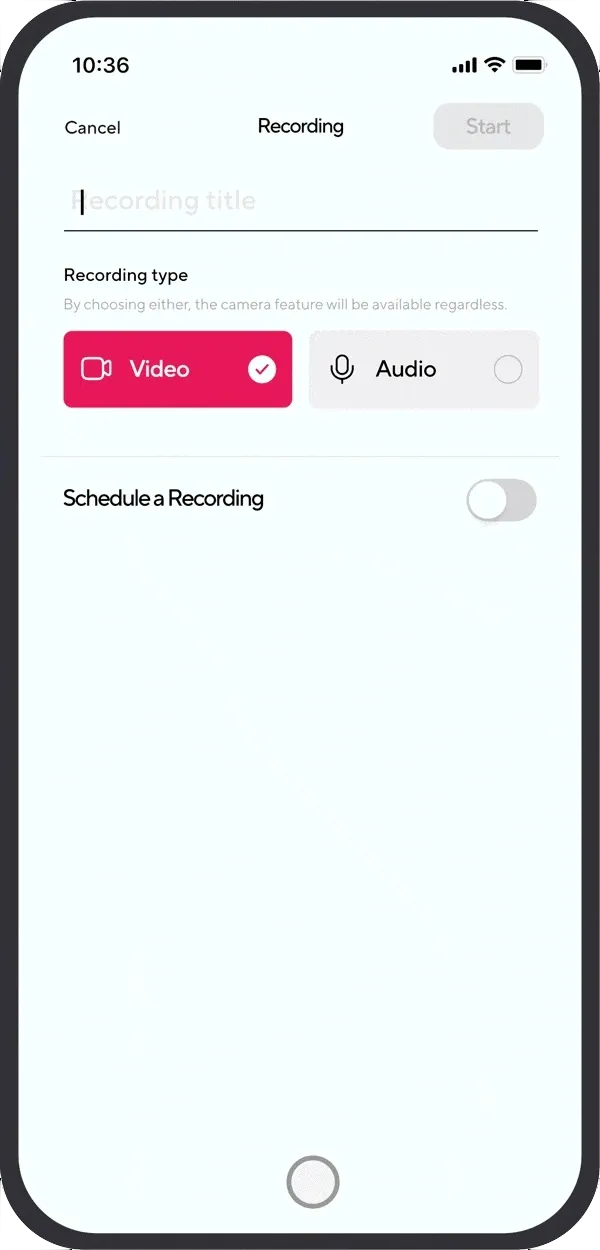
On the main page, tap the plus sign (+) at the bottom of the screen to begin. You’ll be prompted to fill in details like the title of your project and whether it’s a video or audio recording. You can even schedule a future recording.
3. Check Your Microphone and Camera and Hit Record
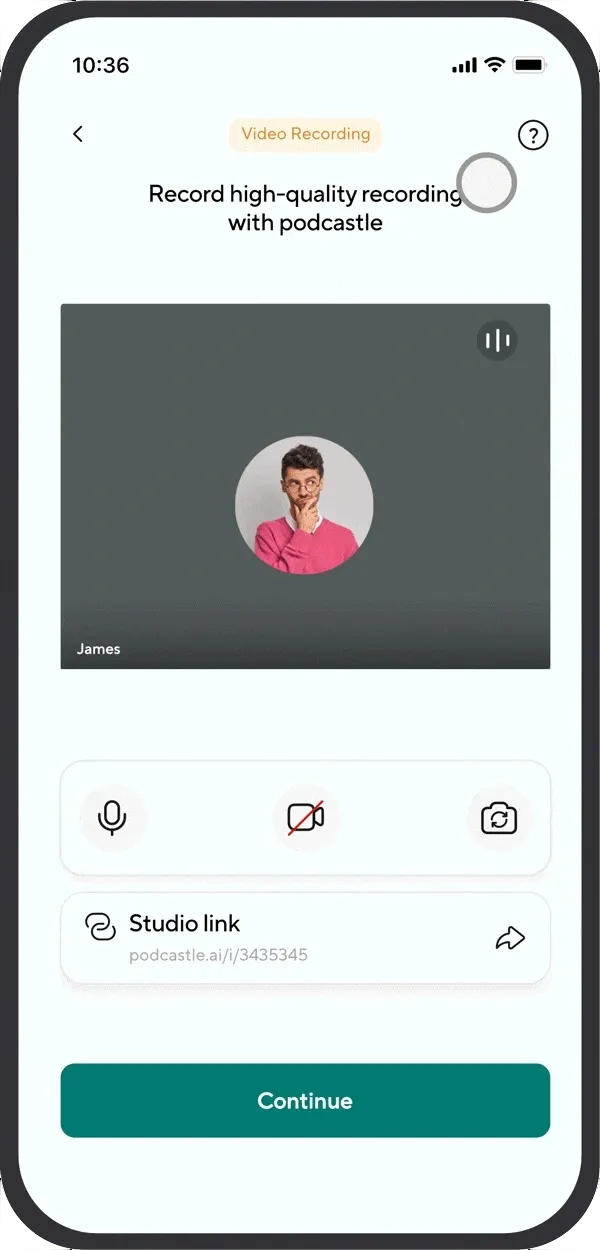
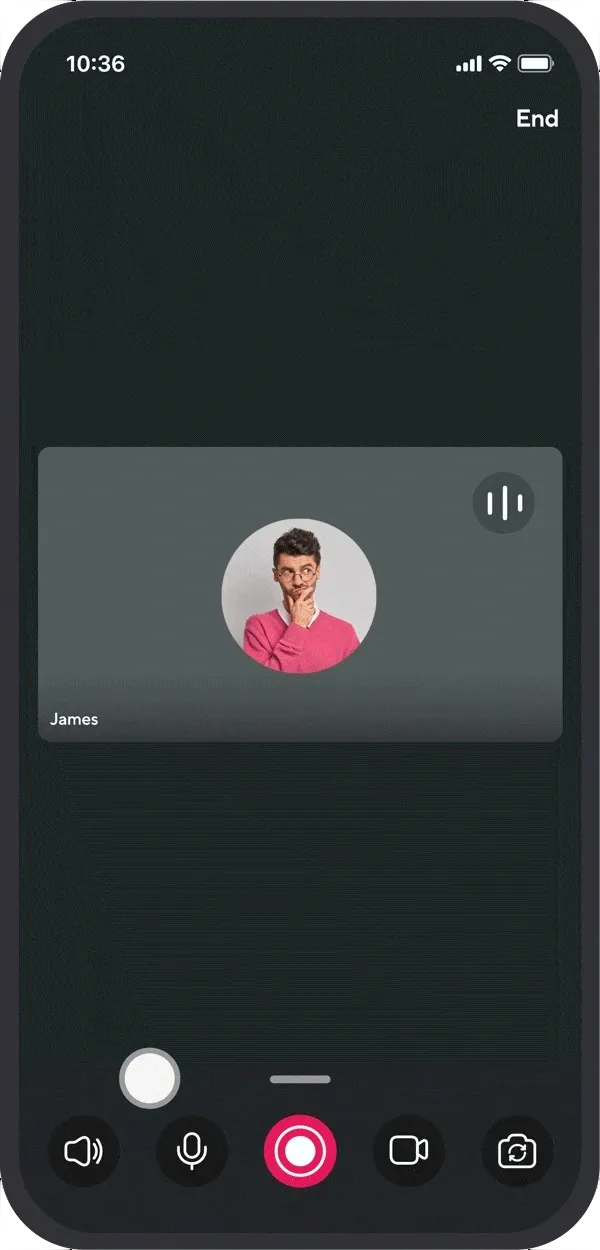
Before recording, ensure your microphone is set up correctly. For group recordings, you can share a link with guests, allowing them to join remotely. When you’re ready, press the record button to start. The app supports solo or group recordings, giving you flexibility for various projects.
5. Save, Access, and Listen to Your Recordings
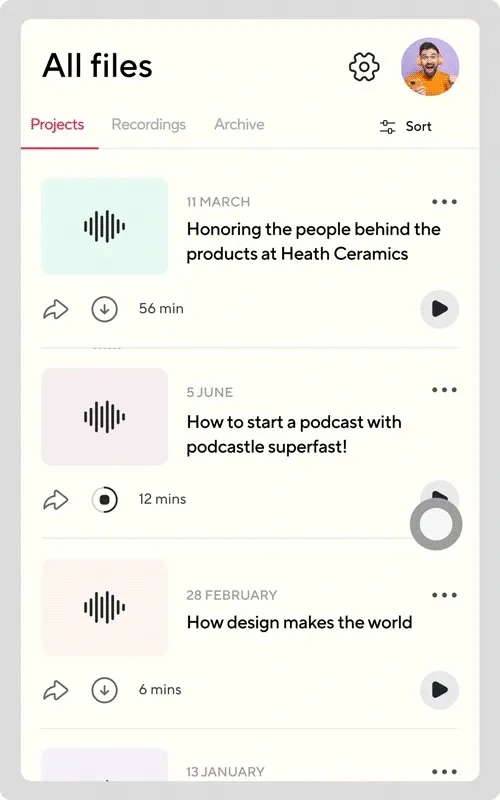
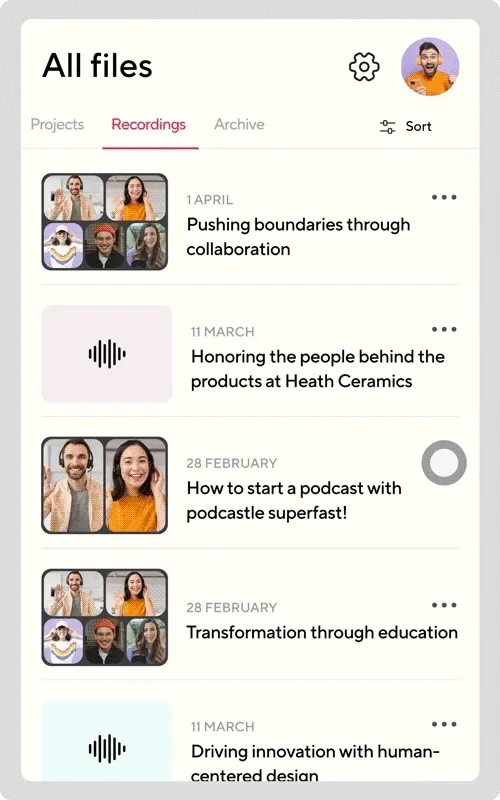
Once finished, wait until your recording is fully uploaded to avoid losing any data. All recordings are saved in the “Library” under the Recordings tab. To review your recording, tap the three dots next to it and choose “Create a Project.” For advanced editing, log in to your Podcastle account via the web platform, where you’ll find tools for trimming, enhancing, and finalizing your audio.
Helpful Tips for Using Podcastle
- Avoid closing the app while recording to ensure nothing gets lost.
- Make sure your file is fully uploaded before exiting the app.
- If the upload is interrupted, reopen the app and allow it to finish.
The Podcastle app is more than just an iPhone voice recorder; it’s a complete solution for high-quality audio production. Whether you’re a casual user or a professional, Podcastle offers a seamless recording experience.
How to Improve Audio Quality When Recording on an iPhone
When it comes to recording high-quality audio on your iPhone, you don’t need to be a sound engineer, but a few key tips can make a big difference. Whether you’re using the built-in Voice Memo app, an external voice recorder app, or even professional tools like Podcastle, your goal is to ensure crisp, clear sound. Let’s dive into how to improve your audio recordings and solve common issues like muffled sound or background noise.
1) Invest in an External Microphone for Better Sound
While the iPhone’s built-in microphone is decent for casual recordings, it’s not ideal for professional-quality audio. Using an external microphone can drastically enhance your sound quality.
Why Use an External Microphone?
The built-in iPhone microphone picks up a lot of background noise and struggles with directional audio, leading to inconsistent sound. An external microphone allows you to focus on the sound source and minimizes interference.
Types of External Microphones
- Lavalier Microphones: Small clip-on mics perfect for interviews or recording a conversation on iPhone.
- Shotgun Microphones: Great for directional audio, ideal for voiceovers or solo recordings.
- USB or Lightning Microphones: Plug directly into your iPhone for hassle-free setup.
How to Use an External Microphone with Voice Memos
Simply plug in the external microphone and open the Voice Memo app. Ensure the mic is properly connected before hitting the record button. This is one of the best ways to record audio on iPhone if you’re aiming for studio-quality sound.
2) Watch Your Microphone Placement
Even with the best tools and settings, poor microphone placement can sabotage your recording. Where you position your phone or external mic determines how clear and consistent the sound will be.
Ideal Microphone Placement
For the built-in iPhone voice recorder, keep the device about 6–12 inches away from your mouth. This distance ensures your voice is clear without being too loud or distorted. If you're using an external microphone, place it slightly closer, depending on its type. For lavalier mics, clip them near your chest but away from fabric that might rub and create noise.
Tips to Avoid Volume Issues
- Avoid speaking directly into the mic: Angle the microphone slightly to prevent harsh "p" or "s" sounds.
- Stay consistent with distance: Moving too much while recording can cause volume fluctuations, making your audio harder to edit later.
- Test before recording: Record a short sample to check levels and adjust as needed.
By mastering microphone placement, you’ll achieve a more professional sound with minimal effort.
3) Reduce Background Noise
Background noise is the enemy of clear audio. From the hum of an air conditioner to chatter in a café, unwanted sounds can ruin your recording.
Common Challenges with Background Noise
- Ambient Sounds: Traffic, appliances, or other environmental noise.
- Wind Noise: Outdoor recordings often pick up wind interference.
- Handling Noise: The sound of your hands moving the phone during recording.
Solutions to Minimize Noise
Another effective way to tackle background noise is by using software tools. If you're recording on an iPhone with the Voice Memo app, you can use third-party apps or desktop software for post-recording noise reduction. Apps like Podcastle's online editor offer noise-canceling features that filter out unwanted sounds. Additionally, holding your phone or microphone steadily is crucial—try using a tripod or stand to avoid handling noise that can creep into your recording.
For outdoor recordings, consider using microphones with windshields or noise-canceling features. If you're relying on the built-in iPhone microphone, recording in a less windy area, such as behind a building or using your body as a shield, can help. Paying attention to your environment and taking these small steps can ensure your audio is cleaner from the start.
4) Choose the Right Recording Environment
The environment you record in has a significant impact on your audio quality. Even the best voice recorder app or external microphone can't fully compensate for a noisy or echo-prone space.
Finding the Perfect Spot
Start by looking for a quiet room where you can control the surroundings. Spaces with soft furnishings—like carpets, curtains, and cushions—absorb sound, reducing echo. On the other hand, rooms with hard surfaces like tiles or wood floors can cause reverberation, which will make your audio sound distant or muddy.
If you're trying to record a conversation on an iPhone or any voiceover, avoid areas with background noise, such as open windows, loud electronics, or high foot traffic. Recording in a closet or placing a blanket over your recording space might seem extreme, but these tricks can significantly reduce unwanted sound.
Troubleshooting Environment-Related Challenges
If your recording space is less than ideal, consider making adjustments. Close doors and windows, turn off noisy appliances like fans or AC units and ask others in your vicinity to lower their volume. For longer recordings, take breaks to monitor and adjust your setup to ensure consistent quality.
Final Thoughts
Recording high-quality audio on an iPhone doesn’t have to be a struggle. With a little preparation, the right tools, and a quiet space, you can produce professional-level sound. Whether you’re using the Voice Memo app for quick recordings or exploring advanced tools, like external microphones and noise reduction techniques, the key is to plan ahead and experiment with what works best for your needs.
For those looking to take their audio recordings to the next level, Podcastle offers a seamless, professional-grade solution. With features like easy group recordings, built-in editing, and superior sound quality, it’s designed to help you create content that stands out. So make sure you give it a try!