There are plenty of reasons to use an AI voiceover, and most of them have nothing to do with pretending to be a robot.
Sometimes you’re short on time. Sometimes you don’t want to record your own voice because the room isn’t quiet or you’re working late or your mic setup just isn’t good enough. And sometimes, you’re making something where using an AI voice actually works better, like an explainer, a demo, a tutorial, or a draft that needs to go live fast.
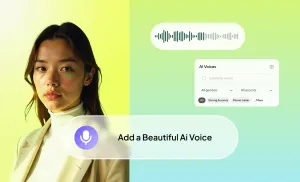
With Podcastle, you can create and drop a voiceover straight into your video or audio timeline in just a few minutes. You pick a voice, type your script, preview it, and drop it in. Then, if you want, you can take it further by adding music, adjusting pacing, or building out the rest of your project with stock footage and other AI tools.
Here’s exactly how to do it from start to finish.
How to Create an AI Voiceover: Full Tutorial
It might seem complicated at first, but creating an AI voiceover is actually pretty straightforward once you see it in action. All you’re really doing is choosing a voice, adding your script, and placing it exactly where it belongs in your project.
Here’s how to make it happen, step by step.
Step 1: Open the Editor and Upload Your Content
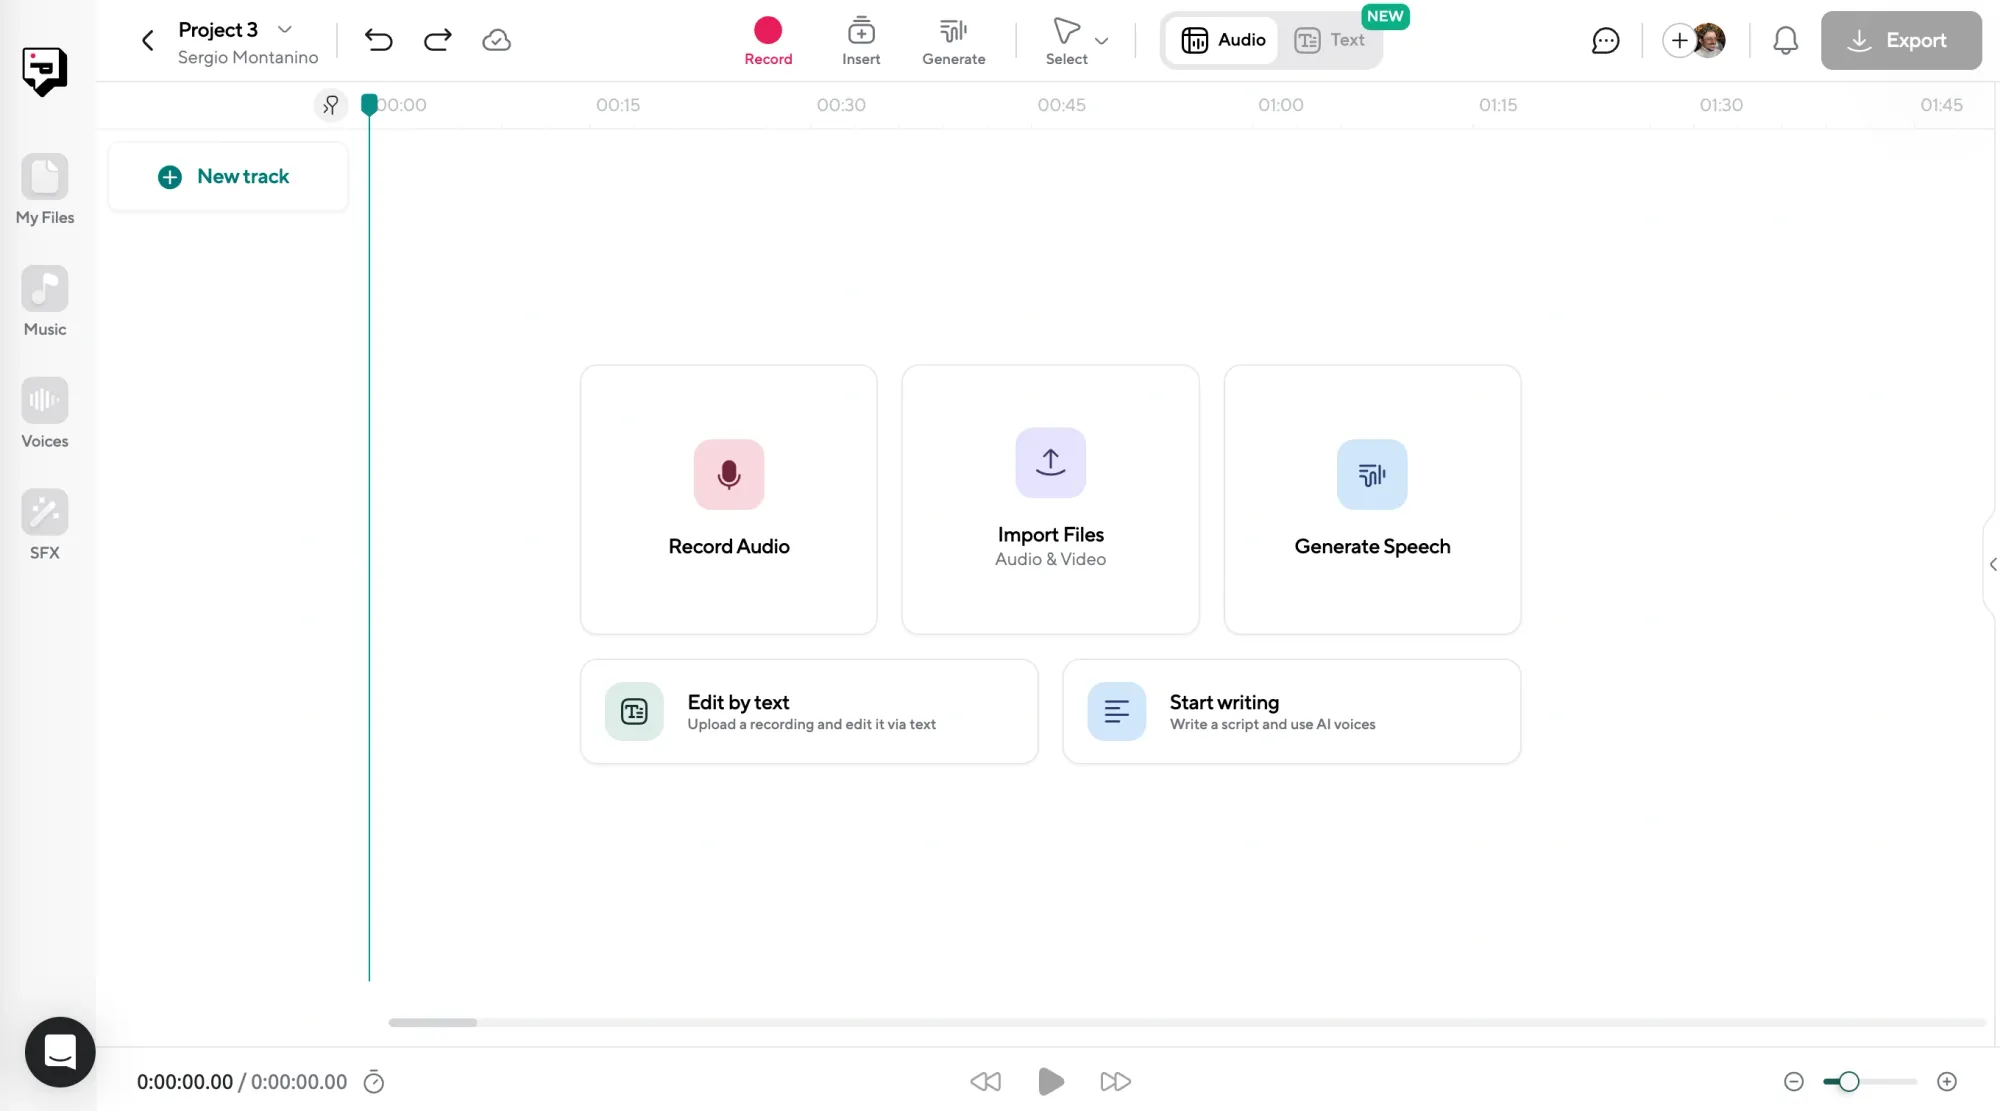
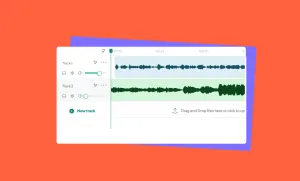
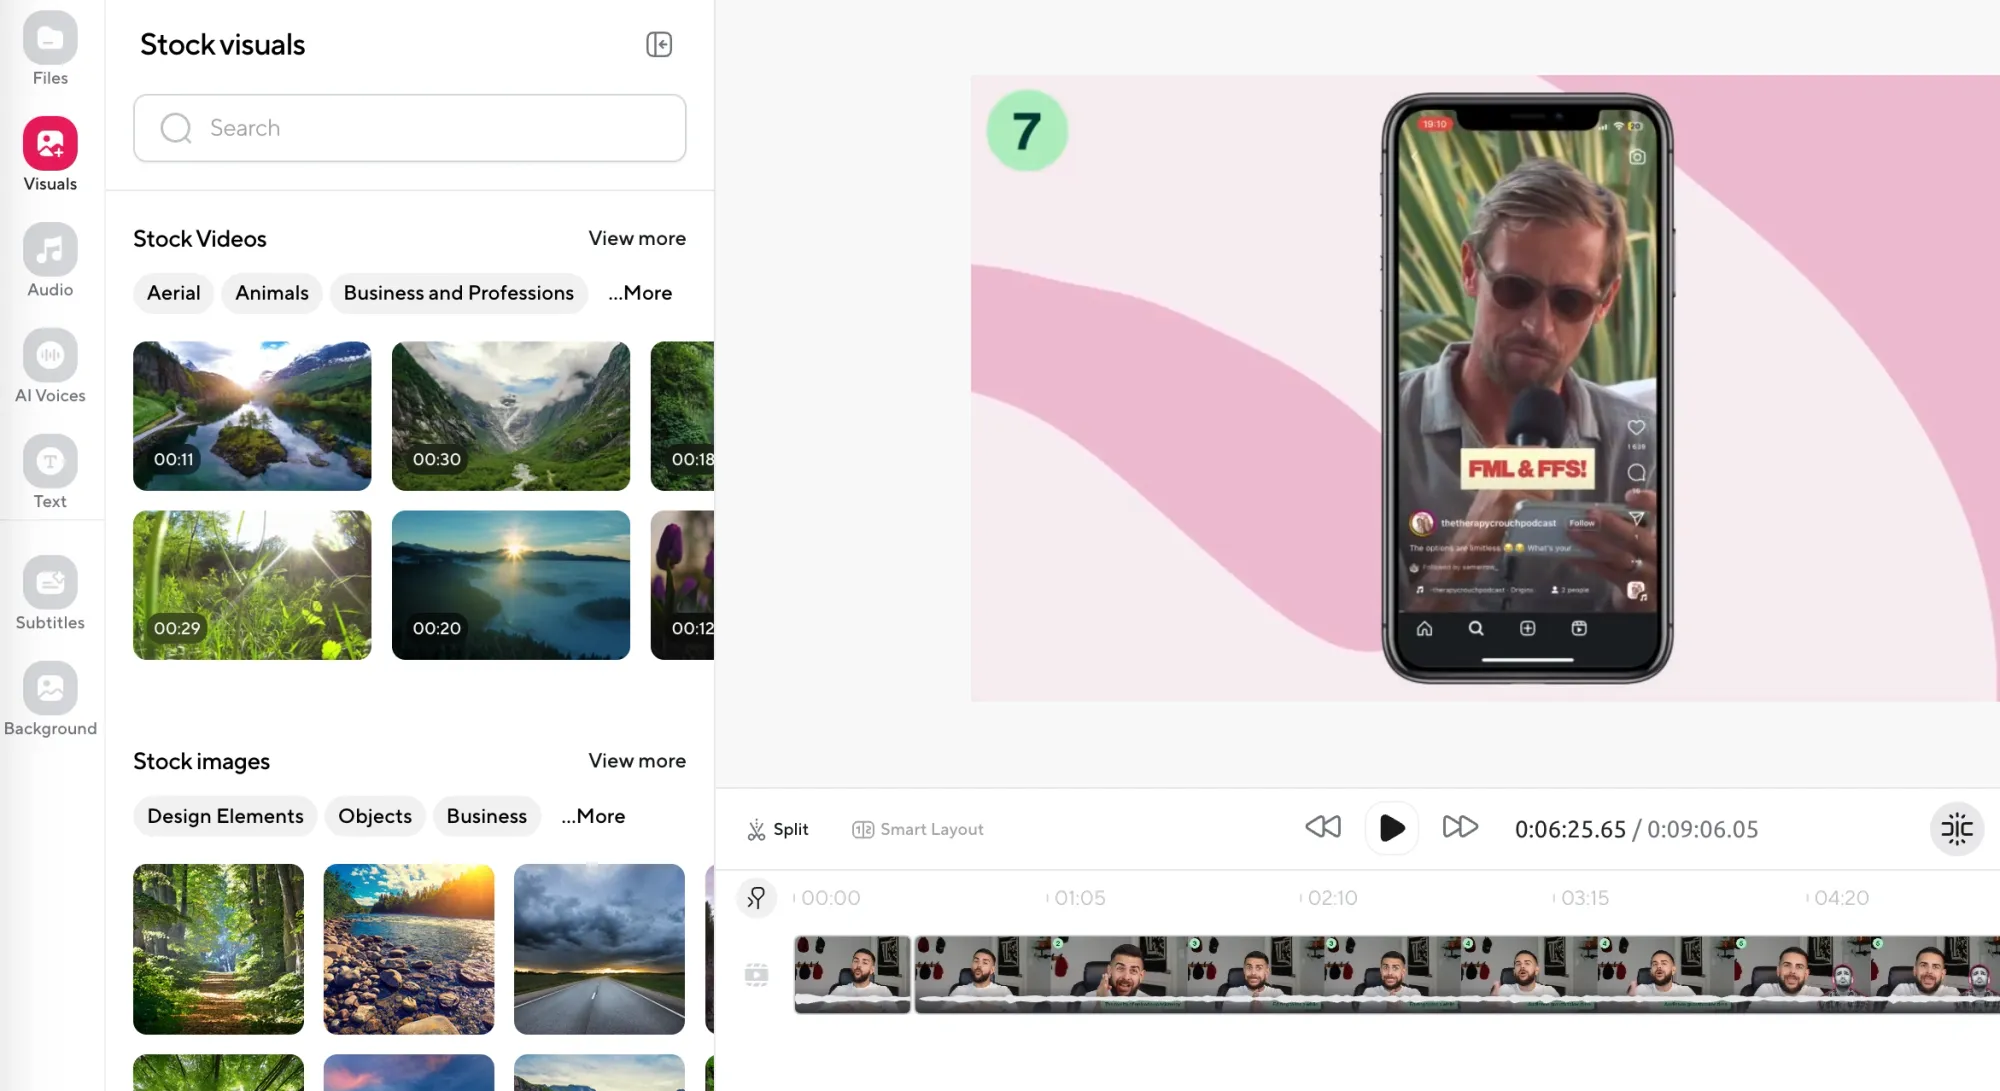
Start by logging into Podcastle and opening either the Audio Editor or the Video Editor, depending on the type of project you’re working on. Both editors let you use AI voices, and both support drag-and-drop, so you can just upload your media files straight into the timeline.
You’ll see your content appear on the timeline as a waveform or video track. This is where you’ll build the rest of your project, so if you already have clips recorded or background music ready to go, you can drop them in now to keep things organized.
Step 2: Click on “AI Voices” in the Left-Side Tab
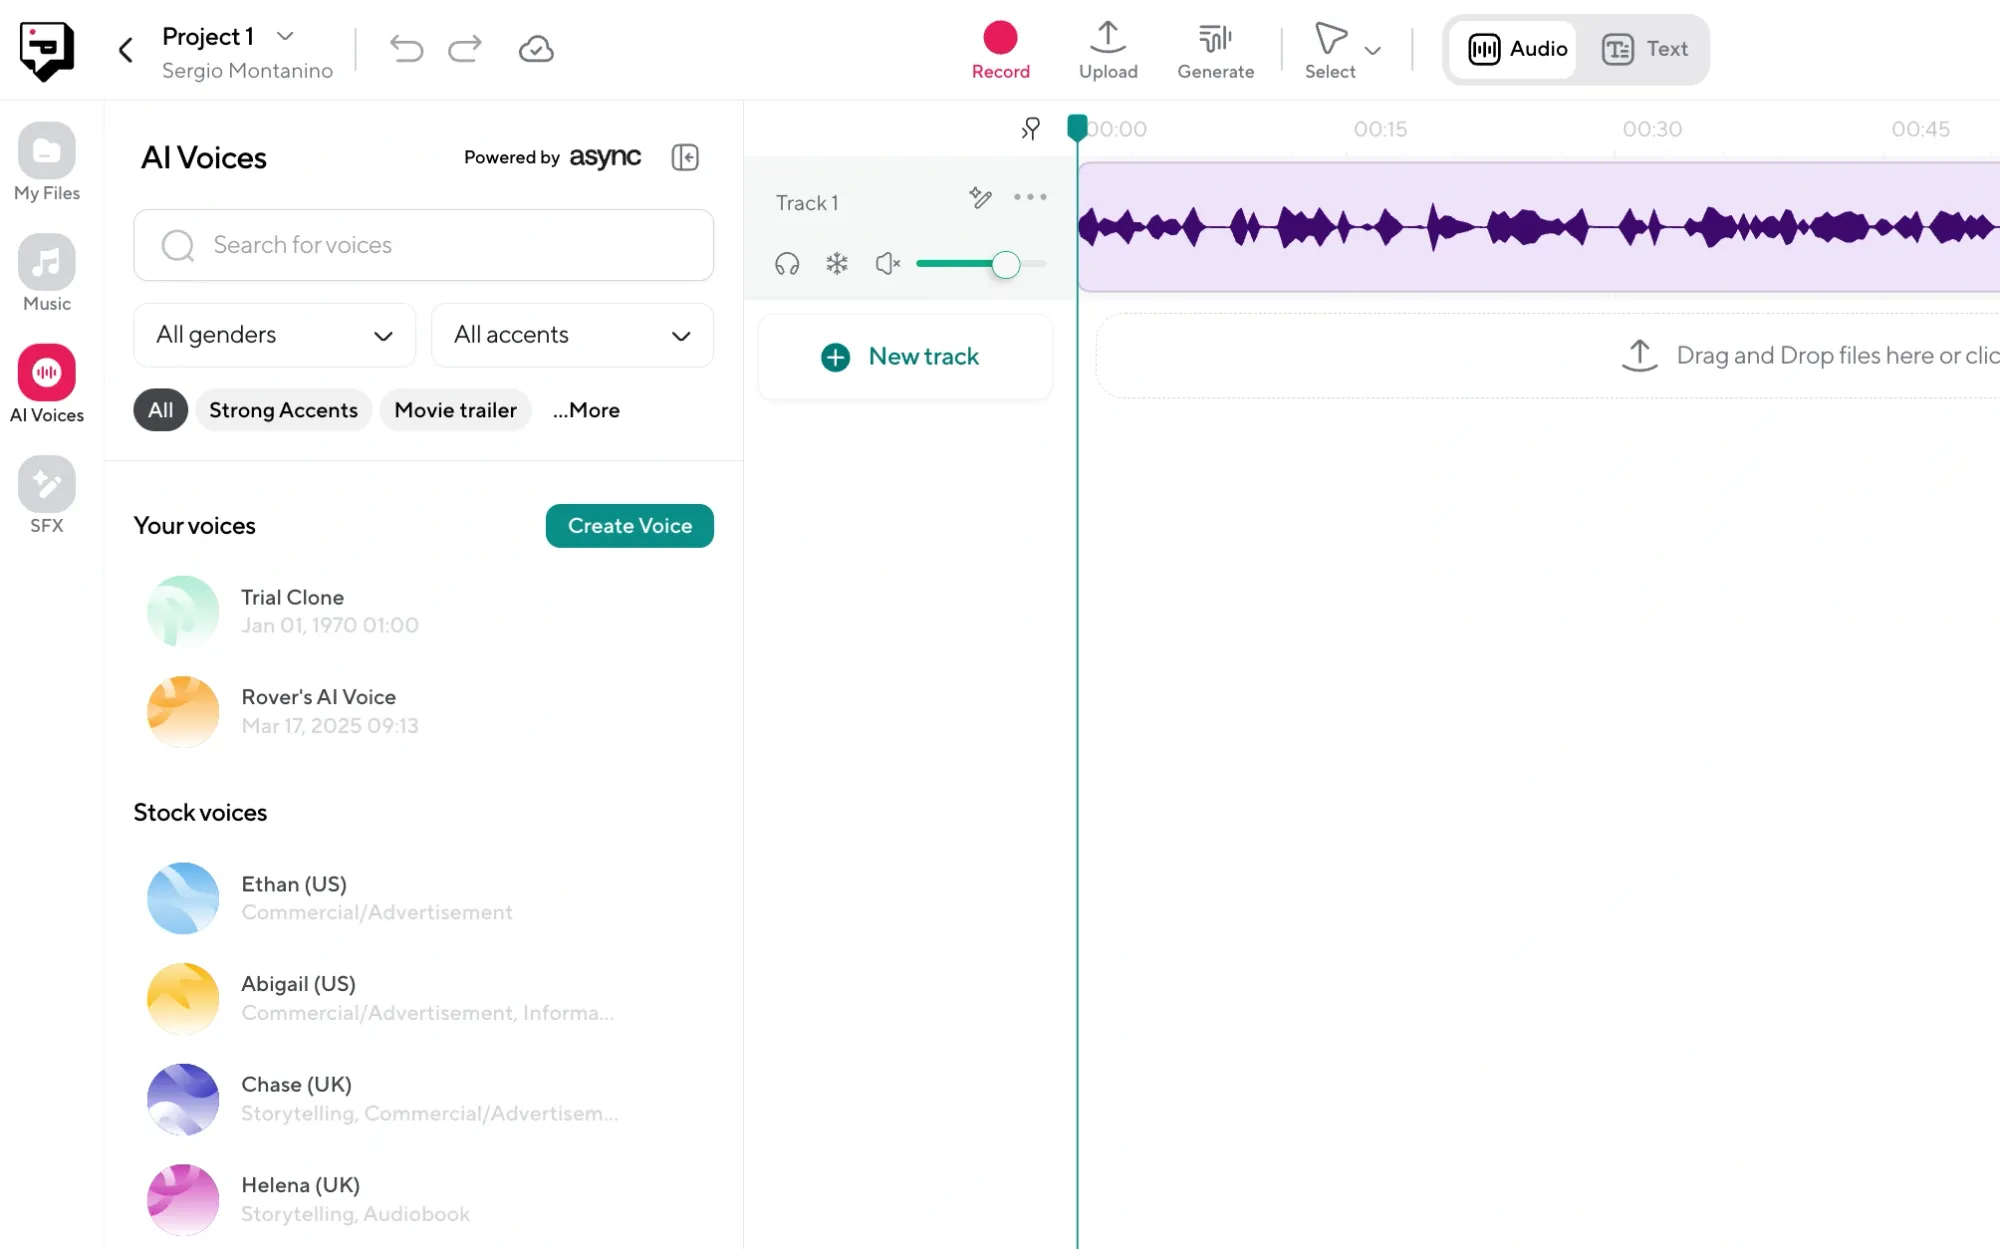
On the left-hand side of the editor, you’ll see a tab labeled AI Voices. Click it, and you’ll be taken to the voiceover interface where all the voice generation happens.
This is where you can start building your script and choosing the voice you want to use. You can add multiple voiceover blocks, place them exactly where you need them in the timeline, and control how each one sounds. And because you’re still in the editor, everything you add will stay synced with your visuals or audio clips automatically.
Step 3: Input Your Script and Choose a Voice
Now it’s time to write or paste in your script. You can enter it directly into the text box, and you’ll see it broken into segments that are easy to adjust later.
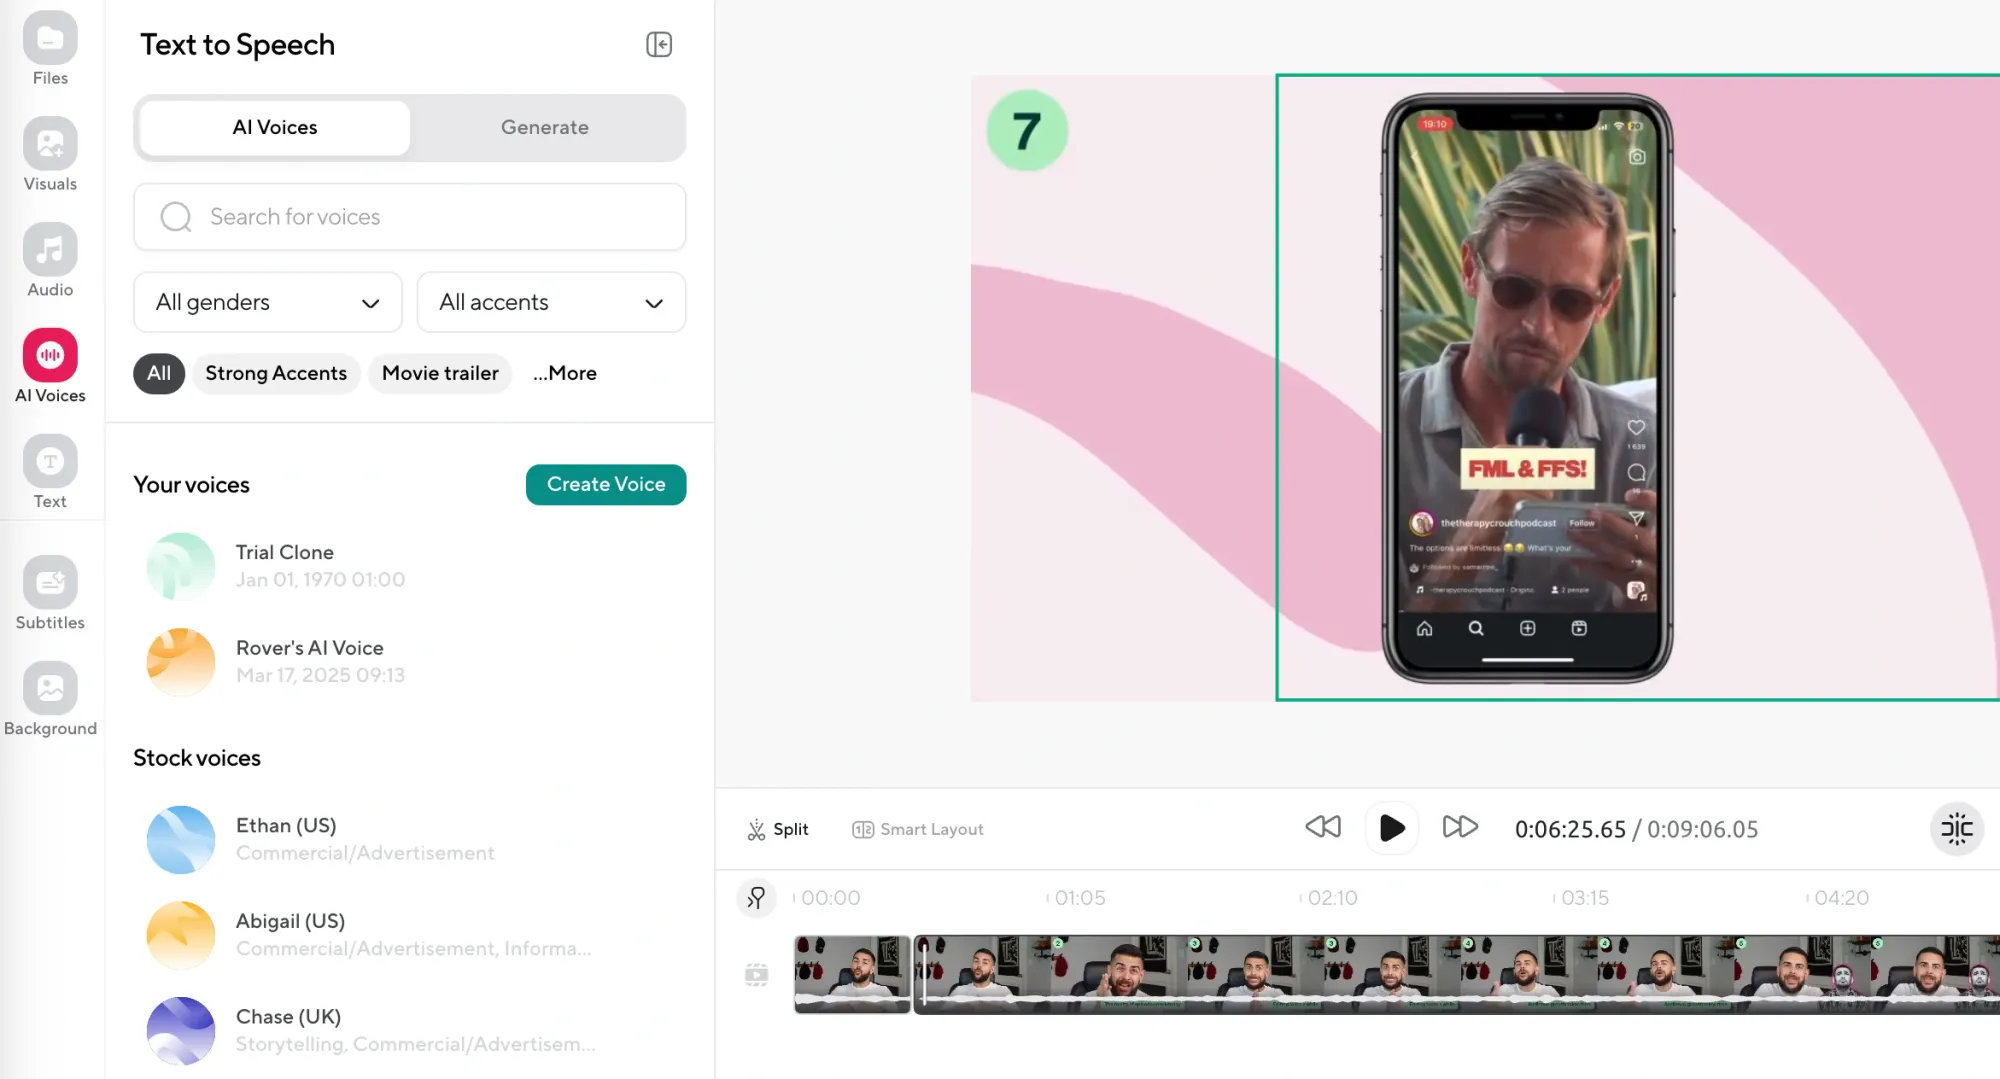
To pick a voice, scroll through the AI voice library, which has over a thousand options. You can preview as many as you like before committing to one. And if you’re looking for something specific (like a calm, persuasive tone for a product walkthrough or something faster and energetic for a highlight reel) use the semantic search bar to find the perfect voiceover.
Once you’ve picked your voice and finalized the script, you can generate a preview to check how it sounds in context. If it needs adjustments, you can change the speed, tone, or even the voice entirely without having to re-upload or redo anything.
Step 4: Make Final Tweaks

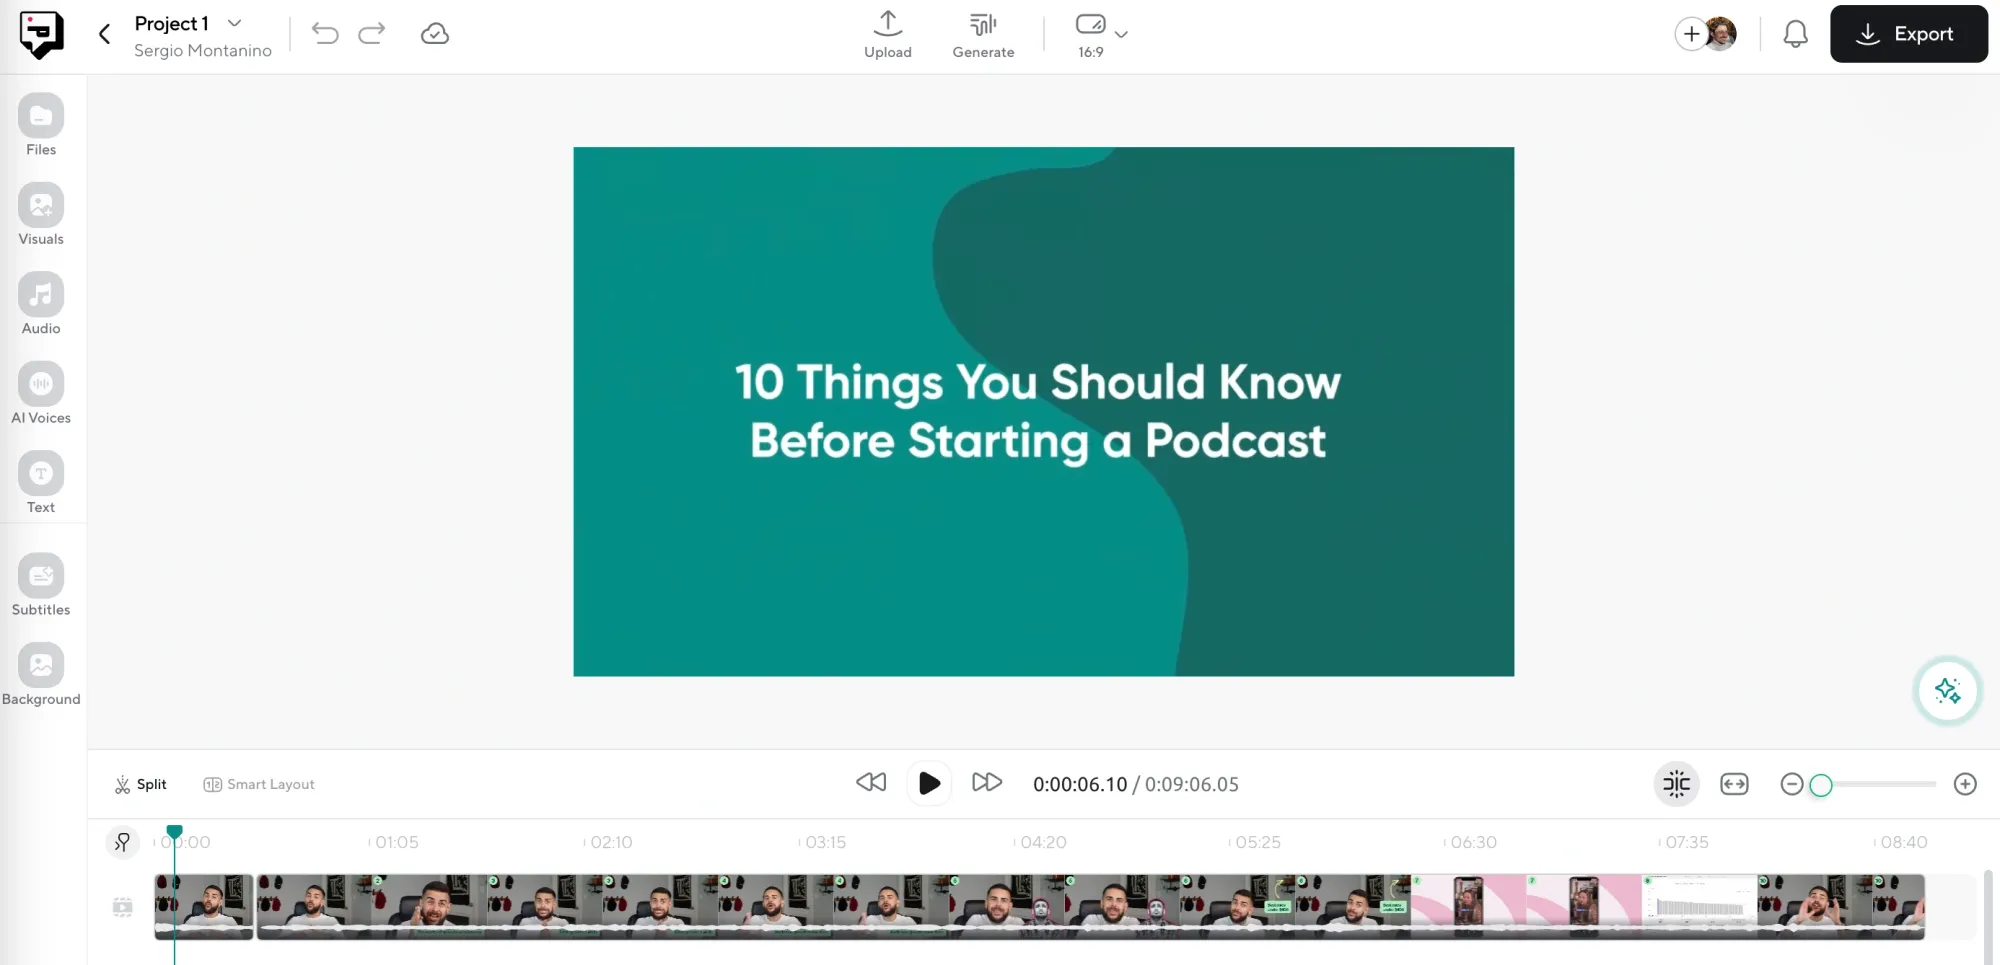
Before exporting, go back to the main timeline and review everything. Make sure the voiceover flows naturally with your video or audio, and then use any of Podcastle’s other tools if you want to polish things further.
You can remove a video background, add background music, or layer in stock footage and sound effects if the piece needs more energy or atmosphere. Since you’re already working in the editor, everything stays aligned.
Step 5: Export Your Project
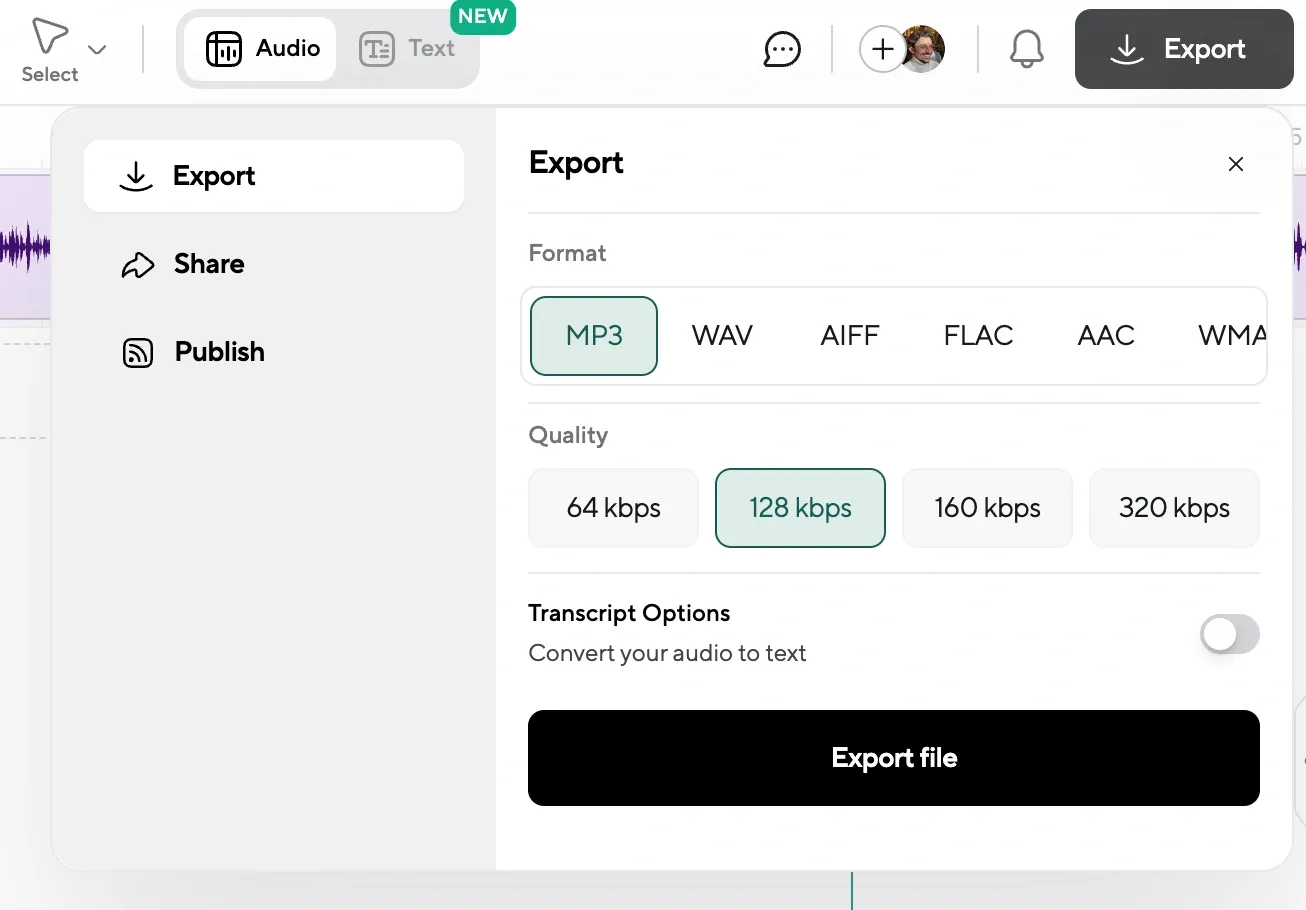
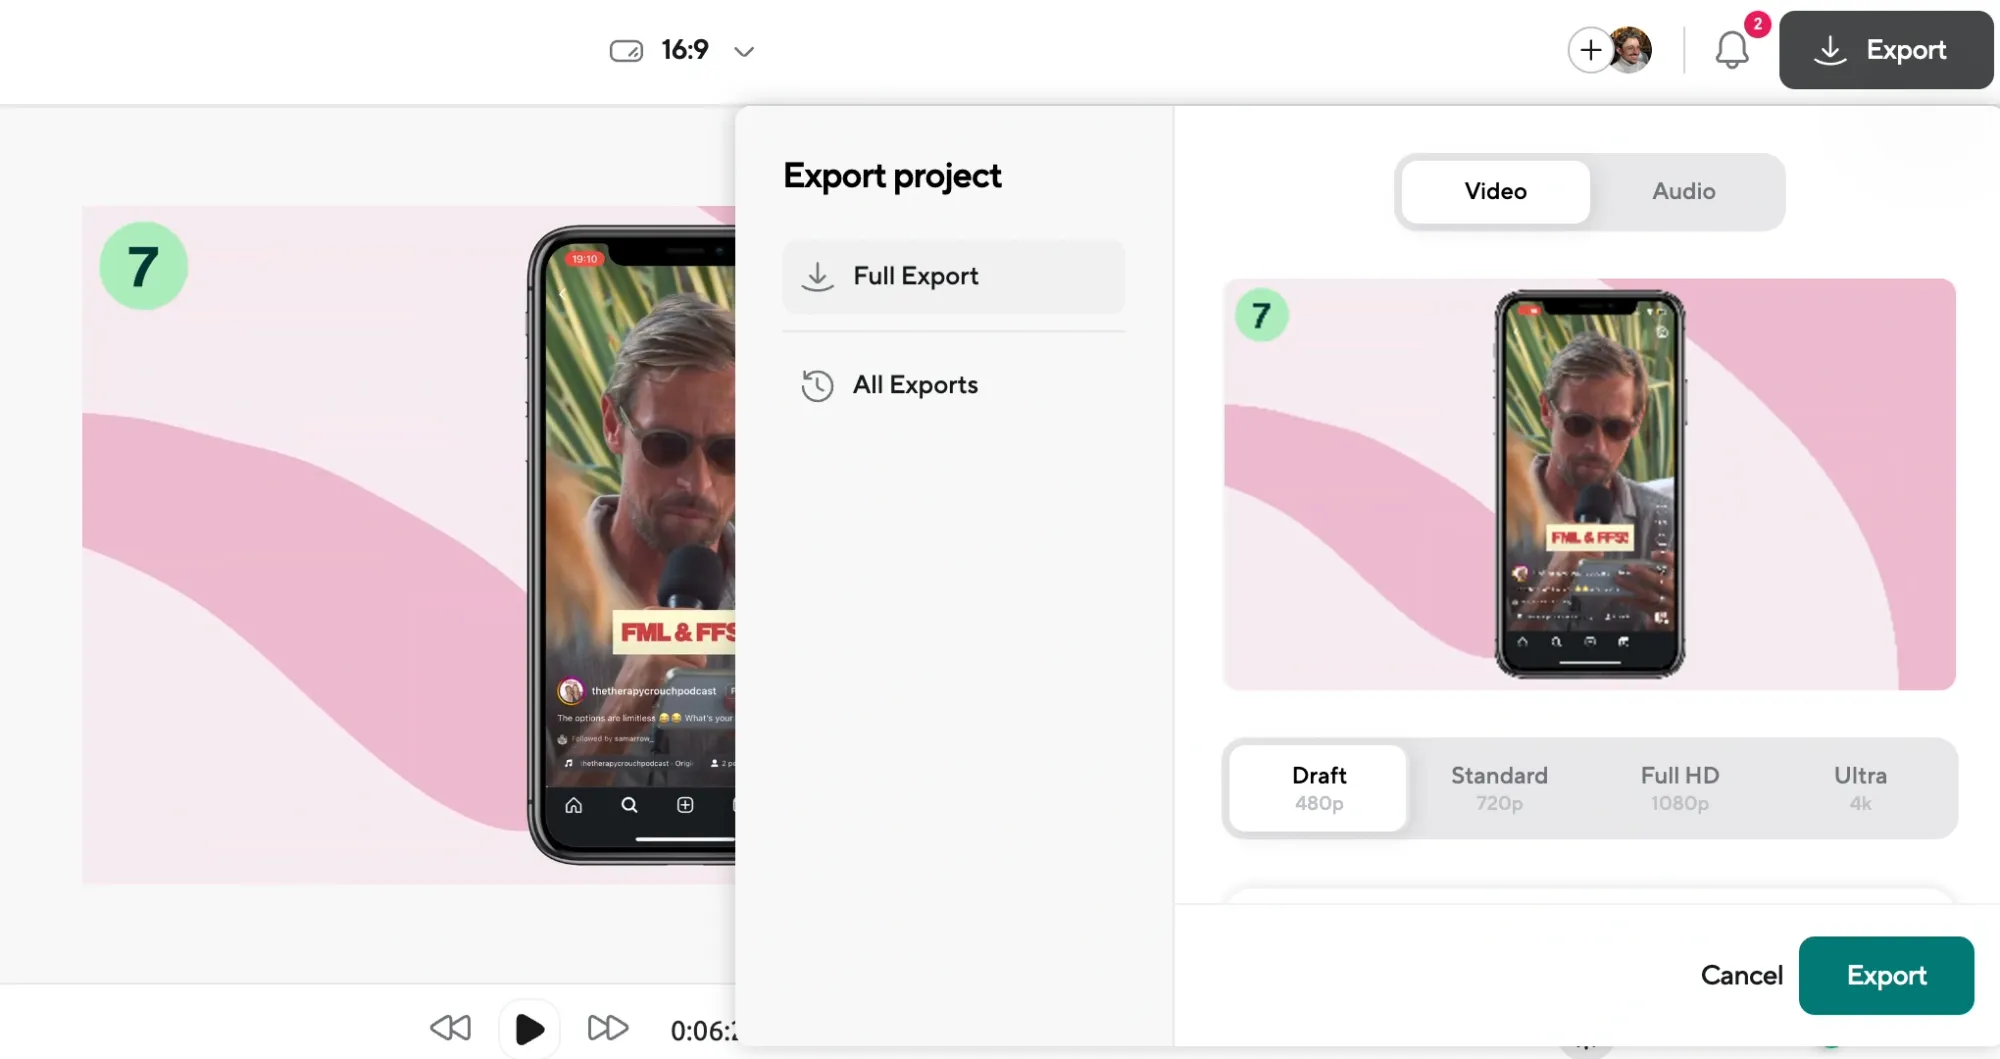
Once you’re happy with how it sounds and looks, hit Export and let the project render. Podcastle lets you export in high quality, so it’s ready to upload straight to wherever it needs to go, whether it's YouTube, social platforms, your portfolio, or your website.
Need Help? 5 Quick Troubleshooting Tips
If your AI voiceover sounds weird (maybe the pacing’s weird, a word sounds wrong, or the volume doesn’t sit right in the mix,) here are a few simple fixes to help smooth things out without having to start over.
1. Voice sounds too fast or too slow?
Adjust the wording, phrasing, or punctuation. Add or remove commas, use full stops to slow things down, and consider how punctuation changes the tone. A question mark or exclamation point can completely shift how a sentence lands as well.
2. Words being mispronounced?
Try breaking the sentence into smaller blocks or spelling the word phonetically. You can also swap voices, since some handle certain names or terms better than others.
3. Voice doesn’t fit the tone?
Sometimes it's just about finding the right voiceover style for your project. Use the semantic search bar and enter a word that describes the mood you’re going for, like “calm,” “playful,” or “confident.” You’ll get a list of matching voices that lean in that direction.
4. Audio doesn’t sync with the video?
Drag the voiceover block left or right on the timeline until it lines up with the visual moment you’re aiming for. The waveform makes it easy to see where speech starts and stops.
5. Final export sounds too quiet or too loud?
Adjust volume levels in the editor before exporting. You can raise or lower the voiceover volume directly and balance it with music or sound effects for a clean final mix.
Why Use an AI Voiceover in the First Place?
There are plenty of situations where recording your own voice just doesn’t make sense, either because you’re short on time, your setup isn’t great, or you just don’t feel like being on mic. But beyond convenience, there are also real creative reasons to use an AI voice, depending on the kind of project you’re making and what you want it to sound like.
Here are a few common use cases where AI voiceovers actually make a lot of sense.
1. Demos, tutorials, or training videos
If you’re walking someone through a product, a tool, a process, or an internal training, you want the voiceover to be clear, steady, and distraction-free. AI voices are good at that. They don’t mumble, they don’t rush, and they never lose steam halfway through. You can keep the tone consistent across the whole video without having to worry about getting everything right in a single take.
2. Content drafts or early prototypes
Sometimes you’re just trying to figure out timing or flow, and you don’t want to record your own voice until everything is final. AI voiceovers let you plug in placeholder narration quickly so you can see how it plays out. If you decide to swap it with a human recording later, great. But if you don’t, you’ve already got something that works.
3.Creating content at scale without hiring voice actors
If you’re producing a high volume of content, like social clips, training modules, tutorials, or variations of the same video for different audiences, it doesn’t make sense to hire a voice actor every time. AI voiceovers give you a way to generate consistent, solid narration across dozens of pieces without blowing your budget or slowing down your workflow. You can test different voices, update scripts on the fly, and keep things moving without waiting on turnaround times or juggling back-and-forth revisions.
4. Social content with tight turnarounds
If you’re editing clips that need to go out fast, like daily content, short videos, reels, that kind of thing, AI voiceovers can help you keep up without having to stop everything to record in silence. You write the caption or hook, pick a voice that fits the mood, and move on.
5. Creators who don’t want to use their own voice
Not everyone wants to narrate their own work. Maybe you want to stay completely anynymous or faceless. Maybe you don’t like the sound of your voice, or maybe it doesn’t match the tone of the video. Using an AI voice gives you control over how it sounds without needing to hire a voice actor or do a bunch of takes to get it right.
Final Thoughts
We hope this guide made things easier. Creating a voiceover with AI doesn’t need to be a complicated process, and once you’ve done it once or twice, it becomes second nature.
Sometimes it’s the fastest way to test an idea or move a project forward without getting held up by recording issues or time constraints.
And if it helps you finish something that would’ve otherwise sat untouched? Even better!