If you’ve ever needed to upload or share a video file, you’ll know watching the progress bar is even more boring than watching paint dry.
Video files are notoriously large, especially huge RAW files, but in most instances, they don’t need to be. Unless you’re projecting your video onto an IMAX theatre screen, you can reduce the file size with video compression.
Video compression may be a technical process, but there are several free methods that even technical newbies can use. In this blog, we’re breaking down how to reduce video sizes.
What is video compression?
The bigger a file is, the longer it takes to do anything with it. Uploading, editing, and sharing videos can take hours, and large files can take up huge amounts of storage space.
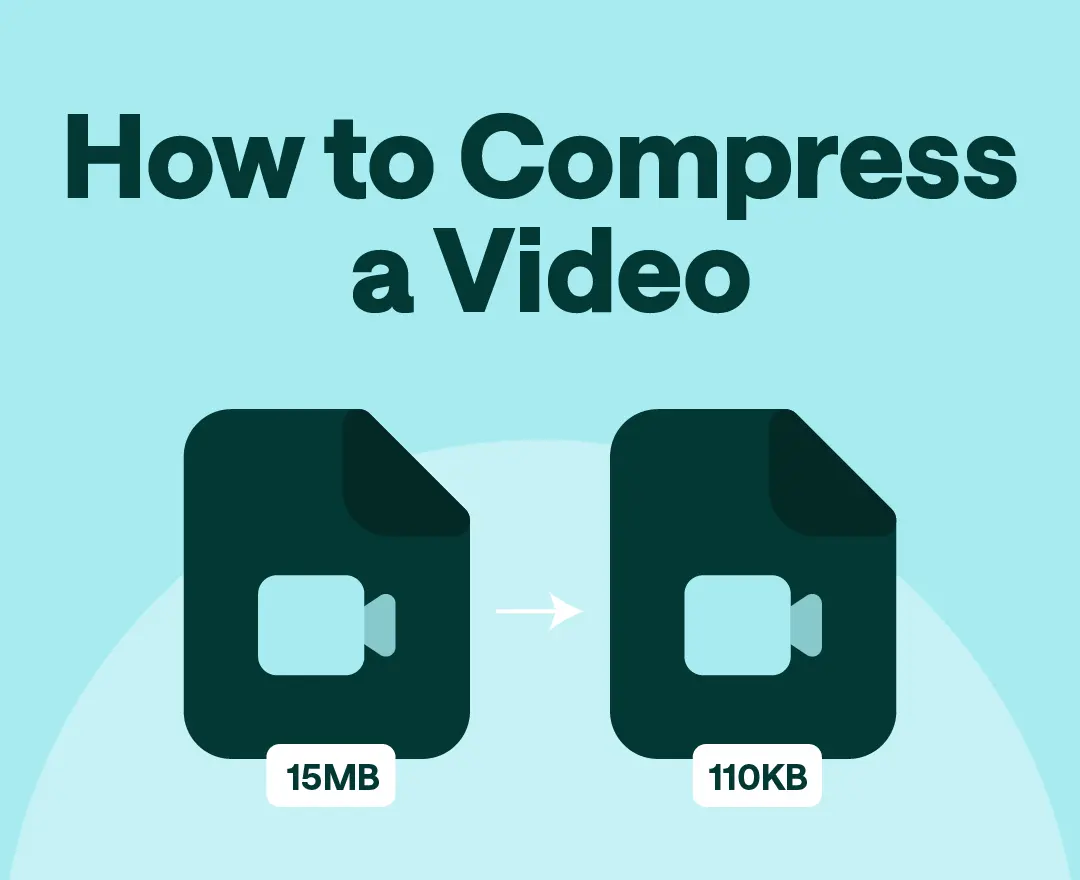
When you compress a video, you reduce the size of its file. Video compression uses an algorithm to remove redundant information or re-encode a file so that it uses fewer bits.
It’s important to remember that there are two types of compression:
Lossy compression: This type of compression permanently deletes data from the file, making it smaller. The video’s quality is reduced, but this isn’t noticeable when done correctly.
Lossless compression: This is when a file is compressed without deleting any data. Once decompressed, the original file is reconstructed, restoring it to its original size and quality.
Why would you need to compress a video?
Wondering why you would ever need to compress a video? Compressing video files can help you to:
Free up space or memory: Video files can be incredibly large, as we’ve established. When you consider the average podcast length is 43 minutes long and the average YouTube video was almost 12 minutes long in 2018, it’s clear professional content creators need a lot of space available to store all their content. And that’s not even counting the RAW files used to create the finished piece! Compressing their video files helps free up space.
Reduce storage costs: Hosting files can be costly, whether you subscribe to cloud-based hosting or use multiple hard drives. A follow-on from above: smaller files = less space needed = lower costs.
Decrease upload times: When sharing video files via a transfer service like WeTransfer or uploading them to YouTube, larger videos take longer to upload. No one wants to wait 10 hours for their podcast video to upload to YouTube!
Attach files to emails: Most email providers only offer a measly 25MB allowance for email attachments. Many video files, especially those exported in high definition, exceed this limit. Compressing videos is a great way to share them via email.
How to compress a video (without losing quality)
If done incorrectly, you may end up compressing your beautiful 4K video into a mess of pixels. Here’s how to make video files smaller without compromising quality.
Built-in video editors
For a quick and easy compression job, you can use the built-in video editor on your PC. You can also purchase specialist software, but these tools are great for beginners.
How to compress a video on Mac
If you want to compress a video on your Mac, you can use the built-in QuickTime player. Follow these simple steps:
1) Open your video with QuickTime
2) Select ‘File’ then ‘Export As’ in the toolbar
3) A range of resolution options will appear, ranging from 480p to 4k. Select your preferred resolution
4) Name your new file and select a save location
5) Press ‘save’
How to compress a video on PC
If you want to compress a video on your PC, you can use the built-in Windows Video Editor. Here’s how:
1) Open your video with Video Editor
2) Select ‘Finish Video’ or ‘Export’
3) A range of resolution options will appear. Select your preferred resolution
4) Name your new file and select a save location
5) Press ‘save’
Note that this editor is only available with Windows 10 and 11 and is called Windows Movie Maker on older versions.
Create a ZIP file
If you want to share one or multiple videos without compressing the video file yourself, you can create a ZIP file. As MP4, AVI, and MOV files are already compressed, there’s a limit to how much further they can be compressed, which makes zipping video files better suited to large, uncompressed files.
Whether you’re using a Mac or Windows PC, you can compress your videos by:
1) Placing your files in a folder
2) Right-clicking the folder
3) Selecting the option to ‘Compress’
This reduces the size of the files for easy sharing. Once the recipient opens (or unzips) the folder, they can access the uncompressed files.
Reduce your camera resolution
If you shoot a lot of video content using your mobile device, the quickest way to consistently decrease your videos’ size is to reduce your camera resolution. Most camera phones can shoot in 4K these days, but 1080p is still well suited to most uses.
You can edit your resolution in your camera settings. Just open your camera app, head to the settings menu, and select a lower resolution.
Video editing apps
A deceptively simple way to reduce the size of your video files without compromising quality is to reduce their length. While reducing video length might not always be an option for creators (hello, algorithms), you can certainly save space by editing your personal videos.
Videos shot on mobile devices can be edited with the built-in video editing software; simply cut down the clip to include the moment you need.
If you’re looking for a more sophisticated web-based editing solution to produce a professional video to complement your podcast, why not try Podcastle’s video editor?
Video compression software
Wondering how to compress a video online? Online video compression software can help. There are countless video compression applications available online, such as:
1) FreeConvert
2) Veed.io
3) XConvert
All you need to do is upload your video, choose your settings, and compress your file! Plus, some tools, such as FreeCovert, offer advanced settings that allow you to set a target file size, quality, or resolution.


