Have you ever come across a scene so epic in a YouTube video that all you could think of was I wish I could just save or share this little moment?
Well, YouTube’s built-in clipping tool has you covered. It’s a quick and easy way to make snippets from videos or live streams, letting you create bite-sized highlights that are worth sharing.
But if you’re new to it, figuring out how to clip YouTube videos can be a bit tricky at first.
Here's your full step-by-step guide to help you master clipping on YouTube.
What are YouTube clips?
YouTube clips are short, shareable snippets taken from longer YouTube videos or live streams. They allow creators and viewers to highlight specific moments—whether it’s a funny line, an insightful comment, or a jaw-dropping action sequence. Each clip is between 5 and 60 seconds long and plays directly from the original video, ensuring the creator retains views and engagement on their content.
Unlike downloading or re-editing, YouTube clips keep the original video intact while providing an easy way to spotlight the best parts. They’re perfect for sharing on social media or with friends, making it easier than ever to spread the word about great content!
YouTube Clips vs. YouTube Shorts
At first glance, YouTube Clips and YouTube Shorts might seem similar—they’re both short video formats—but they serve very different purposes. While clips are snippets from existing videos, Shorts are entirely new creations designed for quick, engaging content.
Here’s how they stack up:
Both formats offer unique opportunities for YouTube creators depending on your content goals!
Here’s a step-by-step guide to help you master clipping on YouTube.
How to Clip YouTube Videos: Step-by-Step Guide
Here is a full guide on how to use YouTube’s built-in clipping tools to create short and engaging YouTube clips.
1) Sign in to YouTube
First things first, make sure you’re signed into your YouTube account. This is a must because only logged-in users can create and manage clips. If you don’t have an account yet, take a moment to sign up—it’s free and opens up a world of features like clips, subscriptions, and playlists.
2) Find the video you want to clip
Scroll through your favorite content or search for the video you want to use. Keep in mind that not all videos allow clipping, but most creators leave the feature enabled. Once you’re on the right video, pause it at the point you want to start clipping. For us, the choosing part was easy —we went with one of our all-time favorite tracks, Jungle's "Back on 74."
3) Access the clipping tool
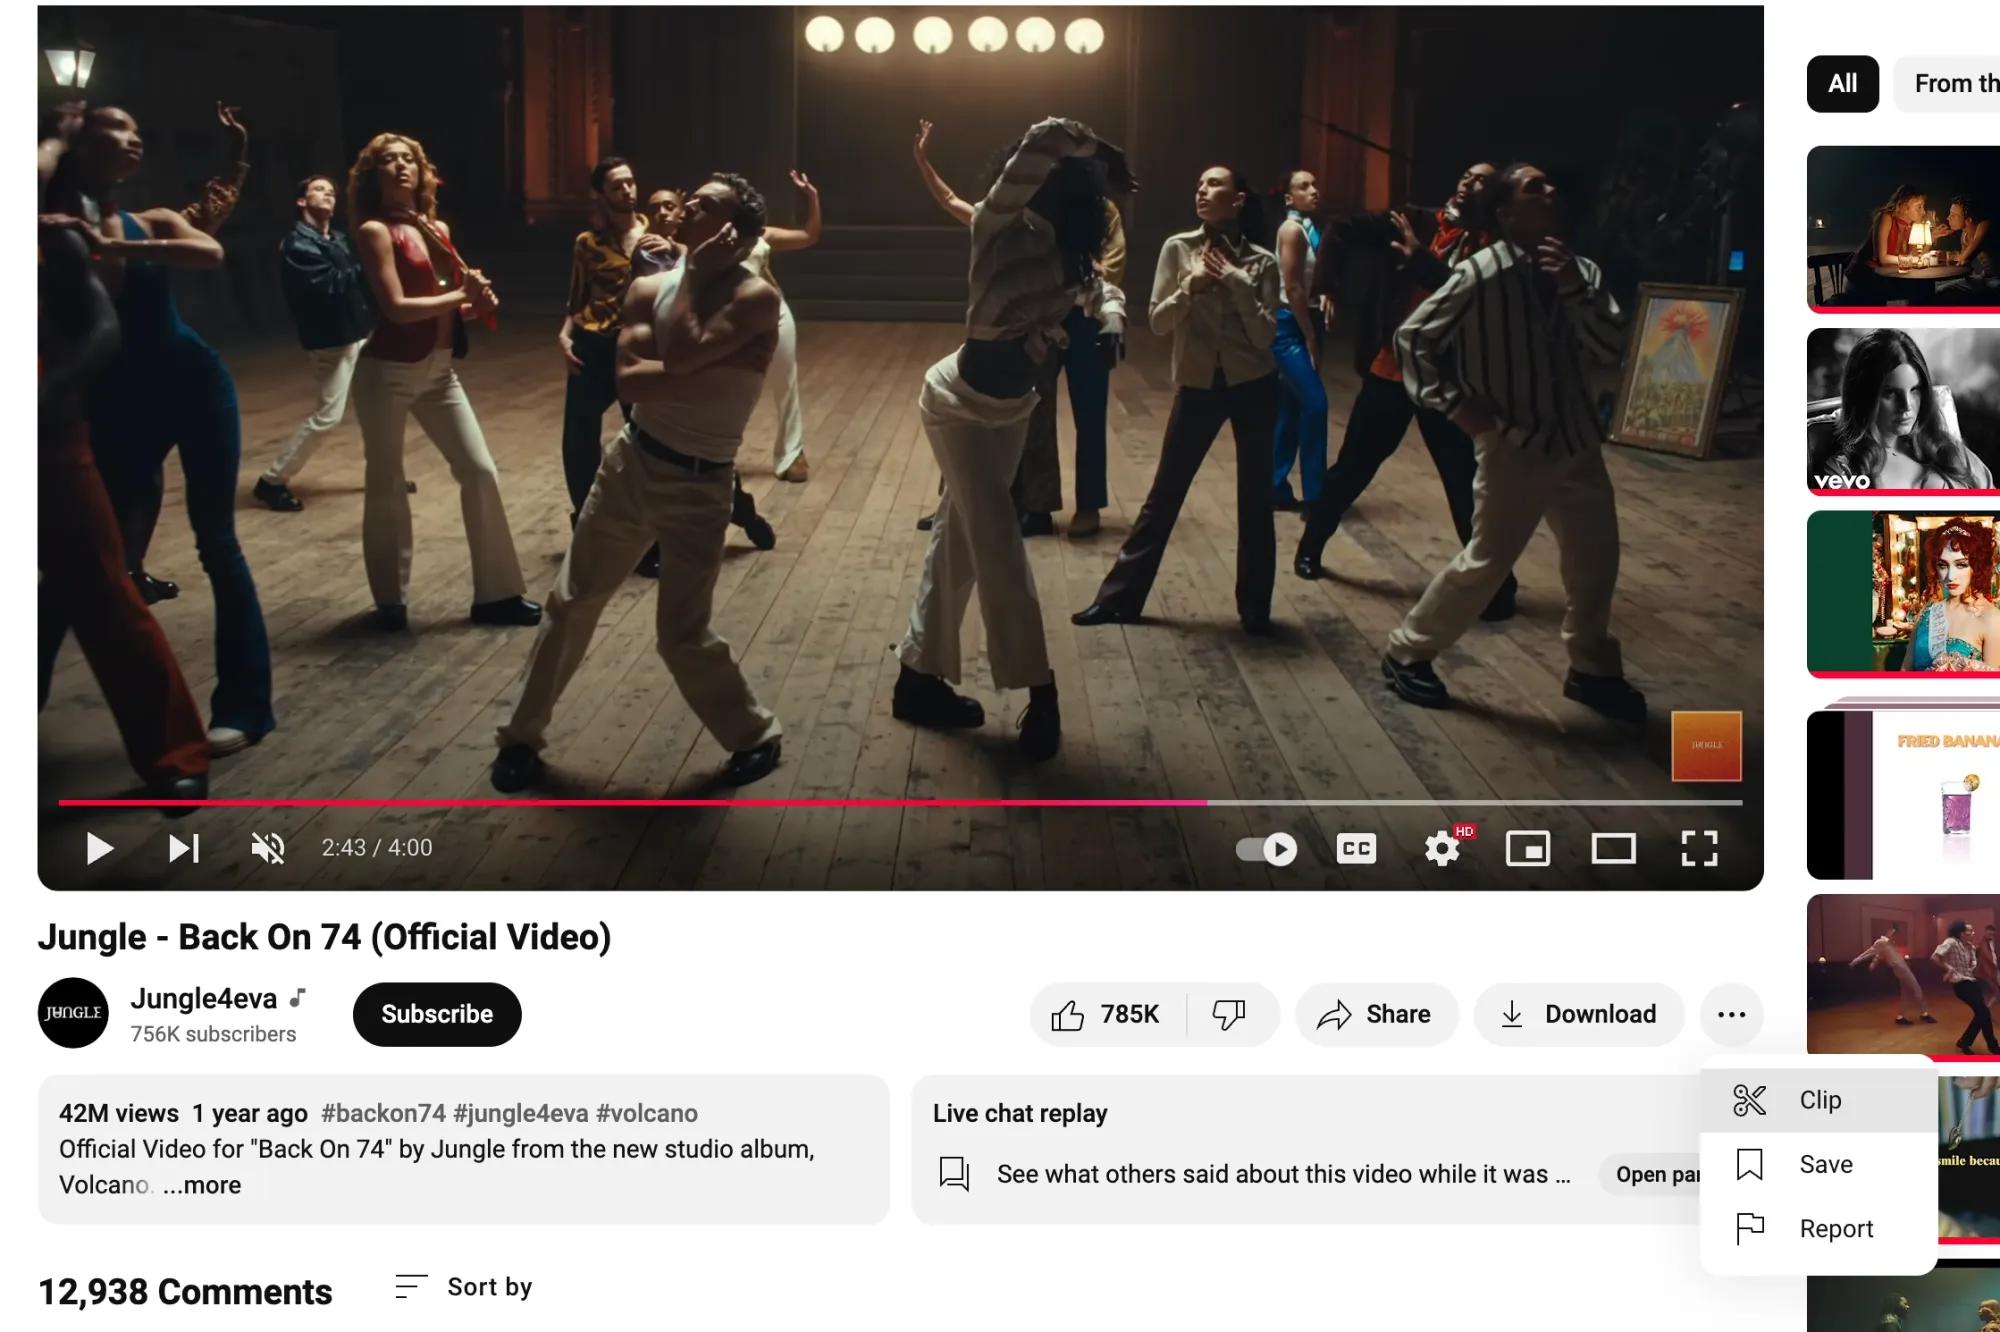
Look for the More Options button below the video (it’s the three little dots that we all instinctively click on).
Click on it, and you’ll see a small scissors icon labeled Clip. Tap on that to open YouTube’s video clipper.
4) Choose your clip’s title
Now it’s time to name your clip! Keep your title short and snappy—YouTube allows a maximum of 140 characters. Depending on whether you plan to share your YouTube clips or just keep them for personal use, you can either make your title descriptive or choose something simple to help you find it later in your library.
5) Select the perfect snippet
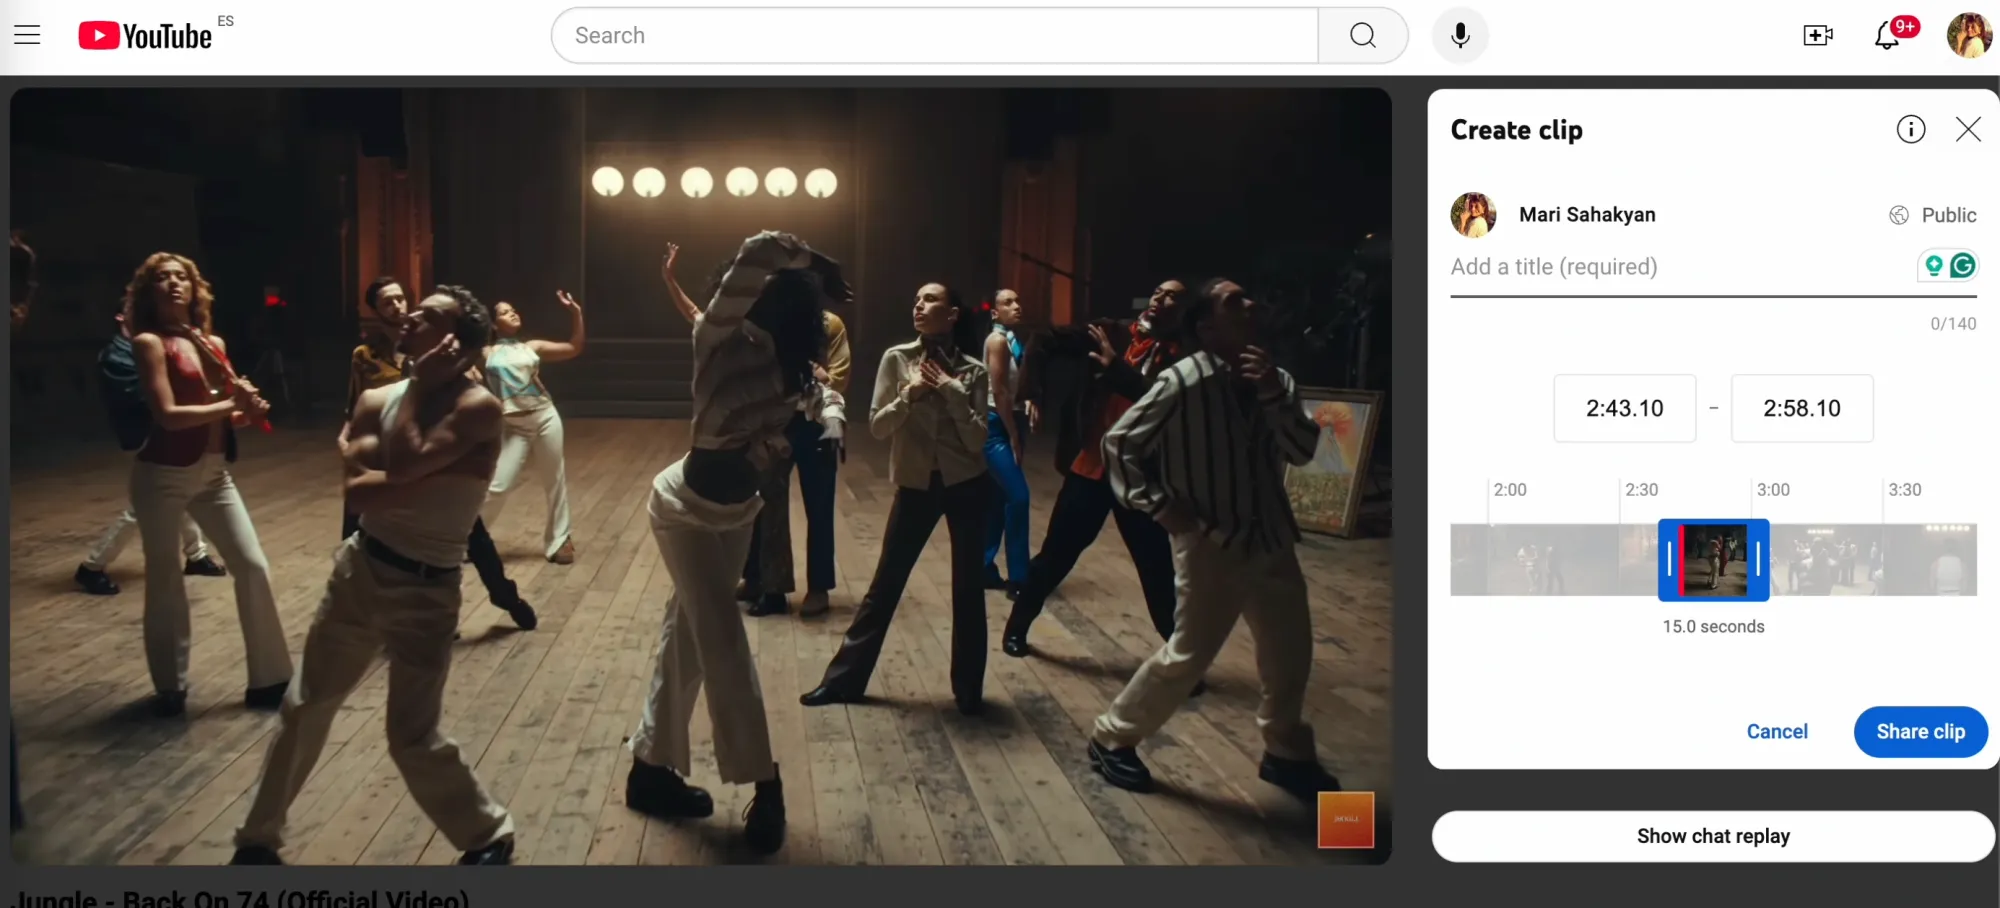
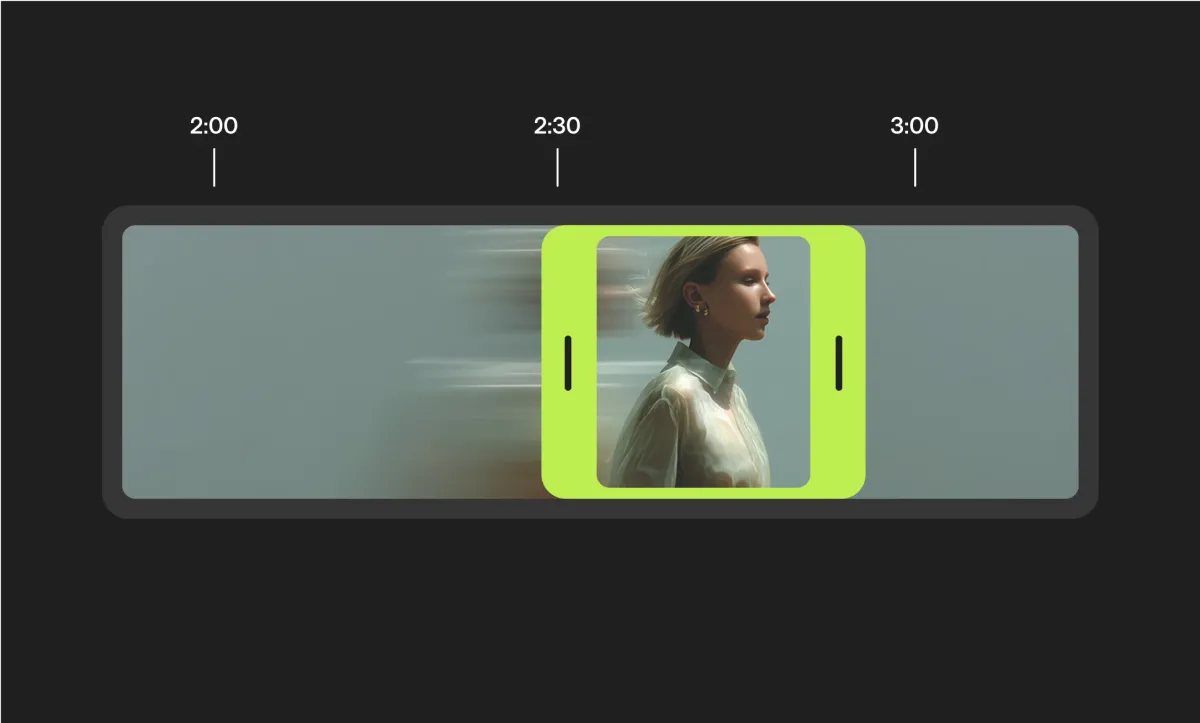
Here’s where the magic of clipping YouTube videos happens. A slider will appear below the video, letting you trim the exact part you want to clip. Drag the handles to adjust the length of your snippet (between 5 and 60 seconds). You can preview your selection by hitting the play button—this helps you fine-tune the clip so it starts and ends just right. Here’s what our snippet looks like:
6) Share your clip
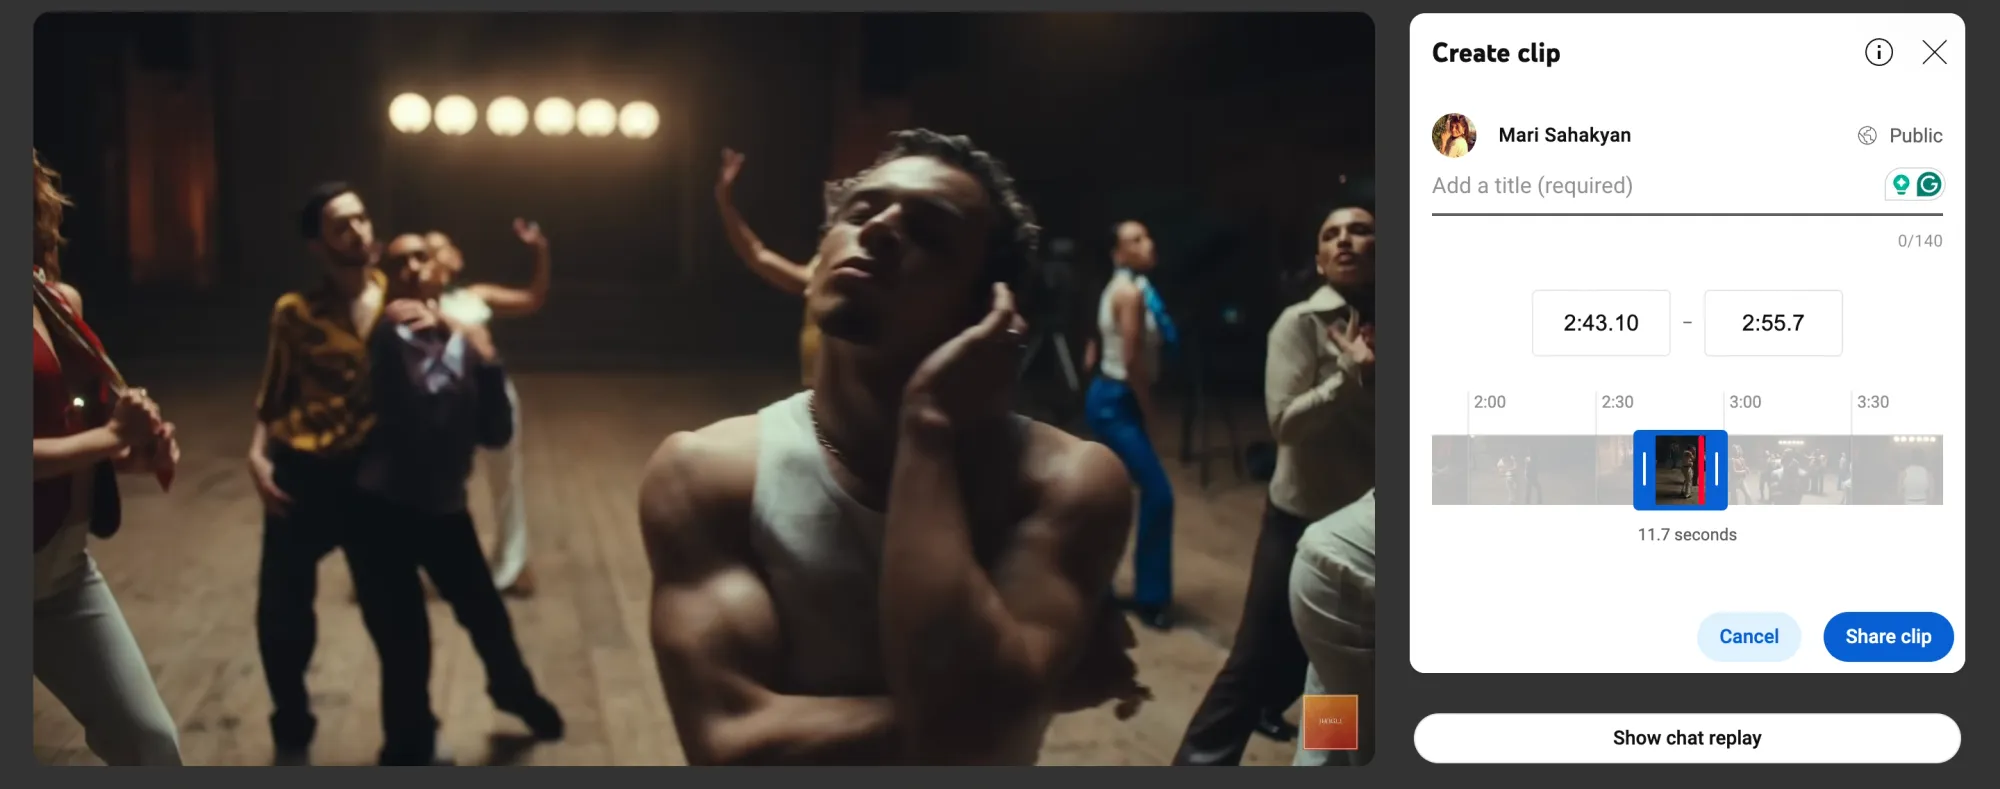
Happy with your snippet? Great! Hit the Share Clip button, and you’ll see several sharing options:
– Copy the Link: Want to share it later? Copy the link and paste it anywhere—WhatsApp, a blog post, or even a sticky note if you’re feeling old-school.
– Social Media: Click on icons for platforms like Twitter, Facebook, or Reddit, and YouTube will do the heavy lifting for you.
– Email: If you’re feeling formal, you can email the clip using your default mail app.
– Embed: For website owners or bloggers, there’s an embed option to feature the clip on your page.
Locate your clip
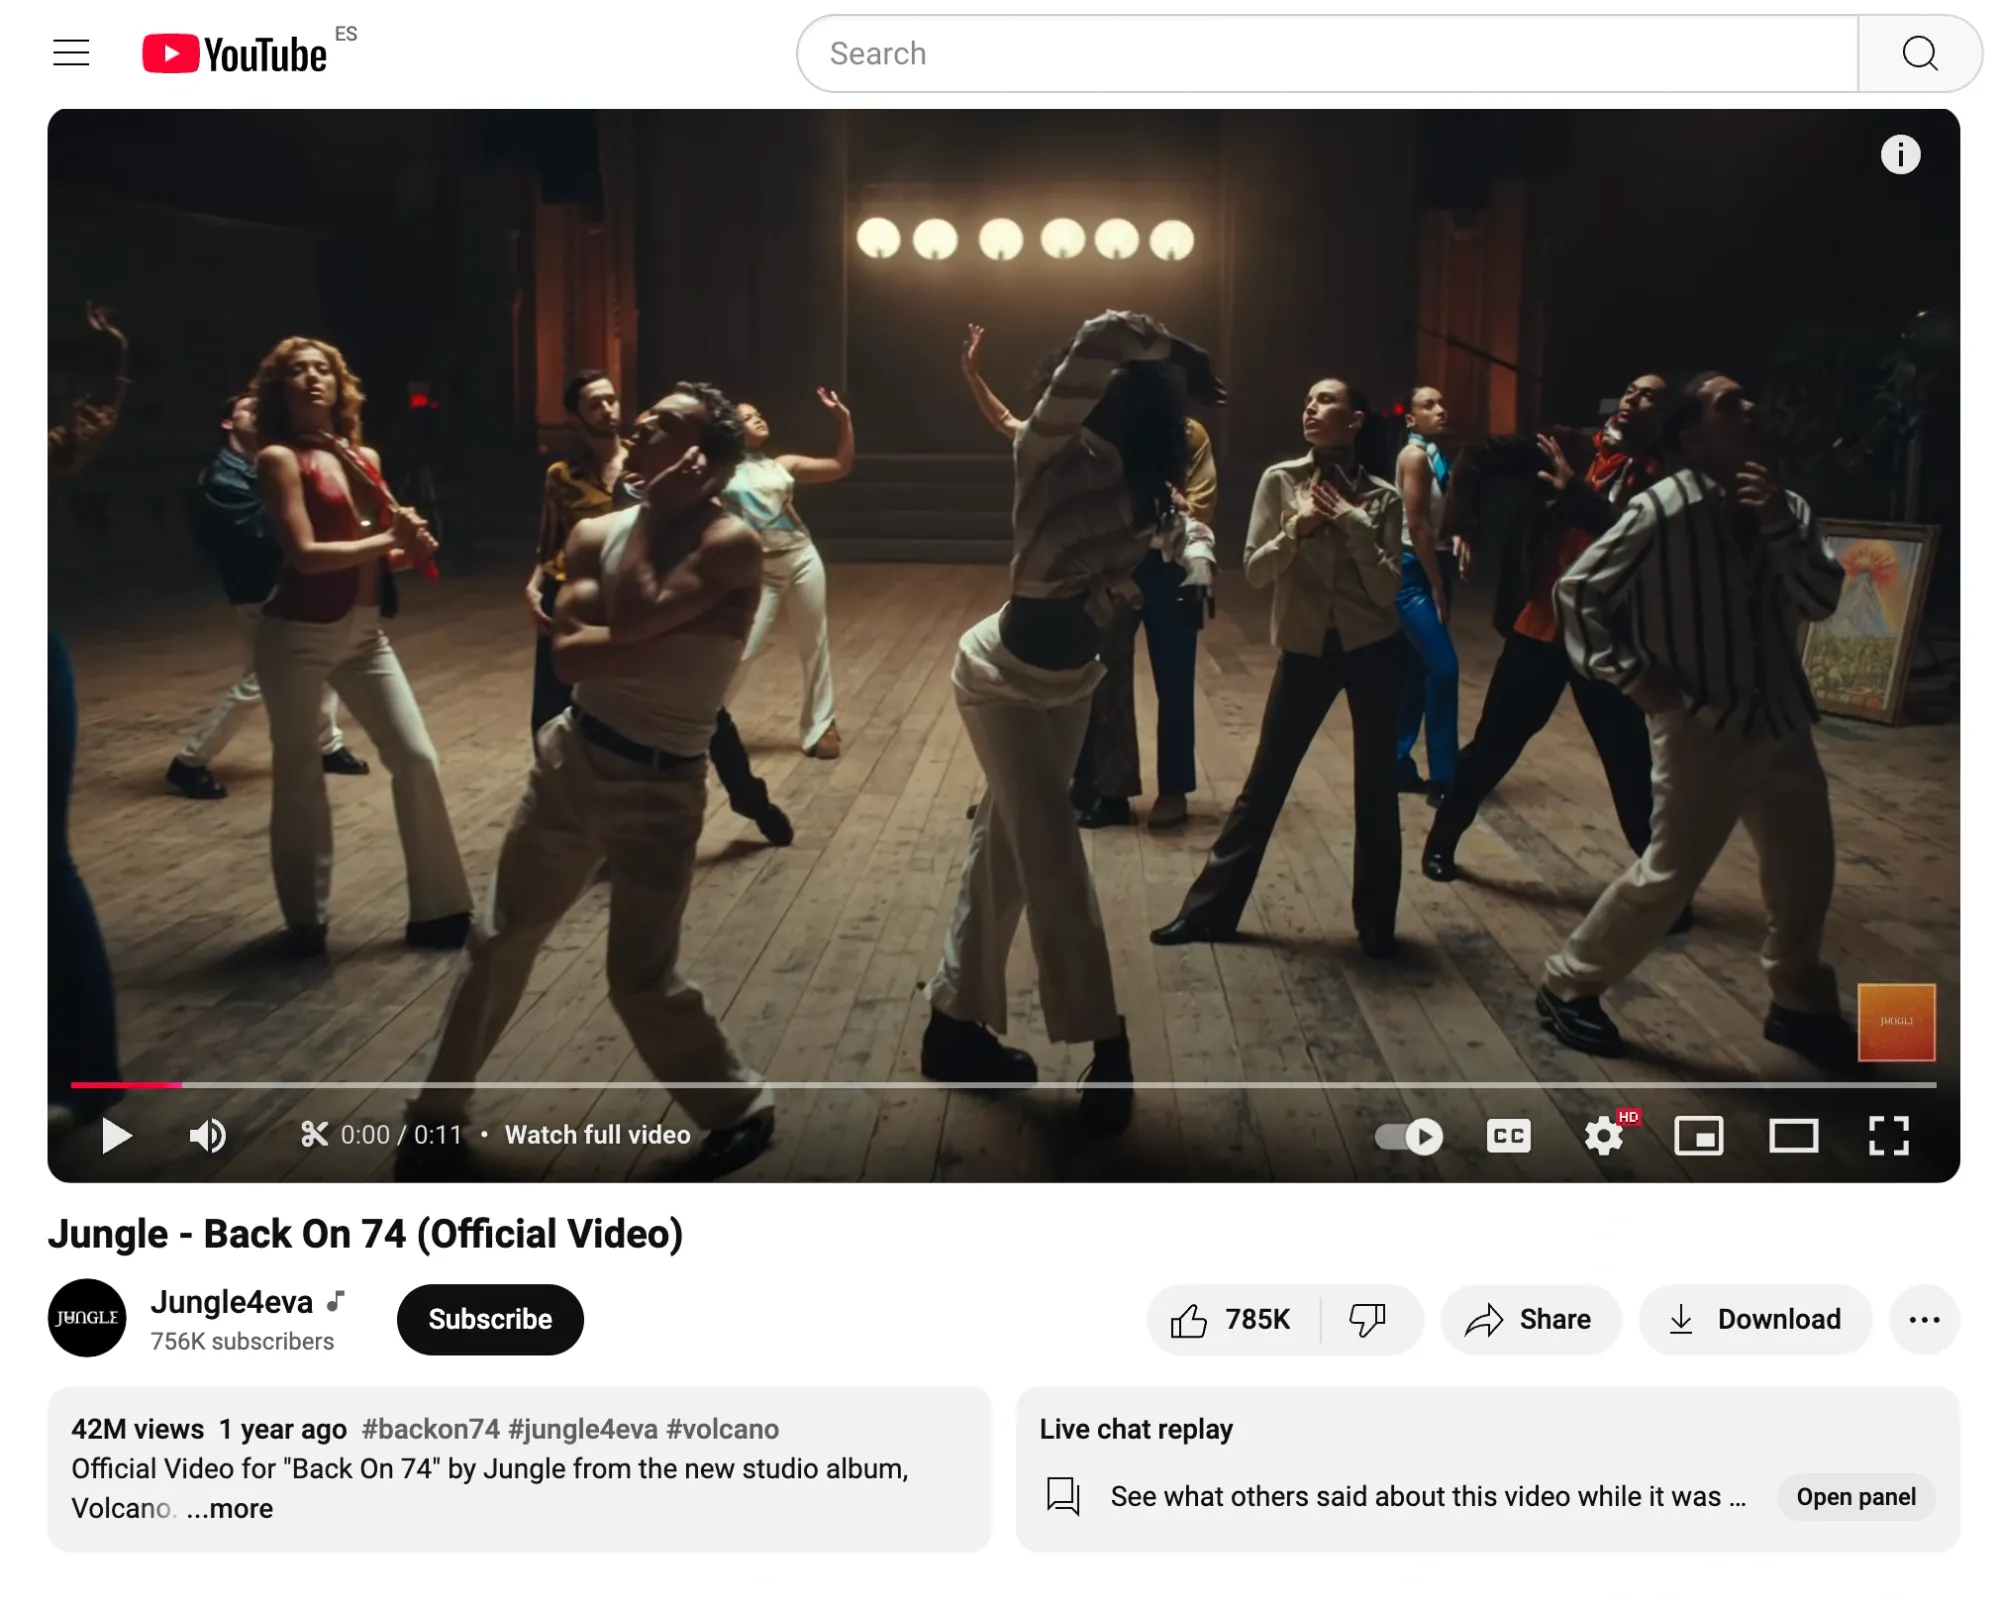
Once your clip is created, you can find it in your YouTube account. Head to the left panel of your YouTube homepage and click on the "Clips" section. All the clips you’ve created will be stored there, so you can easily come back and access them whenever you need.
How YouTube Clips Can Help Promote Your Channel
Now that you know how to clip YouTube videos, let’s figure out why exactly you need this feature.
YouTube’s clipping feature isn’t just for fun—it’s a smart way to get your videos in front of more people and boost your channel's growth. By sharing those perfect moments from your videos, you can drive more views and attract new subscribers. Here’s how to make the most of this awesome feature and use it to promote your channel.
1. Share bite-sized highlights across social media
The best part about YouTube clips? They’re easy to share. You can grab a short, attention-grabbing part of your video, turn it into snackable content, and post it across social media, whether it’s Twitter, Facebook, or even Pinterest. This means you don’t have to upload a whole video to get people’s attention—you just share a quick, engaging moment. And because clips are a part of the original video, anyone who clicks on your snippet helps boost your video’s view count, giving it more visibility on YouTube.
2. Give your videos a boost with extra views
Here’s where it gets exciting: every time someone watches a clip you’ve shared, it counts as a view for your original video. So when people see your clip on social media and click to watch it, you’re not only getting more engagement, but you’re also helping your original video rank higher on YouTube. The more views a video gets, the better chance of being recommended to others, which means more people discover your channel.
3. Tailor clips for each social media platform
YouTube clips are not just limited to YouTube itself. Once you’ve created your clip, you can easily share it on platforms like Twitter, Facebook, Reddit, and even Pinterest. This helps you connect with different audiences and keeps your content feeling fresh. Plus, sharing clips across platforms brings people back to your full videos, driving even more traffic to your channel.
4. Engage viewers with quick, easy-to-consume clips
Not everyone has time to watch a full video, and that’s where clips come to help. They’re short and sweet, making them perfect for people scrolling through their feeds. Instead of asking viewers to commit to a whole video, clips let them sample a quick moment, and if they like what they see, they’ll be more likely to check out your full video or hit that subscribe button. It’s a low-effort way to get people interested in your content.
5. Capitalize on viral moments and trends
Want to jump on a viral trend? YouTube clips make it easy. If there’s a funny, dramatic, or epic moment in your video, you can isolate that part and share it with the world. If the clip resonates with people, it can take off and go viral, bringing a bunch of new subscribers to your channel. Clips also let you ride the wave of trending topics, memes, or challenges—whatever’s hot right now—so you can keep your content relevant and reach even more people.
How to Create YouTube Clips and Content Using Podcastle
If you're looking to create YouTube clips or even full YouTube content, Podcastle is a great platform to streamline the process. Whether you’re clipping a specific part of your video or creating new content from scratch, Podcastle's easy-to-use tools make the entire process smooth, even for beginners.
Here’s how you can use Podcastle to make the most of clipping YouTube videos and creating engaging content for your channel.
1) Start your project in Podcastle’s Video Editor
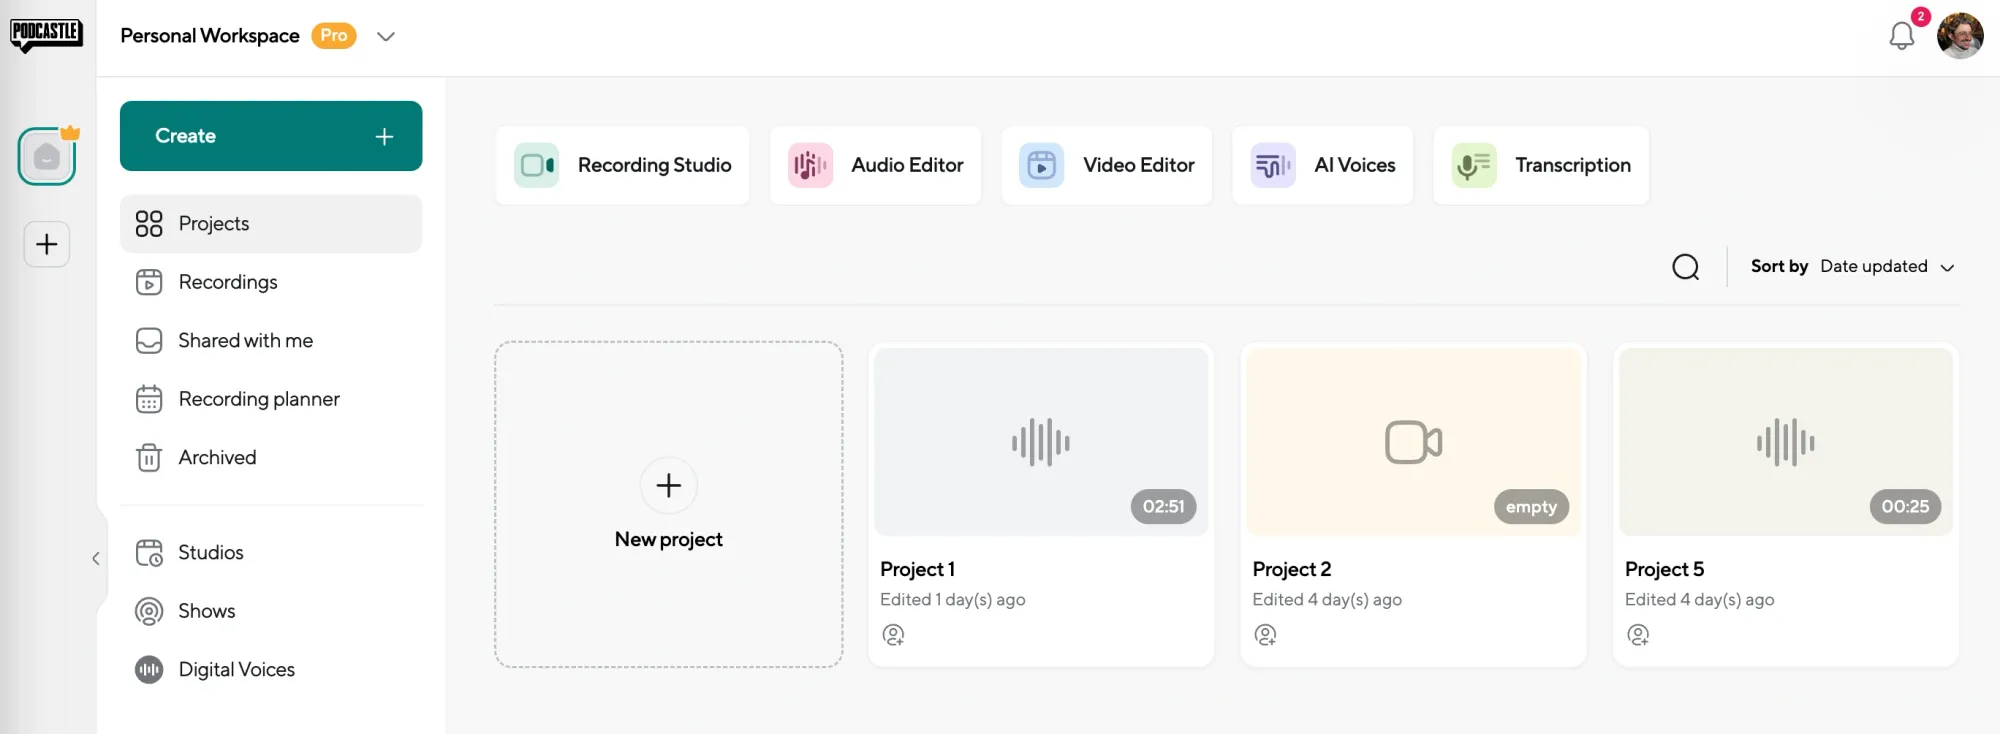
To begin, log into Podcastle and head over to the Video Editor. You can start a new project by selecting the Video Editor option. You'll then be able to drag and drop your video clips and start editing instantly.
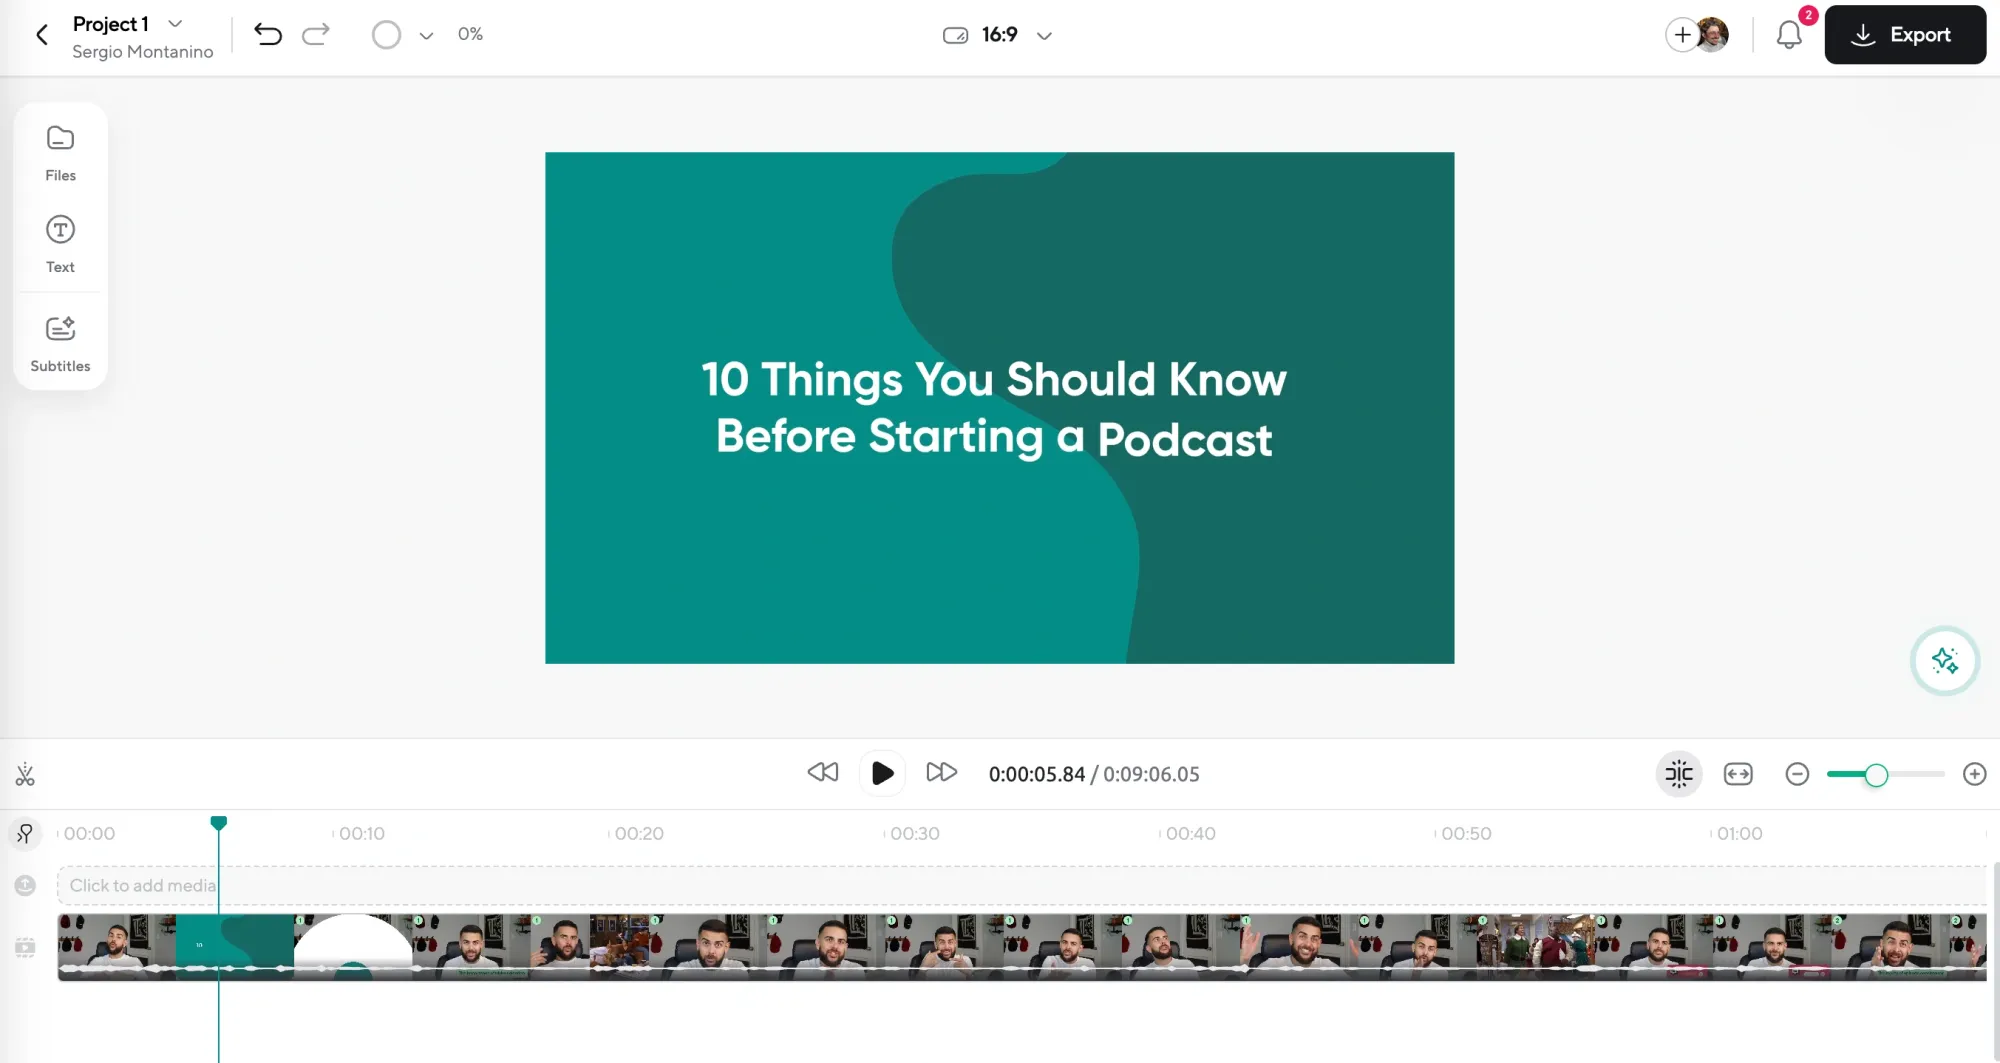
2) Trim and edit your video clips for YouTube
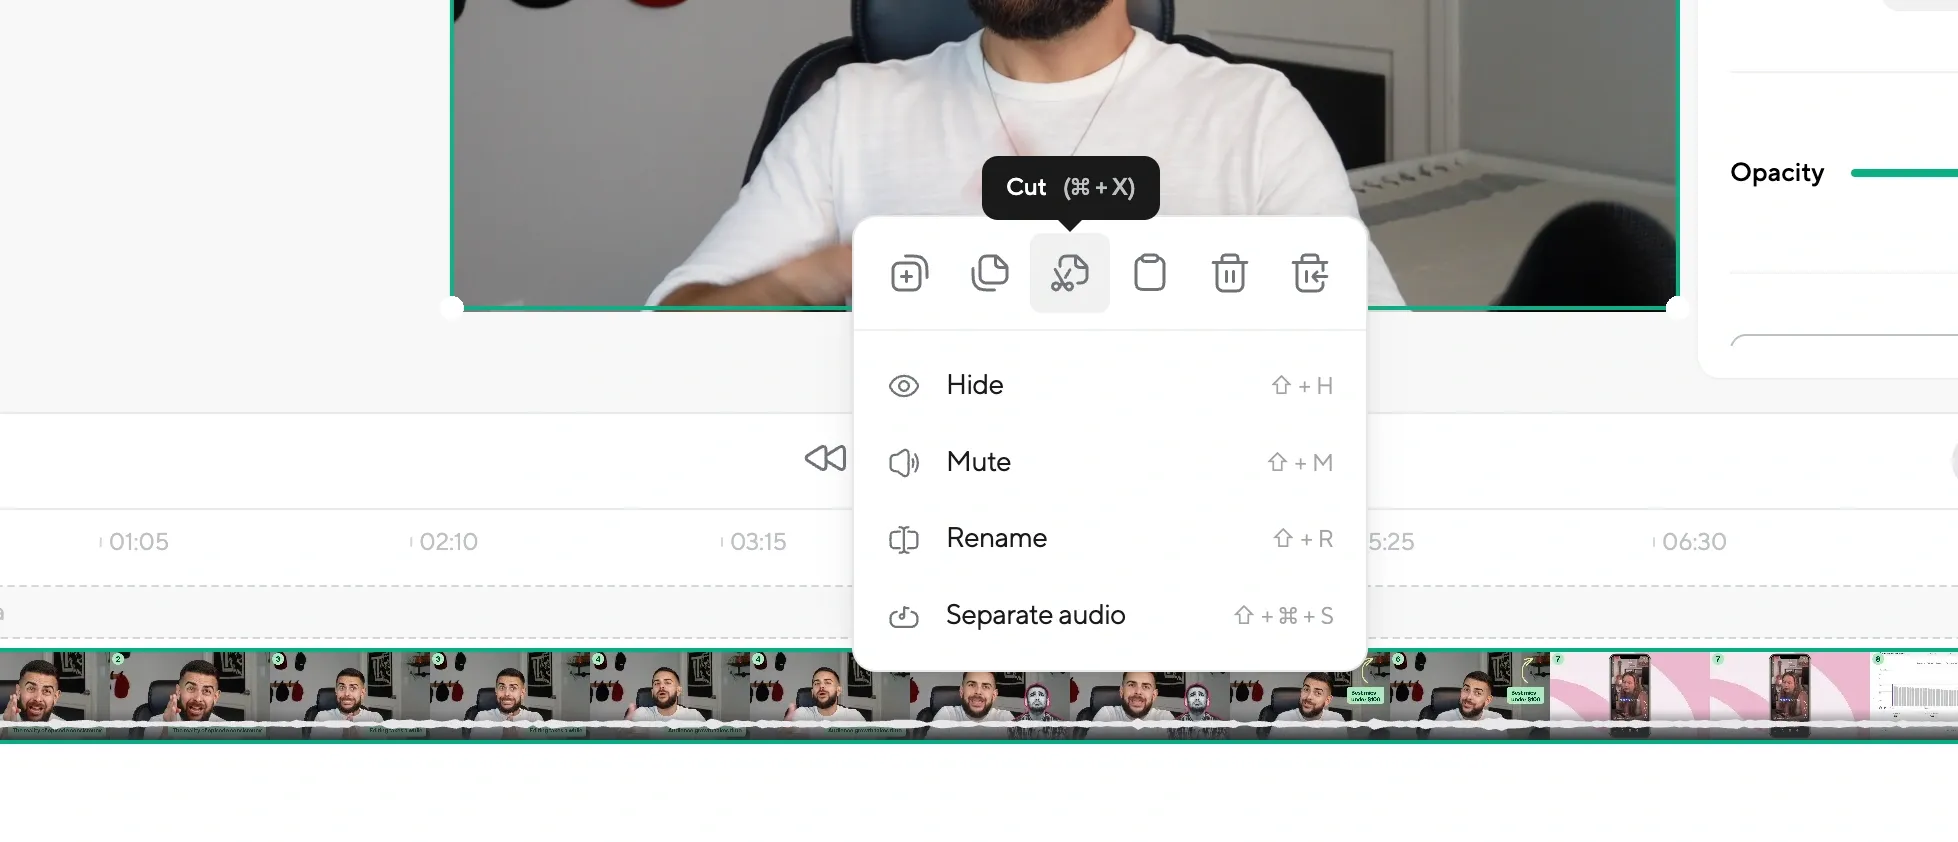
It's time to edit after you've got your footage onto the editor. Podcastle's editing tools make it simple to cut out the parts you don’t need, leaving only the best moments of your content. This is especially useful when you want to clip a YouTube video to highlight key points or create a teaser for your full video.
Whether you're trimming unnecessary footage or splitting a longer video into smaller clips, Podcastle's intuitive interface and clipping tools make the entire process a breeze.
3) Format your YouTube clips
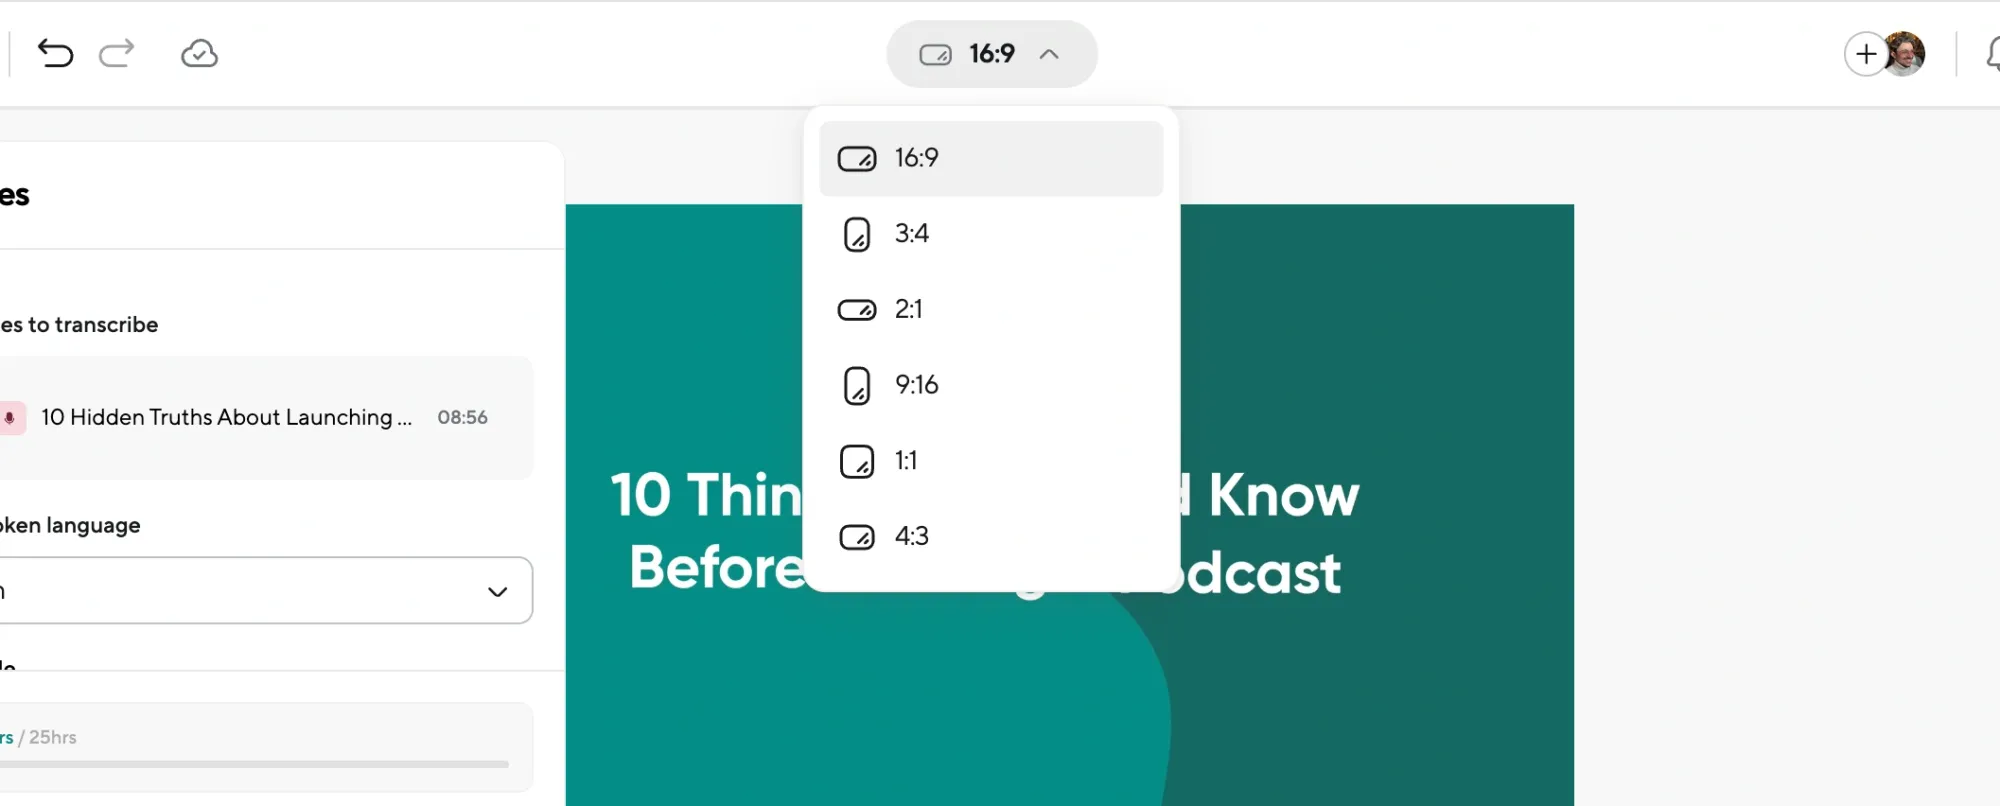
Now, the great part about creating your YouTube clips with Podcastle is that you can easily change your video’s aspect ratio and share them in a format that matches the requirements of the social media platform you’re going to post them on. For instance, if you want to share your YouTube video on an Instagram reel, you can easily change the aspect ratio of your content to 9:16 with just one click.
Along with that, you can also easily resize, crop, and adjust your footage to make sure it’s the right fit. Plus, if you're using webcam footage, you can decide where you want it to appear on the screen—whether it’s in the corner or full screen.
Final Thoughts
YouTube’s clipping tool is a great way to share the best parts of your content while driving more views and engagement to your channel. It is an easy way to share your video on social media platforms, highlighting its key moments or using it to join the viral trends.
You can use YouTube’s video clipper to create the short snippets of your video, but you could also try tools like Podcastle to make the process even easier and enjoy seamless recording, editing, and formatting options for both clips and full-length content.
By mastering clipping and integrating it into your strategy, you’ll not only elevate your YouTube game but also connect with a wider audience in meaningful ways.
Ready to take your YouTube content to the next level? Try out our intuitive video editor and drastically cut down the time you need to shape amazing videos.
