Cultivating your show across important podcast platforms is an essential part of building an audience. You can set your show up for success by offering your show to the big names first. So, this is a good place to start examining your options when you're ready to make your podcast.
Spotify is a tremendous platform for streaming music. In 2019, the platform expanded to appeal to its fellow podcasters and their listeners. If you are an avid podcaster, follow the step-by-step guide ahead to help you start on the right foot.
Learn more about the platform’s specific conditions and follow along for more insider info for starting with Spotify. Here’s a quick sum up of the basic steps to get your show live on Spotify:
How to Submit a Podcast to Spotify
- Verify Your Podcast Meets Spotify’s Requirements
- Create a Spotify Account
- Agree to the Terms & Conditions
- Enter Your RSS Feed Link or Connect
- Verify You Own The Podcast
- Enter Details About Your Podcast
- Review and Submit Your Podcast
How to Submit a Podcast On Spotify: 7 Simple Steps
Most podcast platforms follow a comparable method. Spotify is no different. The basic process starts with signing up for a new account, submitting your RSS feed to the service and then waiting for approval. You also have the option to upload your audio directly to Spotify if your podcast is not hosted elsewhere yet. Here are the basic steps to follow in order to publish your podcast on Spotify.
1) Verify Your Podcast Meets Spotify’s Requirements
Before you start with the Spotify podcast process, make sure your show matches Spotify’s requirements. Conforming to Spotify requirements will help you avoid further mishaps and have a smoother ride along the way. The terms include stuff such as the cover art must be a square ratio and be in a PNG, JPEG, or TIFF format, also your episode titles and other consumer-facing fields shouldn’t exceed 20 characters. Episode length cannot exceed 200MB, which is about 83 minutes.
2) Create a Spotify Account
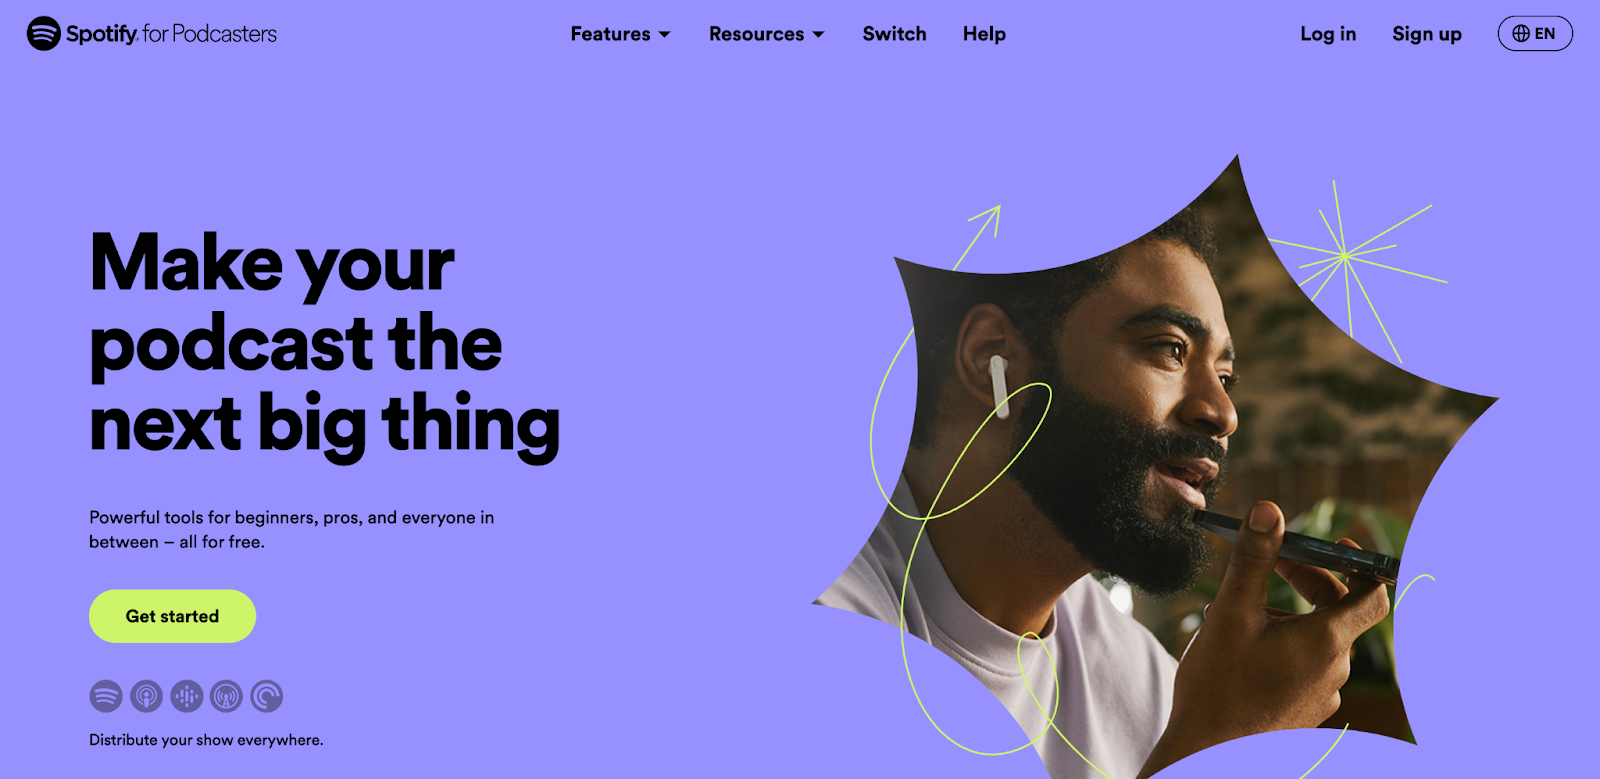
After checking off all the requirements you are ready to start creating a Spotify account. If you already have an account, visit Spotify For Podcasters and log into your account.If you haven't created a Spotify account, the process will only require a few minutes. Typically, we recommend creating a new account specifically for your podcast to avoid mixing it with your personal account.
3) Agree to the Terms & Conditions
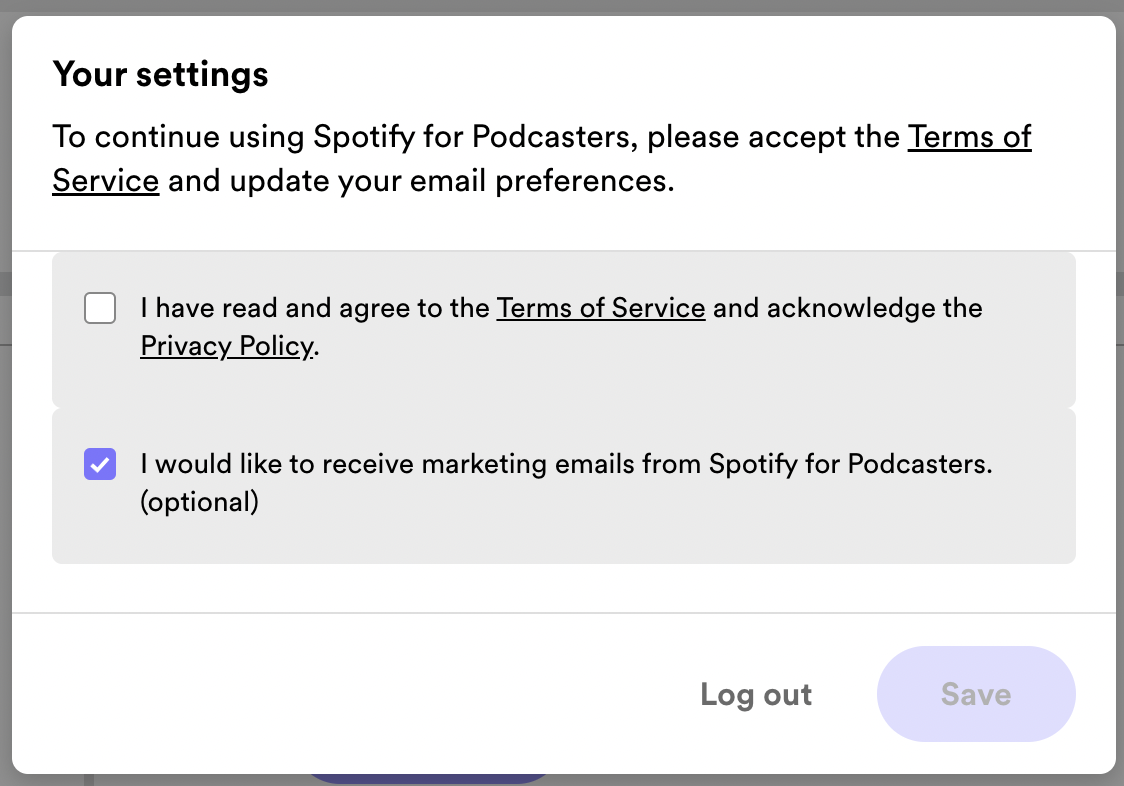
The next screen is where you have to set up your podcast listing. After you hit the “Get Started” button which will take you to Spotify’s Terms & Conditions page, make sure you thoroughly read the fine print, add your full name, and agree to the Terms & Conditions. Then tap on “Continue.”
4) Enter Your RSS Feed Link or Connect
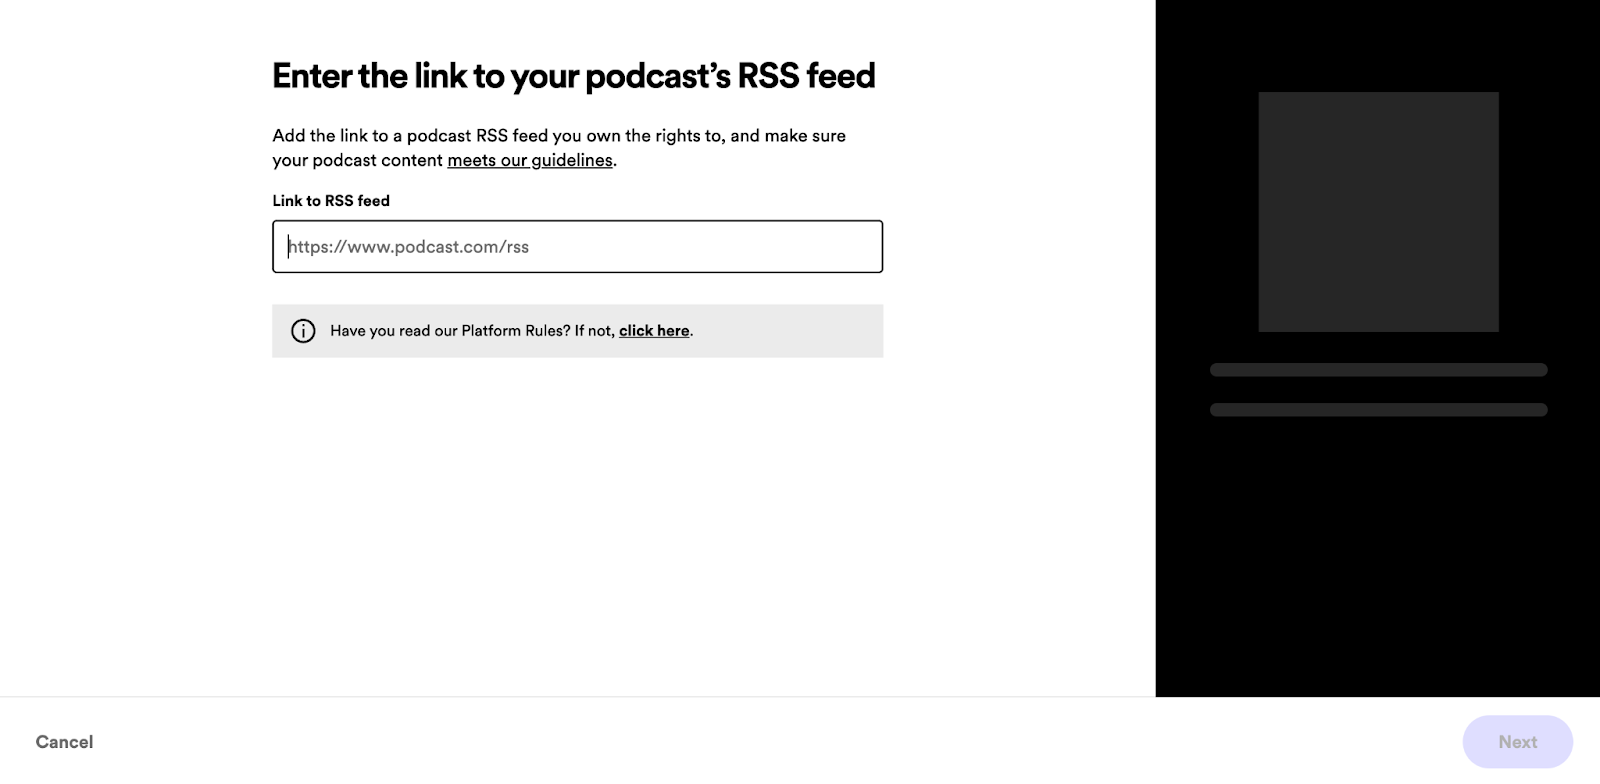
The next move to submit a podcast to Spotify successfully is to provide the platform your RSS link. From your podcast hosting service, you can find your RSS feed link. Then add the link to Spotify and tap on “Next.”
What’s a Podcast RSS feed?
It is a URL that websites and podcast listening platforms use to share regularly updated information. The podcast platforms control the feed consistently and display new information as it is added . If you have not used an RSS feed, you would have to manually update each platform every time you create a new episode.
An RSS feed for a podcast is a bit different than the one used by a website. To perform accurately, a podcast RSS feed requires additional information like a title, description, artwork, category, language and explicit rating. Whereas, an RSS feed for a different source would not necessarily require these fields. The standard podcast RSS feed format famously used was primarily developed by Apple Podcasts.
How to Find Your RSS Feed on Podcastle
If you host your podcast on Podcastle, you can find your RSS link in the settings of your published podcast under the Streaming section. Alternatively, you can expedite the publishing process on the Spotify streaming platform by clicking the "Connect" button below the Spotify icon.

5) Verify You Own The Podcast

Spotify will need to verify you own the podcast content before submitting it. Spotify will promptly send an eight-digit code to the email address associated with the RSS feed. This email address will most likely be the one you used to sign up for your podcast hosting service. You can find the verification email in your inbox then enter the unique code on Spotify.
6) Enter Details About Your Podcast
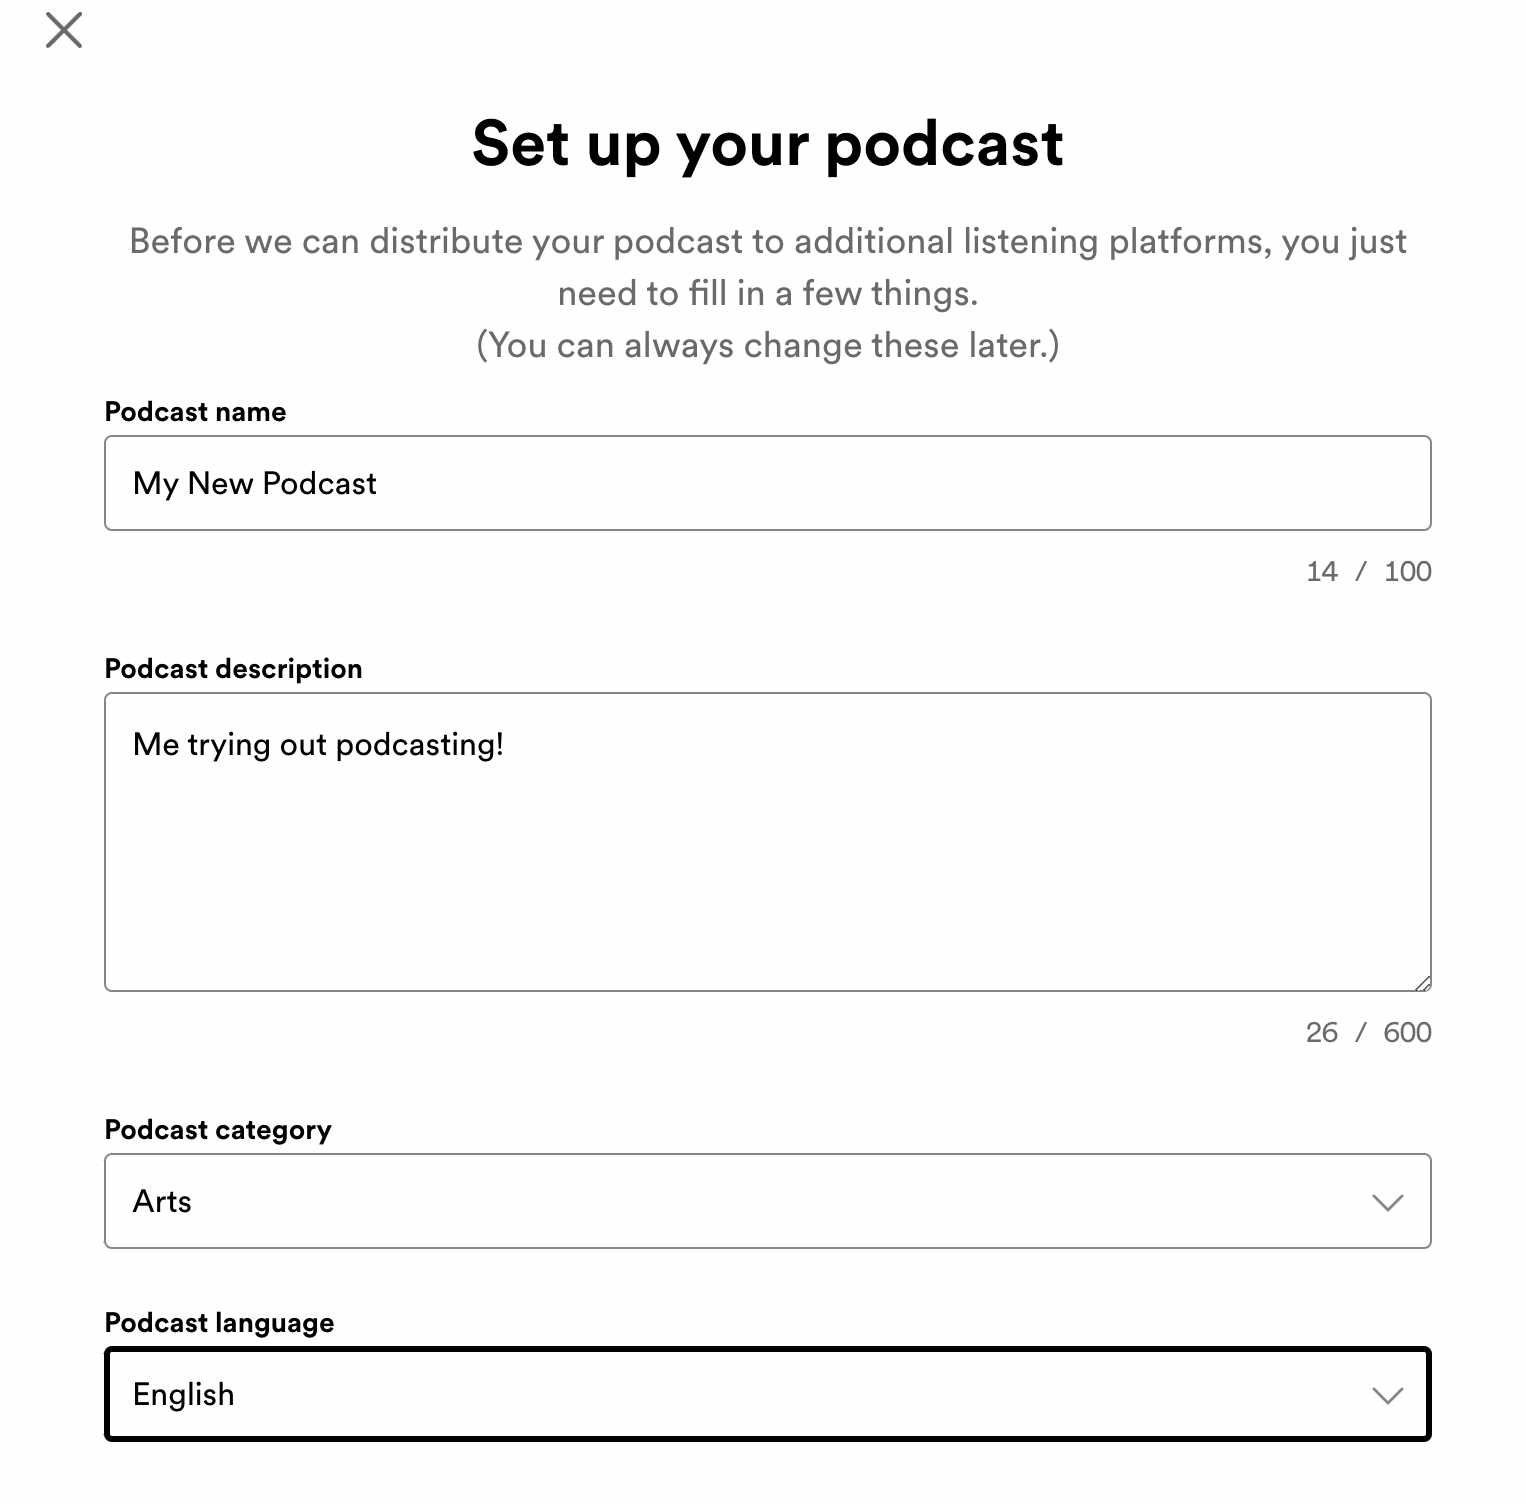
The next step to move forward by submitting a podcast to Spotify is to enter a few details about your podcast. This includes in which country your podcast is made, the primary language, your podcast hosting provider’s name, and the podcast’s primary category.
After choosing a primary category, you are able to select three subcategories. If your podcast covers a broad variety of topics, it’s deserving to add further category fields. By doing so, your show will appear in more appropriate areas as Spotify users navigate through the platform to discover new podcasts.
7) Review and Submit Your Podcast
After completing all the above steps, all that is left to do is review all of the information you submitted. Be extra careful when going over the details as you will not be able to edit this once you submit it.
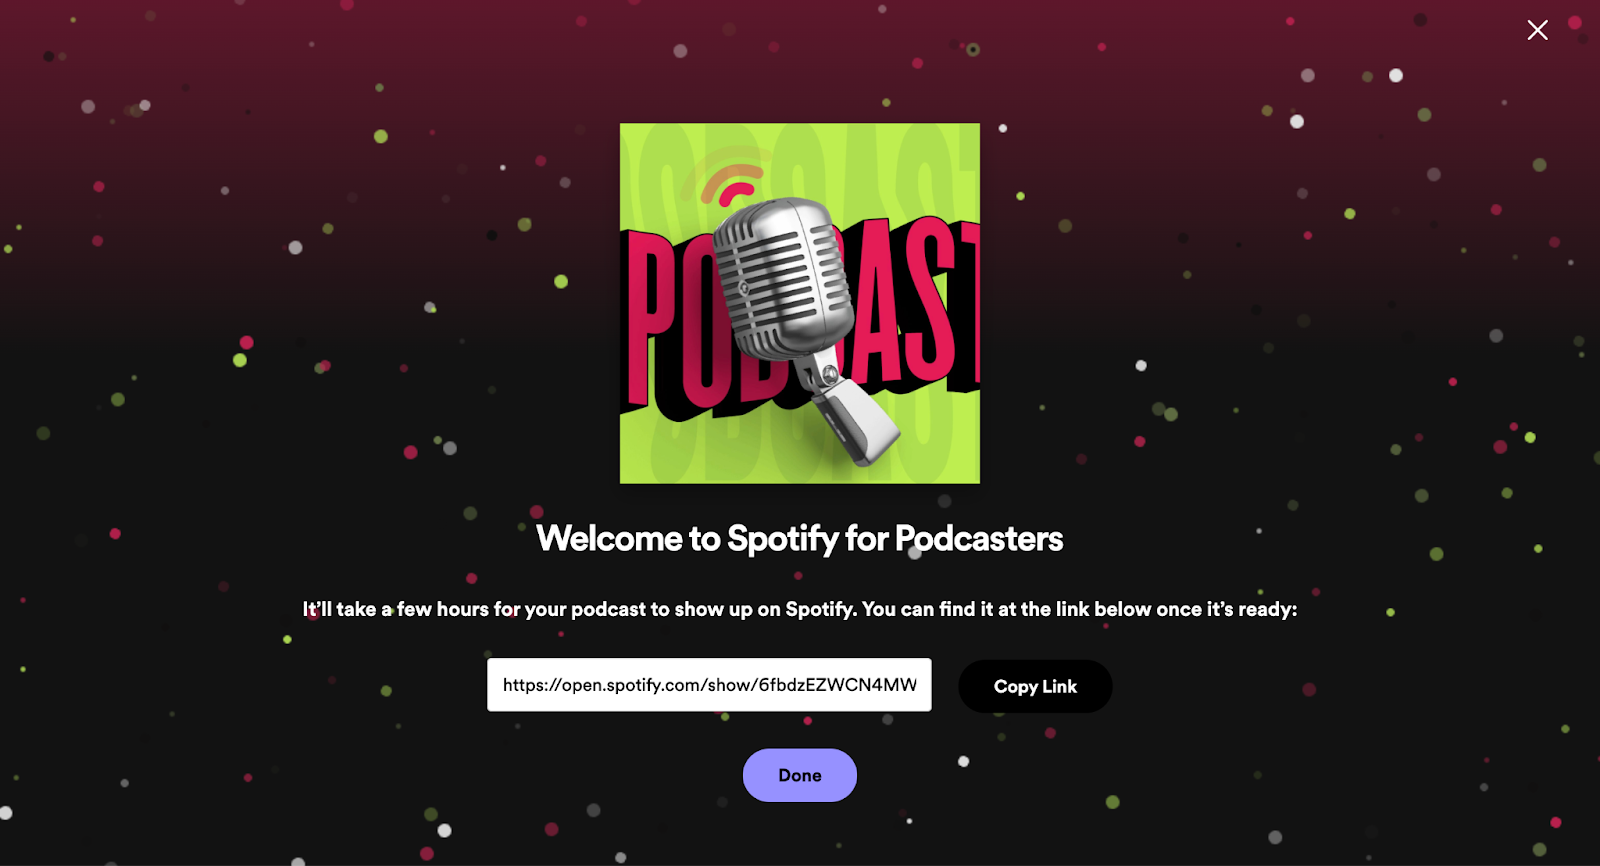
By finishing off all the processes, you can be sure that Spotify has officially received your podcast! It regularly takes a few hours for the platform to review the information and set your podcast listing live.
Millions of people are avidly turning over to Spotify for podcasts. If you have already launched a podcast, then you should get your listing on Spotify as soon as possible.
How to Upload Your Podcast in Audio Format
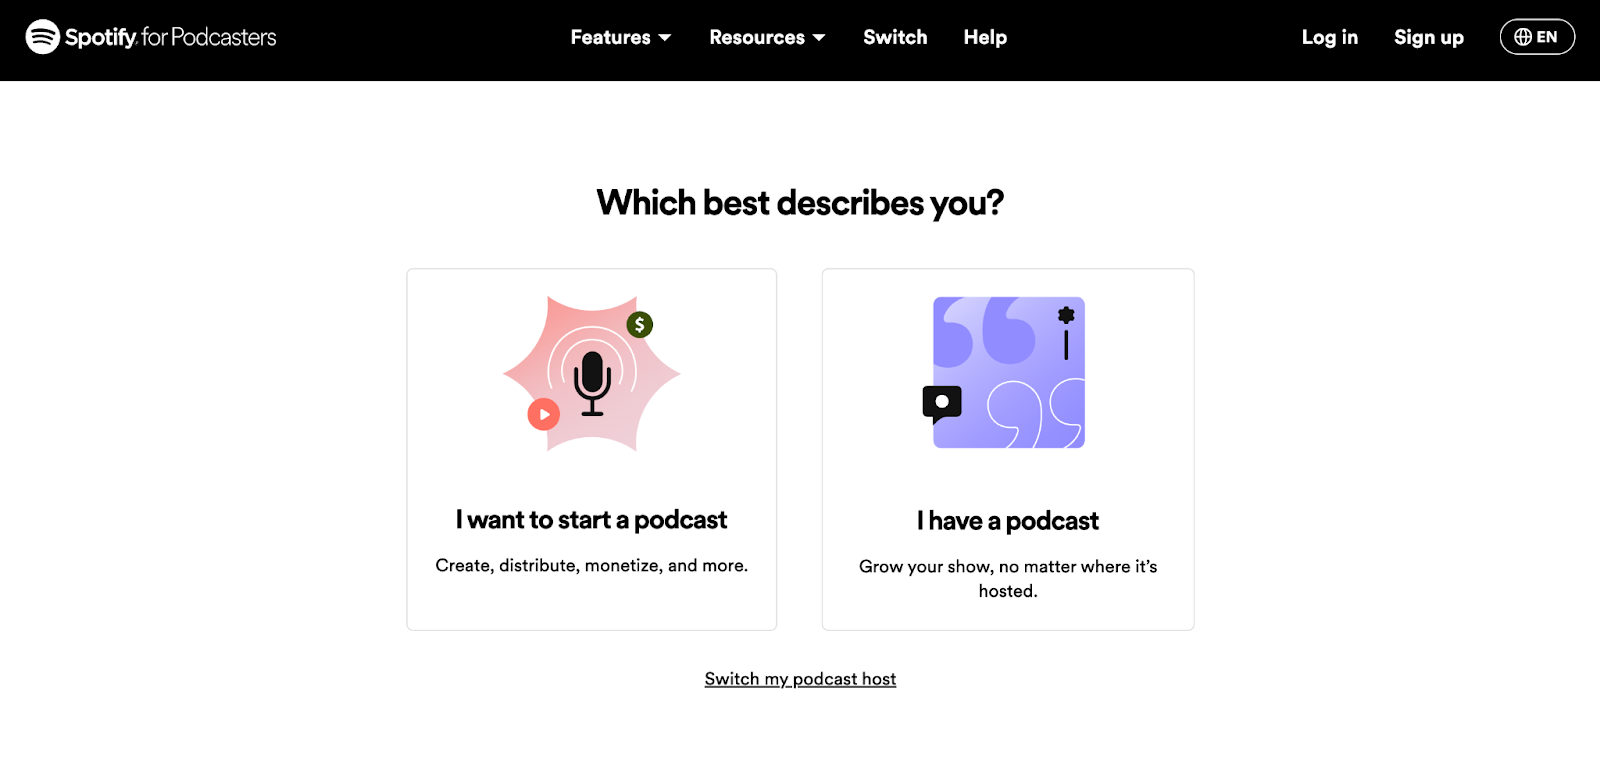
Spotify offers the option to directly upload your podcast by adding your episode's audio file. To do this, simply select the "I want to start a podcast" option after you've signed up for Spotify.
From here, follow the 3 simple steps:
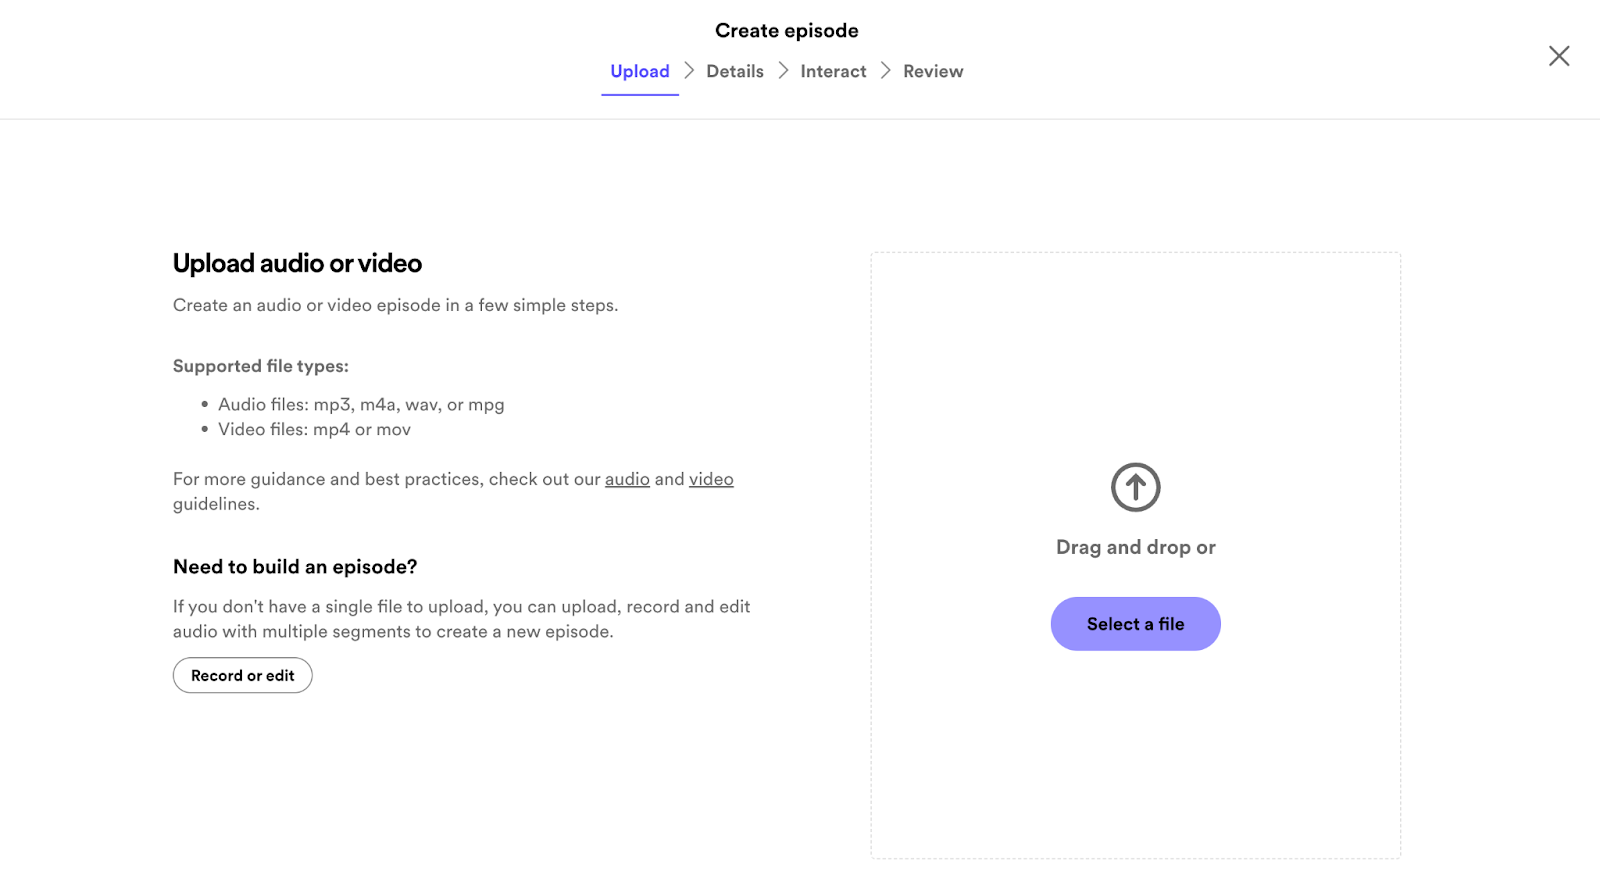
1) Make Your First Episode
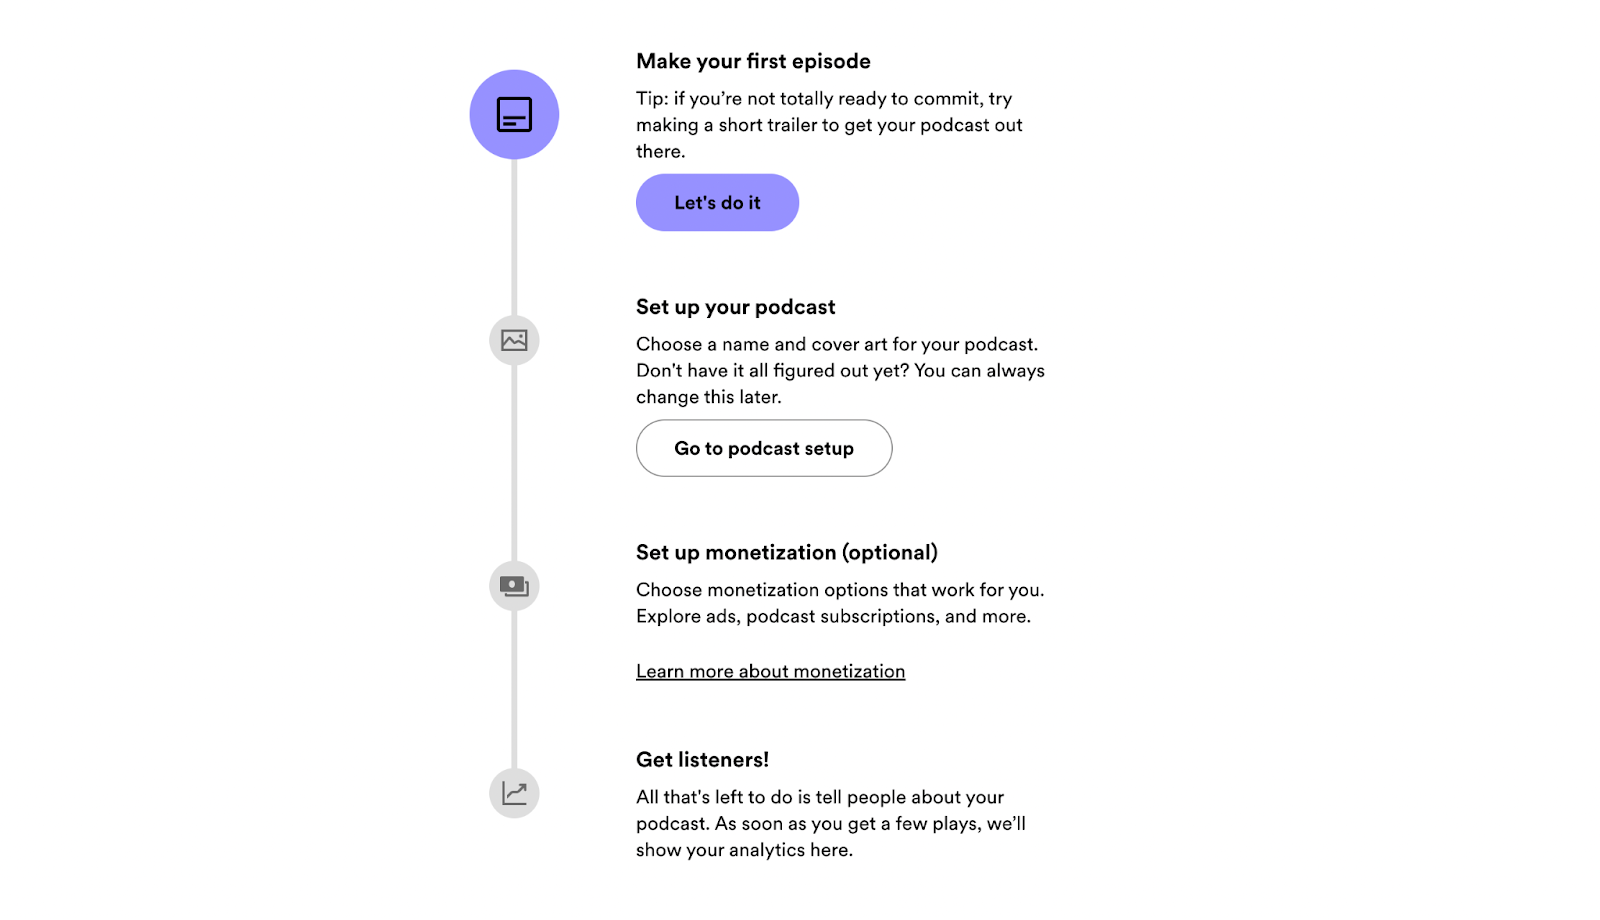
To get started, create your first episode. You can do this by either using Spotify for Podcasters or uploading an existing audio file to Spotify.
2) Provide the details
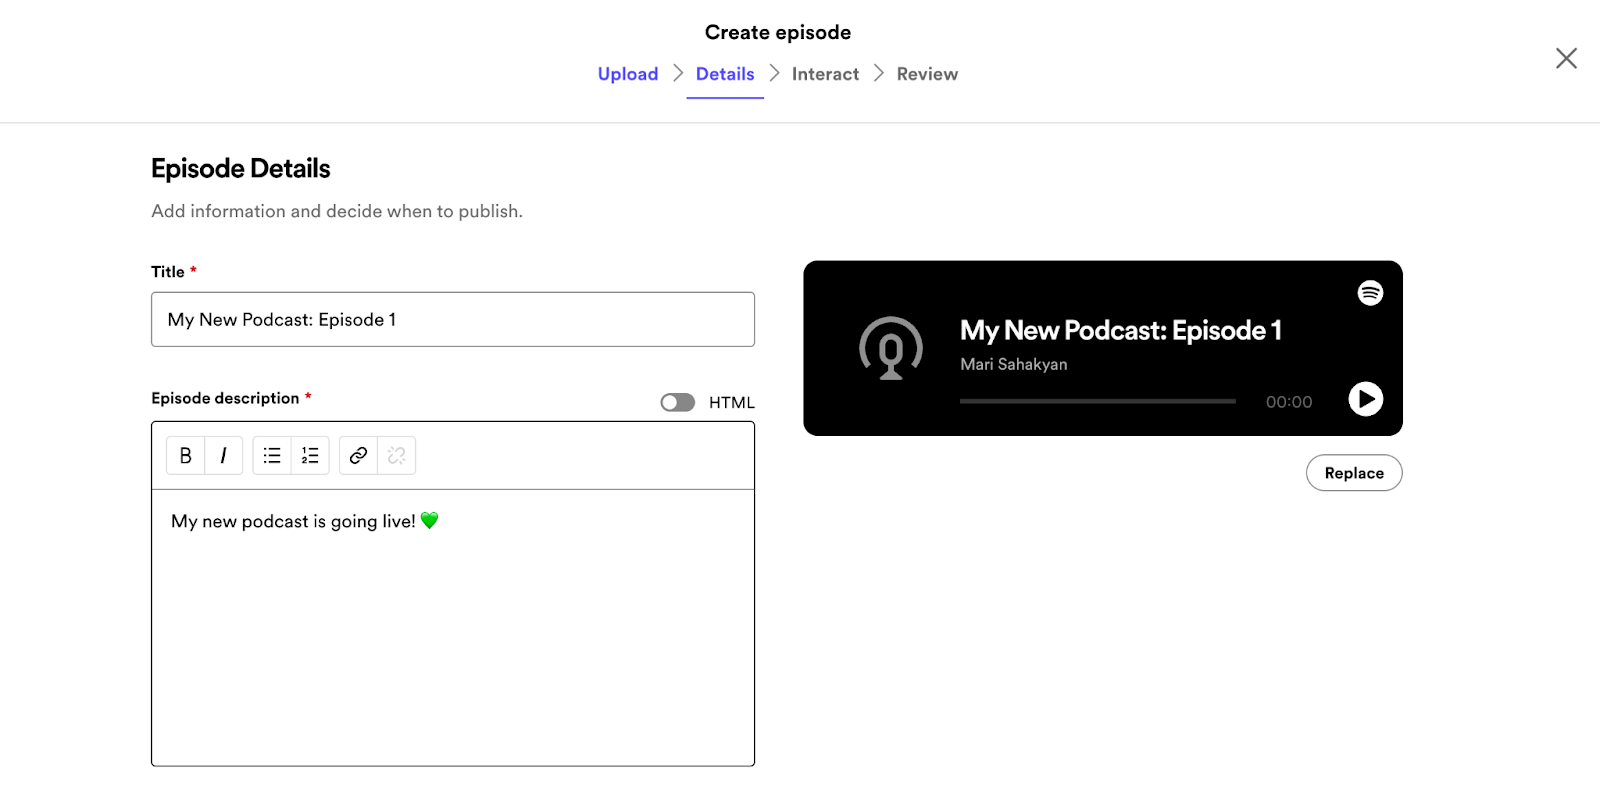
Once you've uploaded the file, it's time to provide some essential details about your podcast. Enter the episode's title and provide a brief description of what your episode covers. Spotify will also prompt you to include some Q&A sets, so try to come up with a couple of questions your audience might ask and add them to your Q&A section.
3) Review & Publish
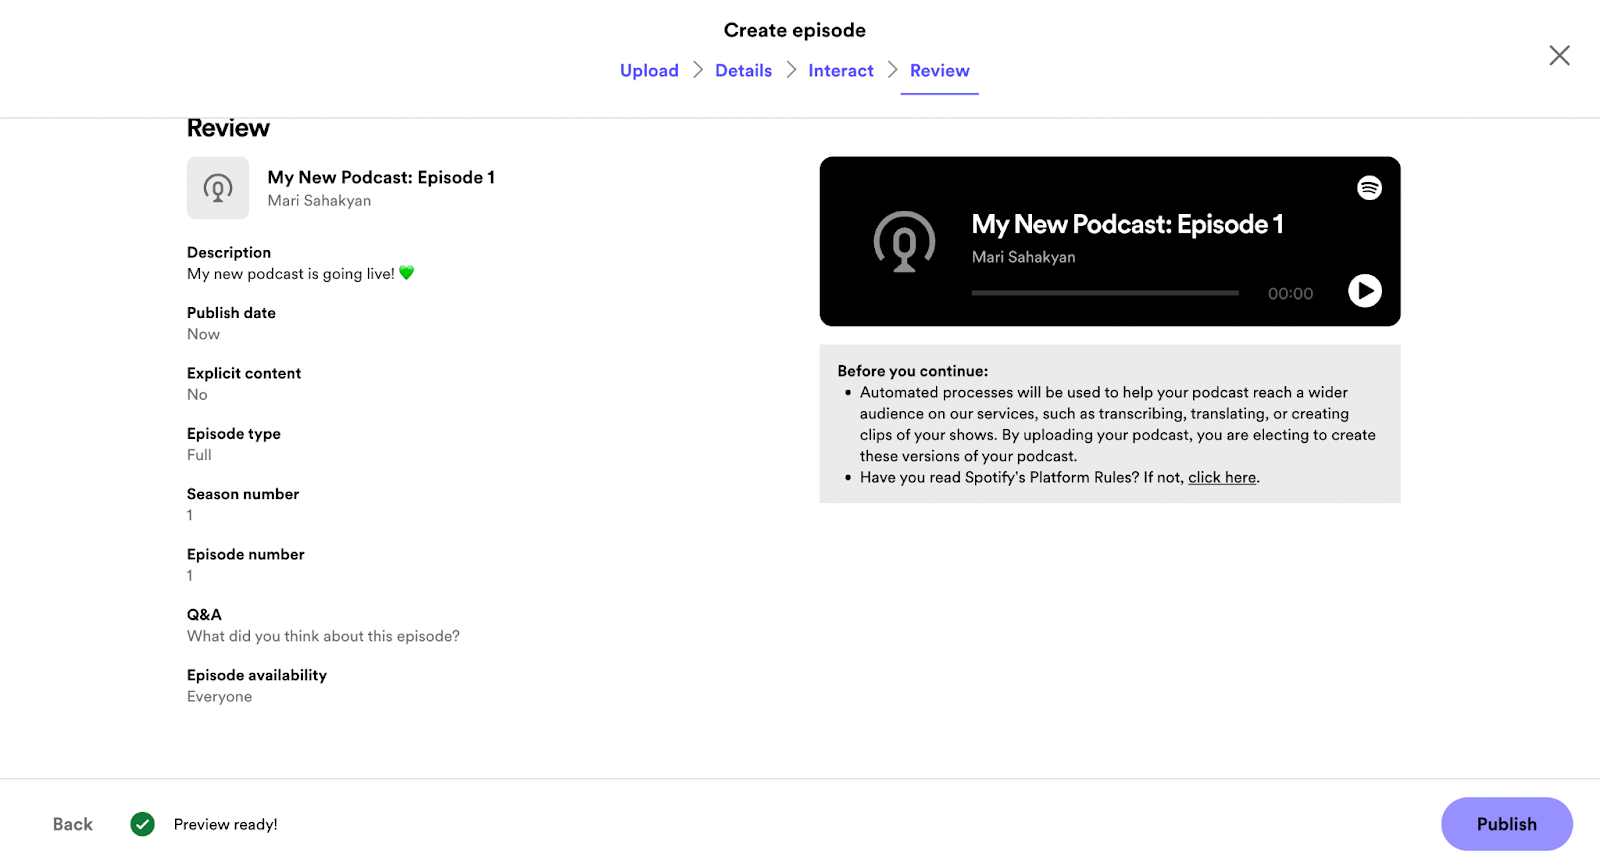
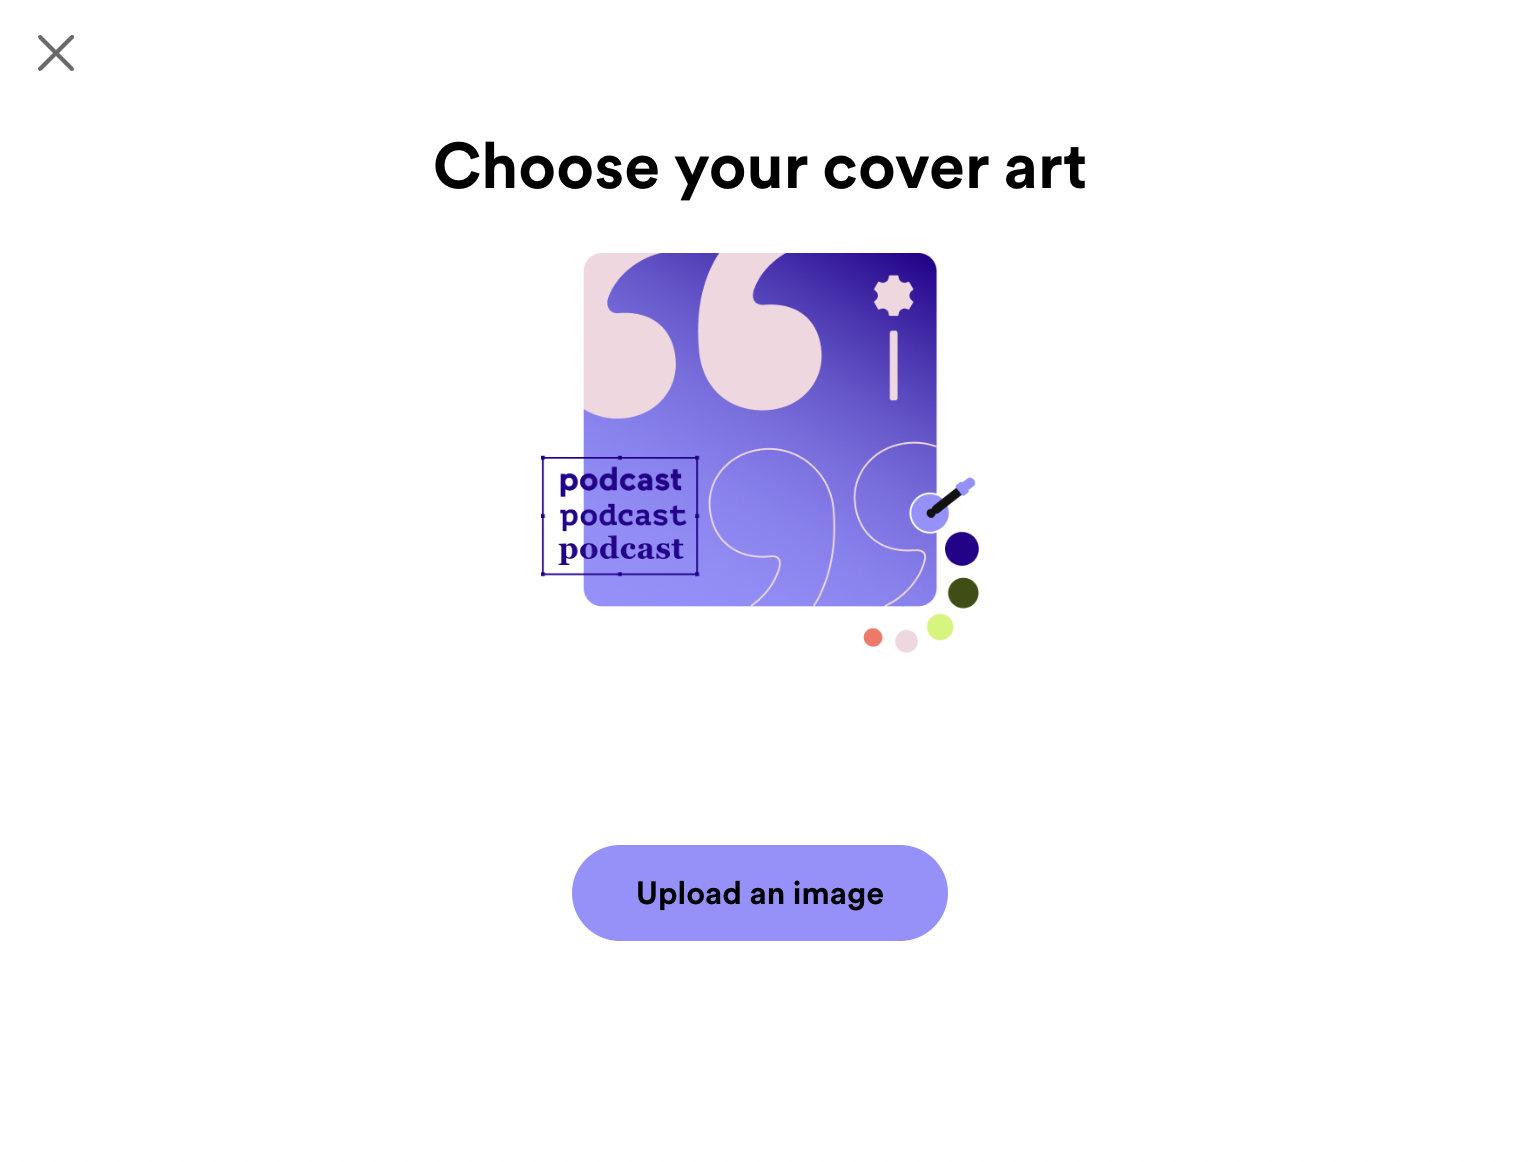
Review all the information you've provided to Spotify and click on "Publish." Make sure you have your cover art ready, as Spotify will also need you to upload an image for your podcast's cover.
If you already have a clear idea of how you want to monetize your show, select from the monetization options offered by Spotify. If you're not sure yet, you can leave this section for later.
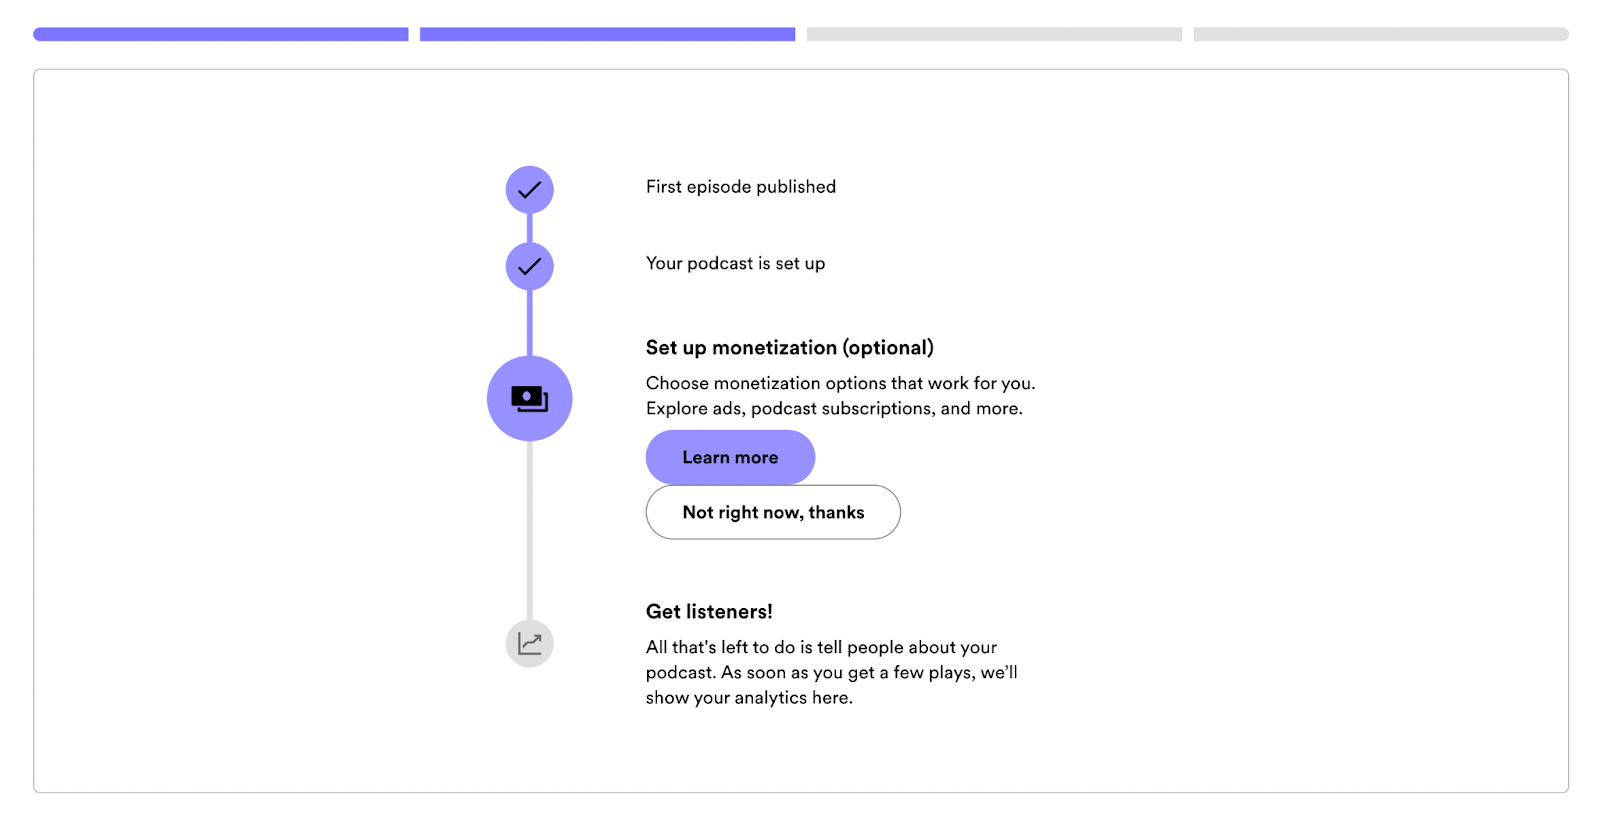
That’s pretty much it! All you have to do next is wait until Spotify officially approves your podcast and get listeners!
Where to create podcasts?
Spotify is a bustling platform with a lot of competition. Just making a successful debut isn't sufficient; you need to maintain good quality and put in hard work if you want to achieve long-term success. So, where exactly can you create your podcast?
If you're in search of an affordable yet high-quality audio creation platform, consider giving Podcastle a try. It replaces a whole set of audio recording equipment and editing software, allowing you to handle everything with just one tool. Recently, it also introduced its Podcastle for Teams feature, enabling you to bring your entire team together on the same project.
The best part about Podcastle is that it's loaded with AI-powered features, making podcast creation accessible to everyone.


